Ramen noodles with baked baking soda
Ramen noodles get their bounce and yellow tint from an alkaline salt (kansui). The Momofuku trick: bake ordinary baking soda for an hour and it turns into a much stronger alkali (sodium carbonate). Dissolve it in the water, make a stiff dough, rest it, and roll it through a pasta machine. Use these for the ramen or the ginger scallion noodles.
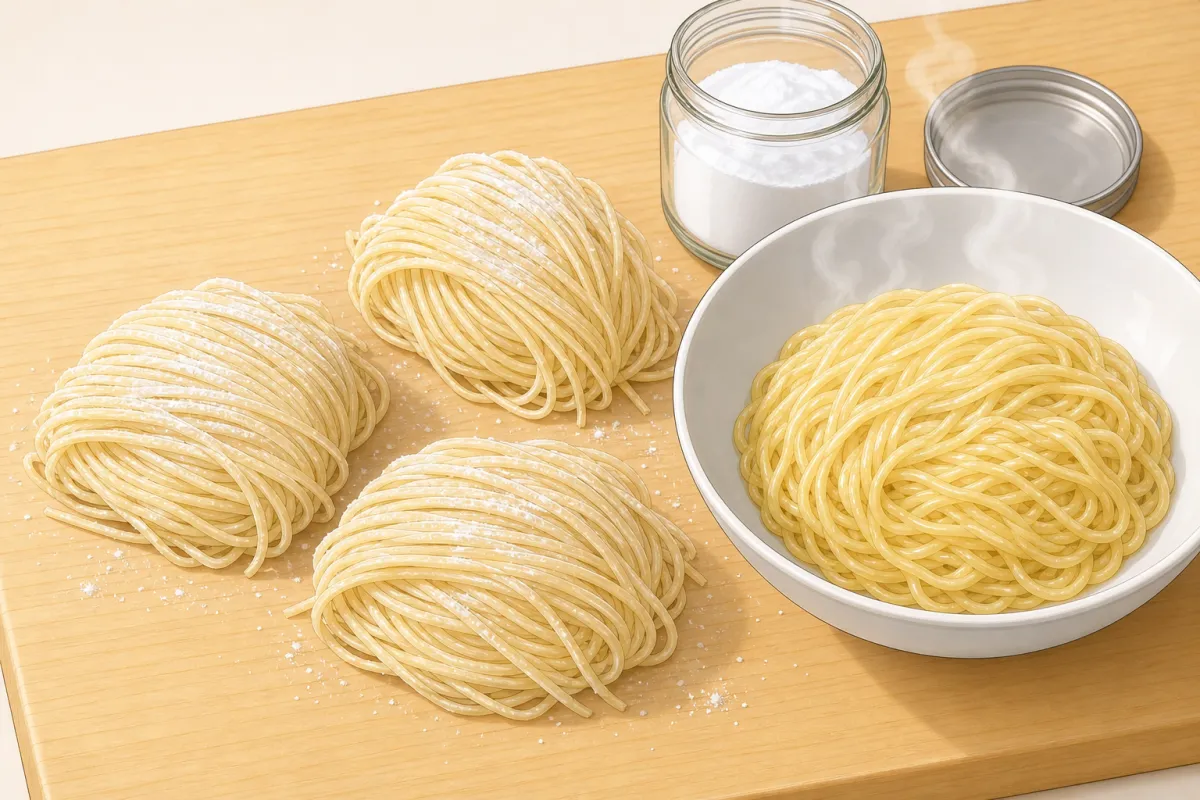
Mise en place — set out in the order it goes in
 Baked baking sodafrom the jar, 12 gStep 2
 Waterwarm + coldStep 2
 Floursbread + all-purposeStep 3
 Dusting starchStep 5
Prep order — what happens when, and what overlaps
h:mm
0:000:301:001:302:002:303:00
Bake the baking soda (once) 1 h
Alkaline water 3 min
Mix + knead 7 min
Rest 20 min
Knead again 5 min
Rest (fridge) 1 h
Sheet + cut 20 min
Boil 2 min
Hands-offBowl / counterBoardPan / stove
The baked soda keeps for months in its jar — after the first batch, skip the first bar.
Step by step
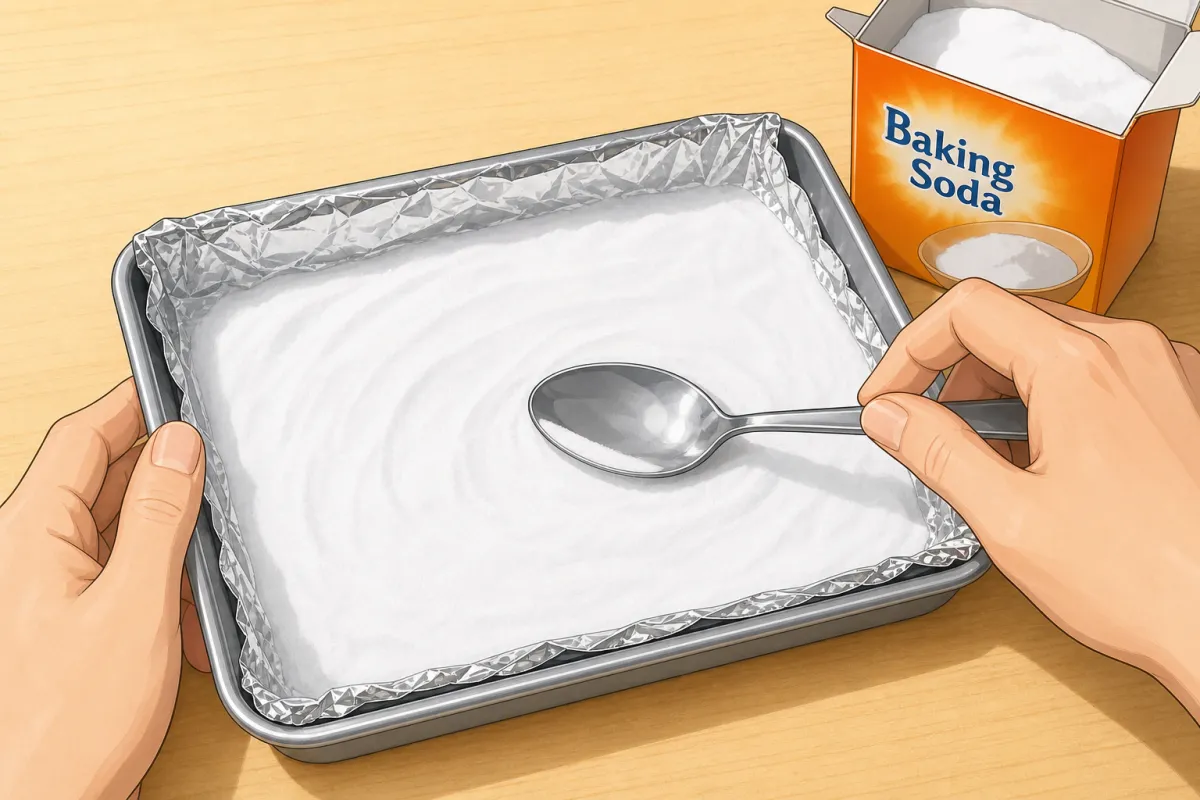
Spread the baking soda thinly on a foil-lined tray, then bake 1 hour at 120 °C. 1Bake the baking soda
1 h (once)For this step
- Baking soda60 g (about 4 tbsp) — enough for 3 batches
- Line a tray with foil and spread the baking soda out in a thin, even layer.
- Bake at 120 °C (250 °F) for 1 hour. It loses about a third of its weight as it turns into sodium carbonate.
- Let it cool, tip it into a glass jar, close it and label it. It’s a much stronger alkali than baking soda now — handle it with gloves, keep it away from eyes and don’t taste it.
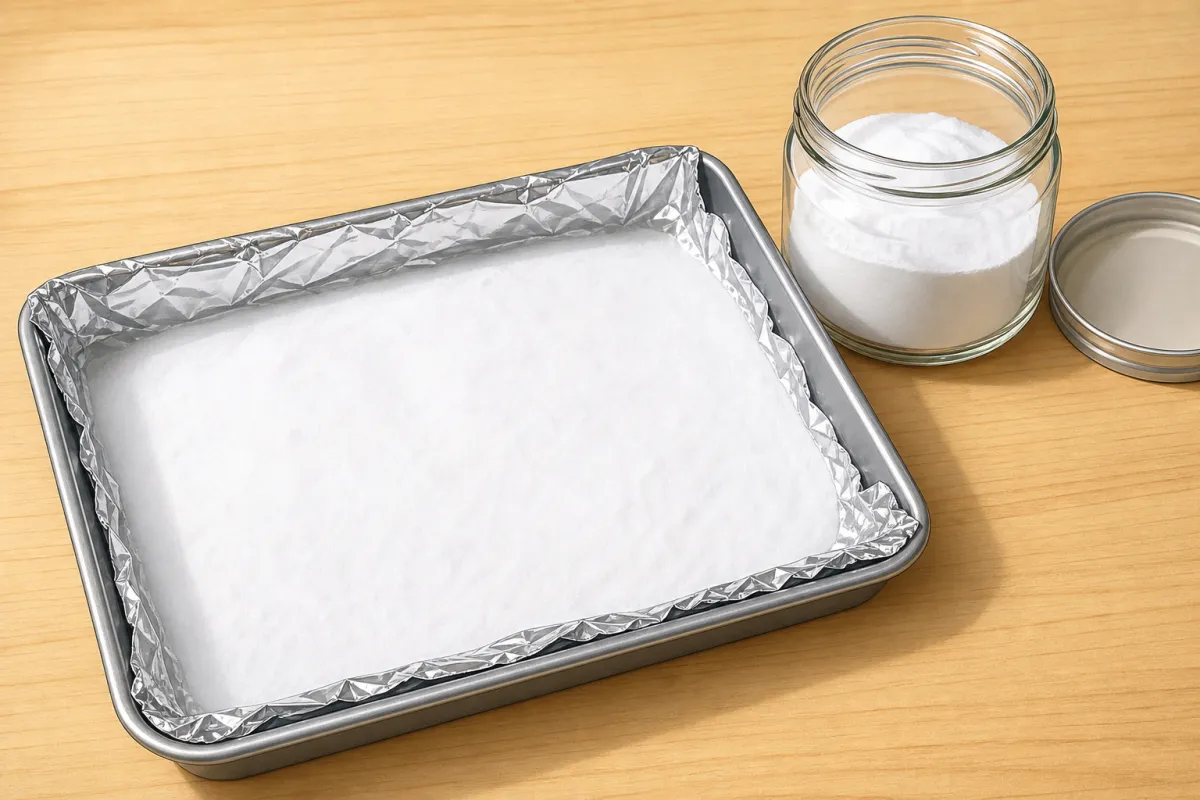
Should look like this 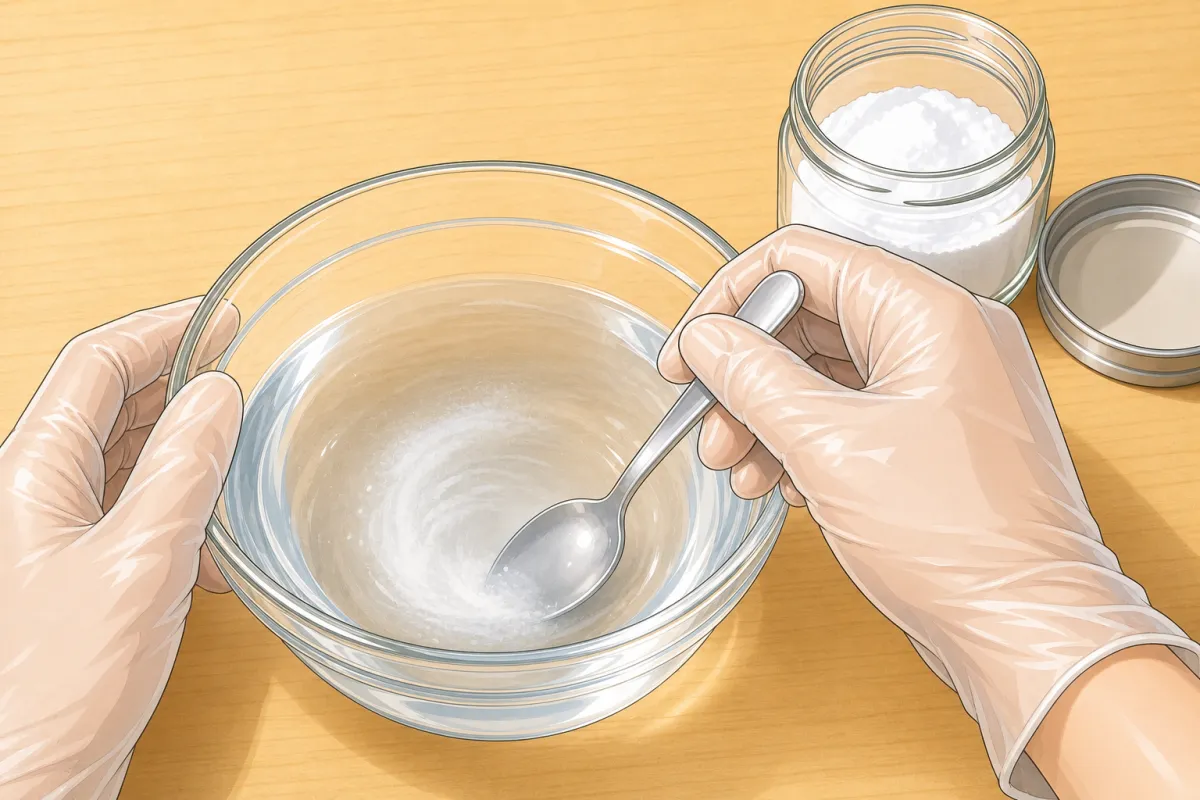
Gloves on: stir the baked soda into the warm water until it fully dissolves. 2Make the alkaline water
~3 min- Wearing gloves, stir until fully dissolved:
- baked baking soda 12 g (4 tsp)
- warm water 100 ml
- Then add:
- cold water 100 ml
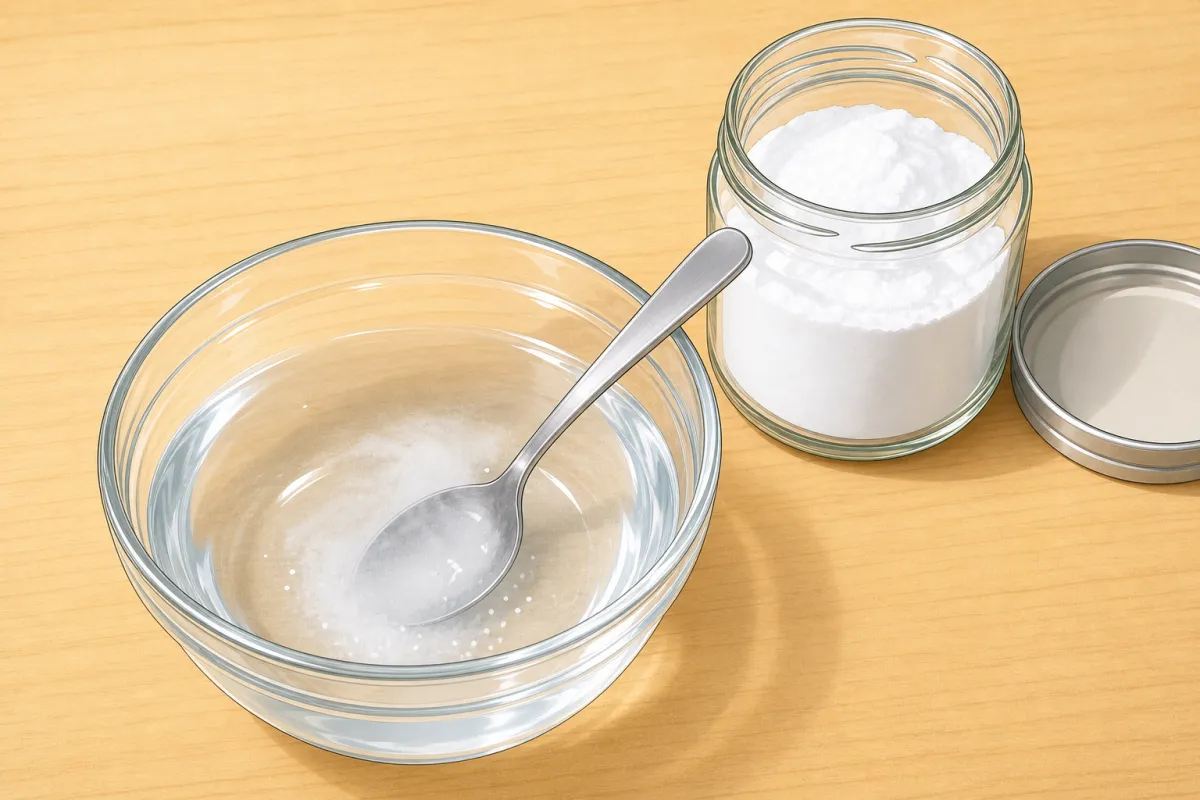
Should look like this - Wearing gloves, stir until fully dissolved:
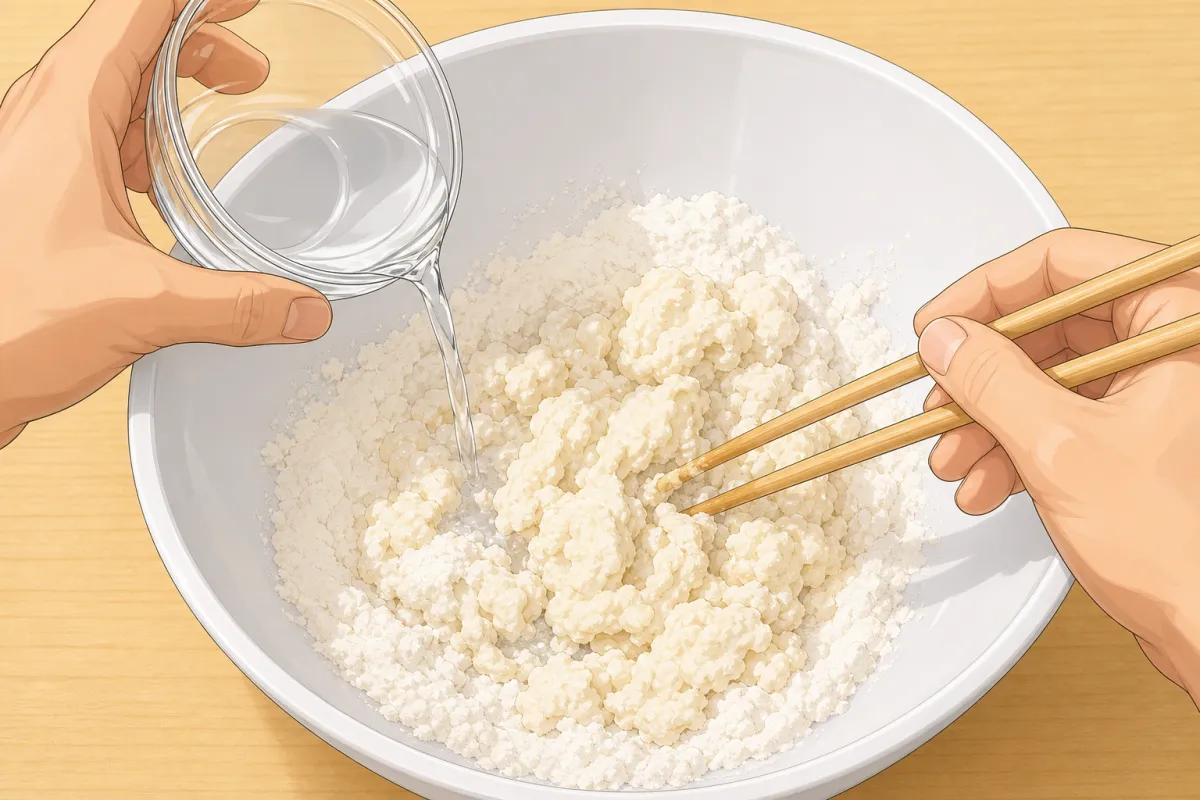
Pour in the alkaline water while stirring with chopsticks, then work it with your hands. 3Mix the dough
~2 min- Put in a large bowl:
- bread flour 200 g
- all-purpose flour 200 g
- Pour in the alkaline water while stirring with chopsticks, then work it together with your hands.
- It will look too dry and crumbly — that’s right; it comes together while kneading and resting.
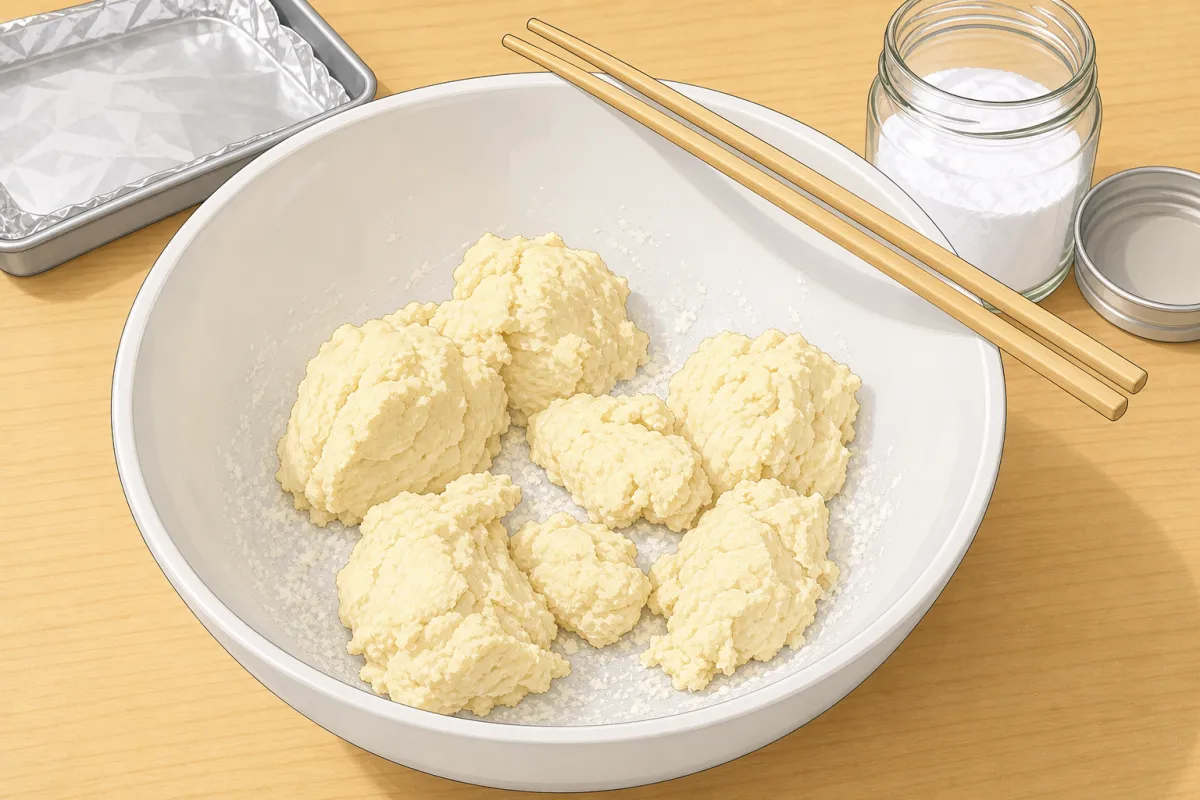
Should look like this - Put in a large bowl:
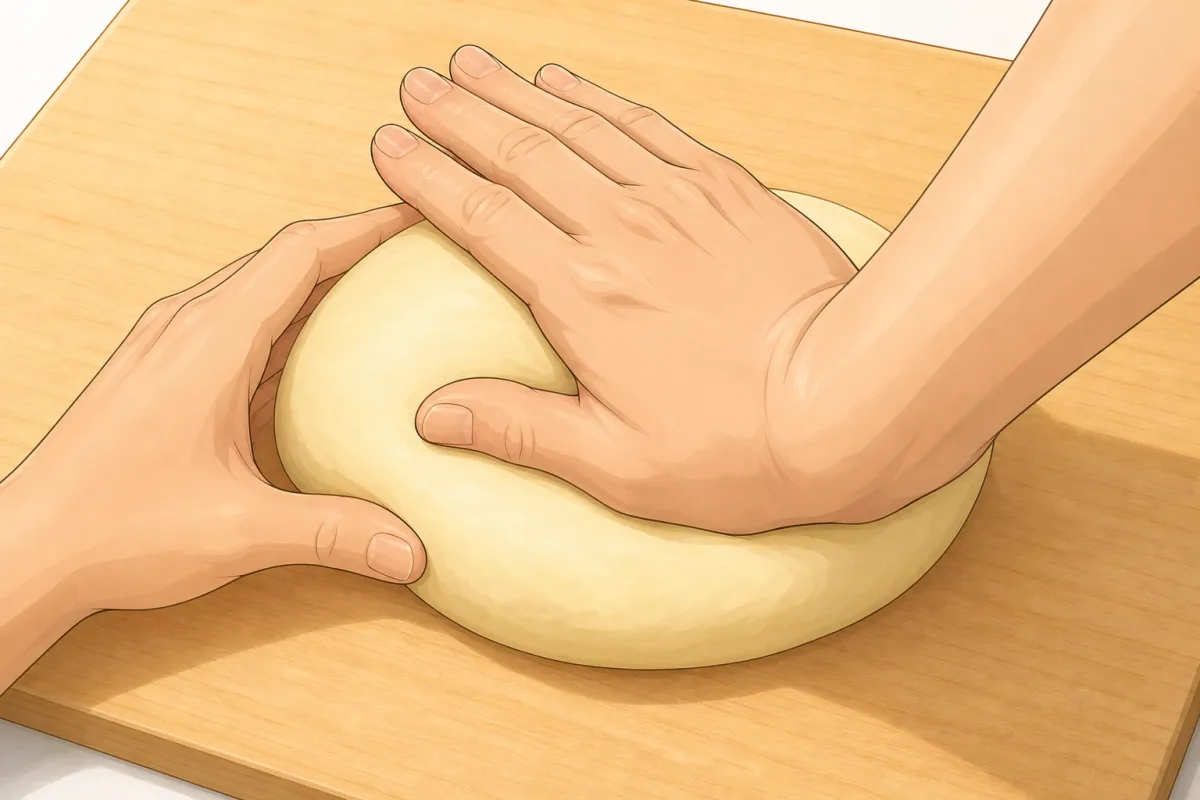
Knead hard with the heel of your hand for 5 minutes — it's a stiff dough. 4Knead, rest, knead
~1 h 30 min- Knead for 5 minutes, pressing hard with the heel of your hand — the dough is stiff.
- Wrap it and rest 20 minutes.
- Knead another 5 minutes until smooth, wrap again and rest 1 hour (fridge is fine).
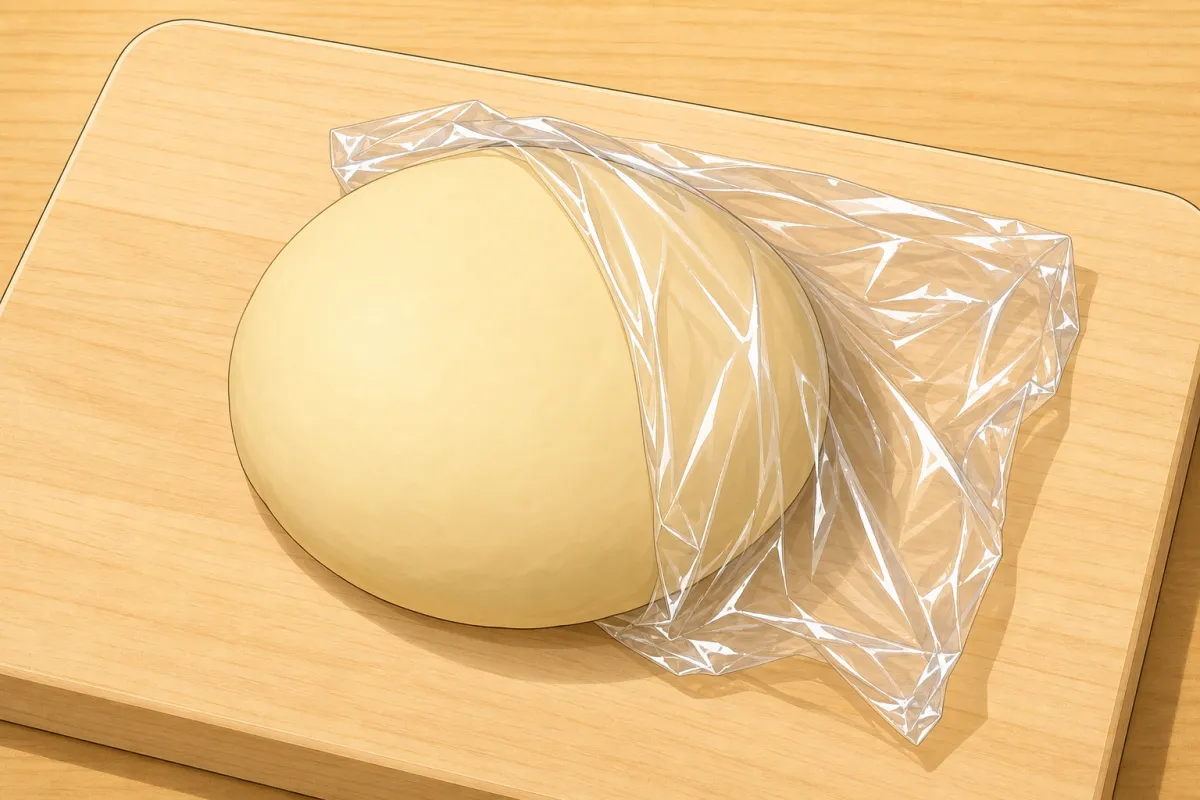
Should look like this 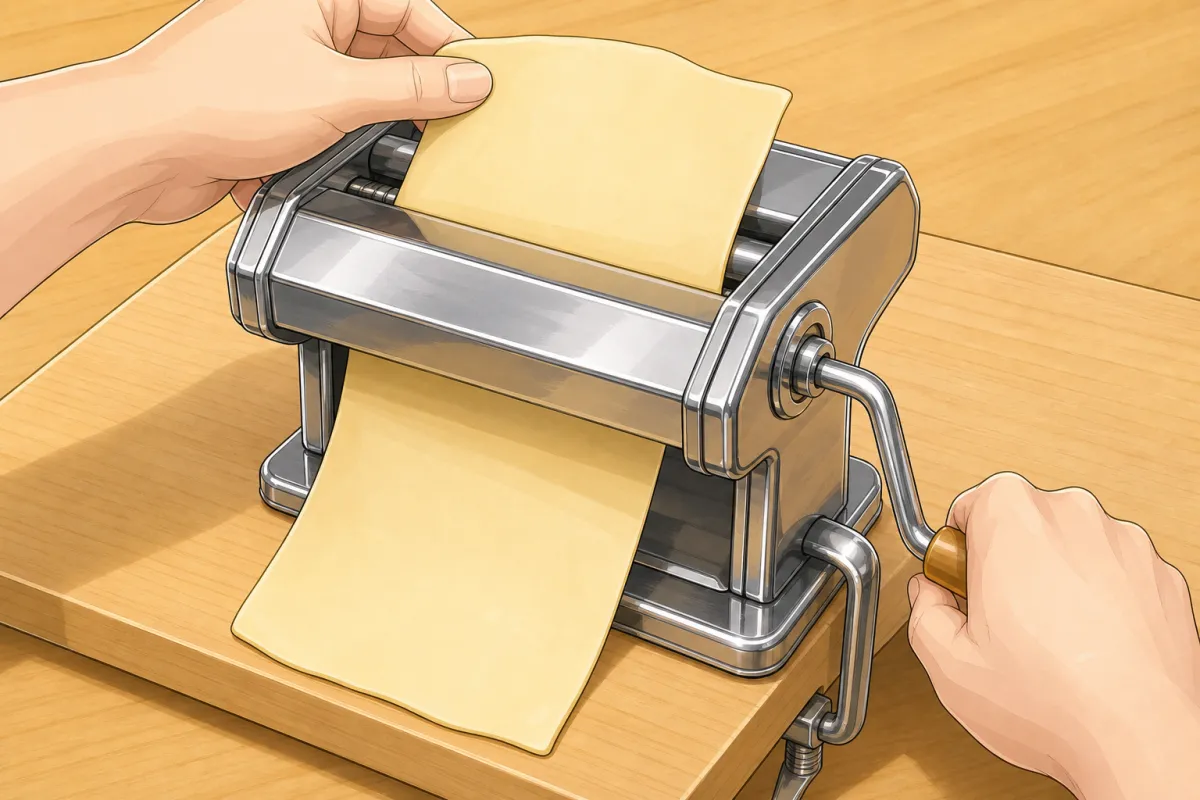
Run each piece through the widest setting, fold it, and repeat 3–4 times. 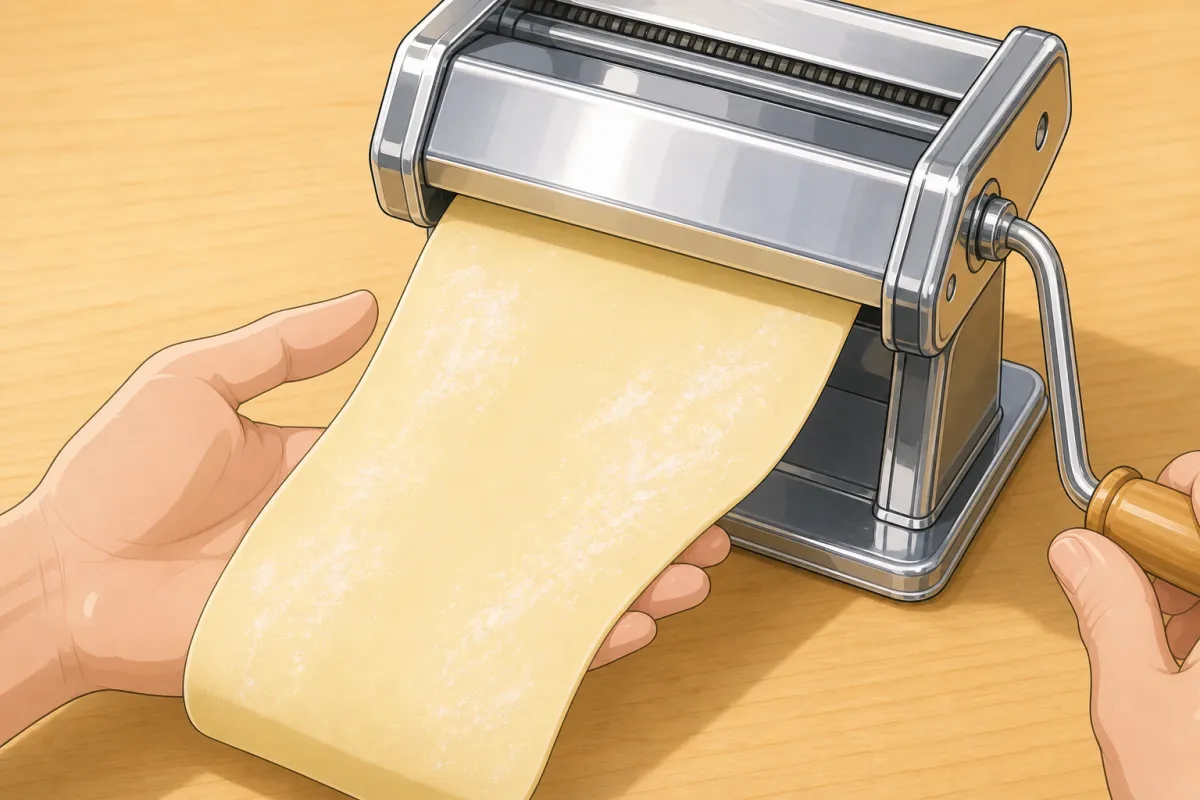
Then step down to the third-thickest setting, dusting with starch. 5Sheet it
~10 minFor this step
- Cornstarch or potato starch2–3 tbsp
- Cut the dough into 4 pieces and flatten each one with your palm.
- Run each through the pasta machine on the widest setting, fold in half and run it again — 3–4 times until it’s smooth.
- Then step down to the third-thickest setting (about 1.5 mm), dusting with starch so it doesn’t stick.
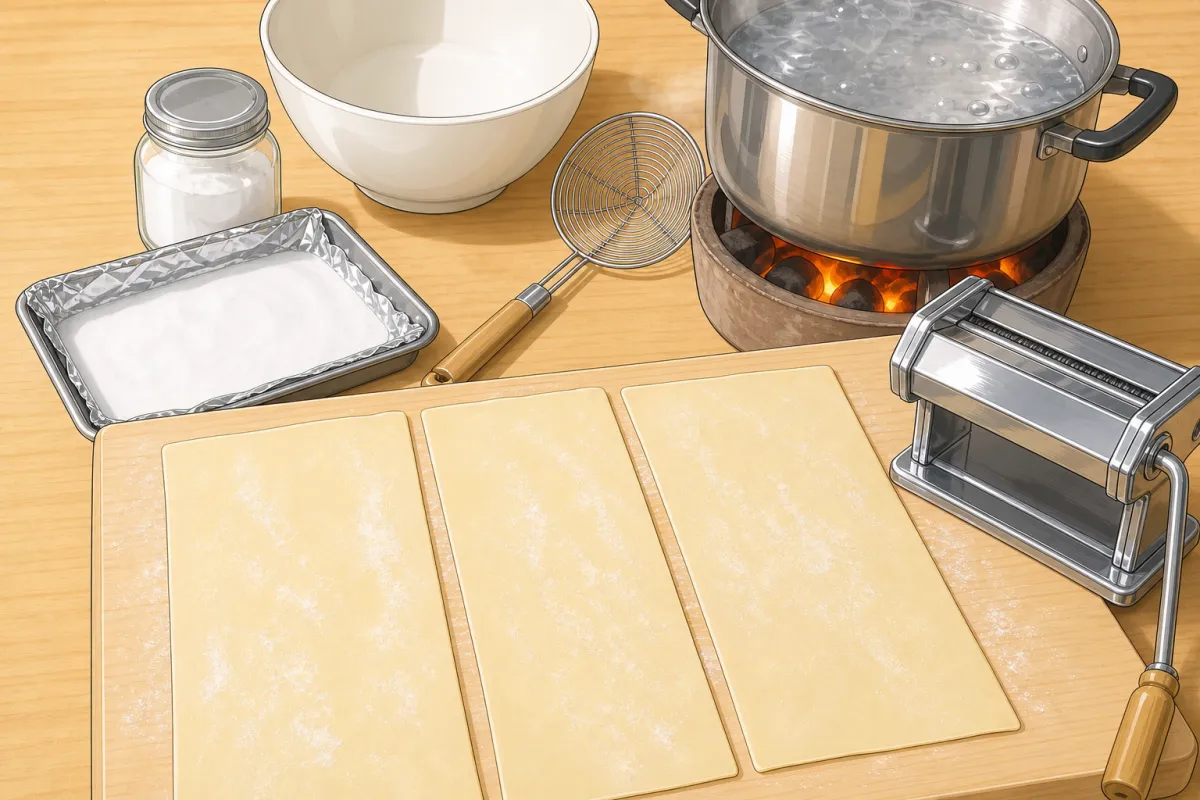
Should look like this 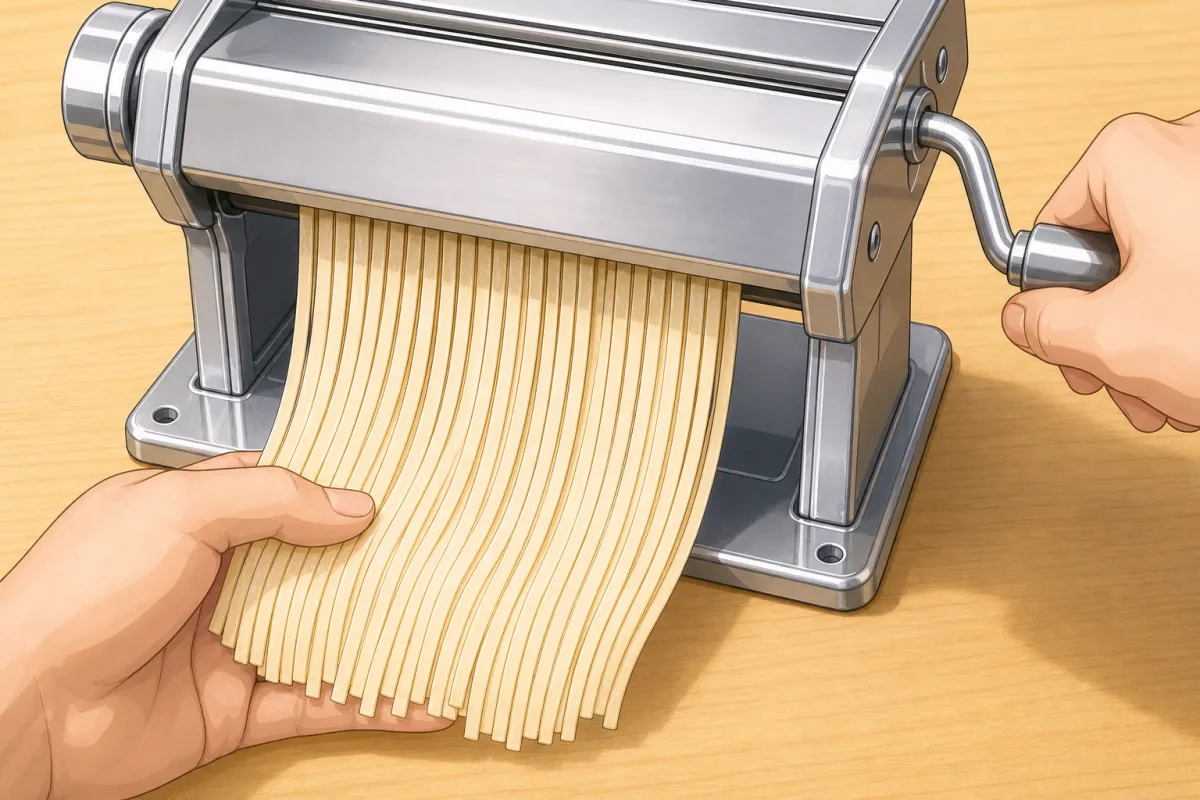
Run the sheets through the thin cutter, pulling the noodles out from underneath. 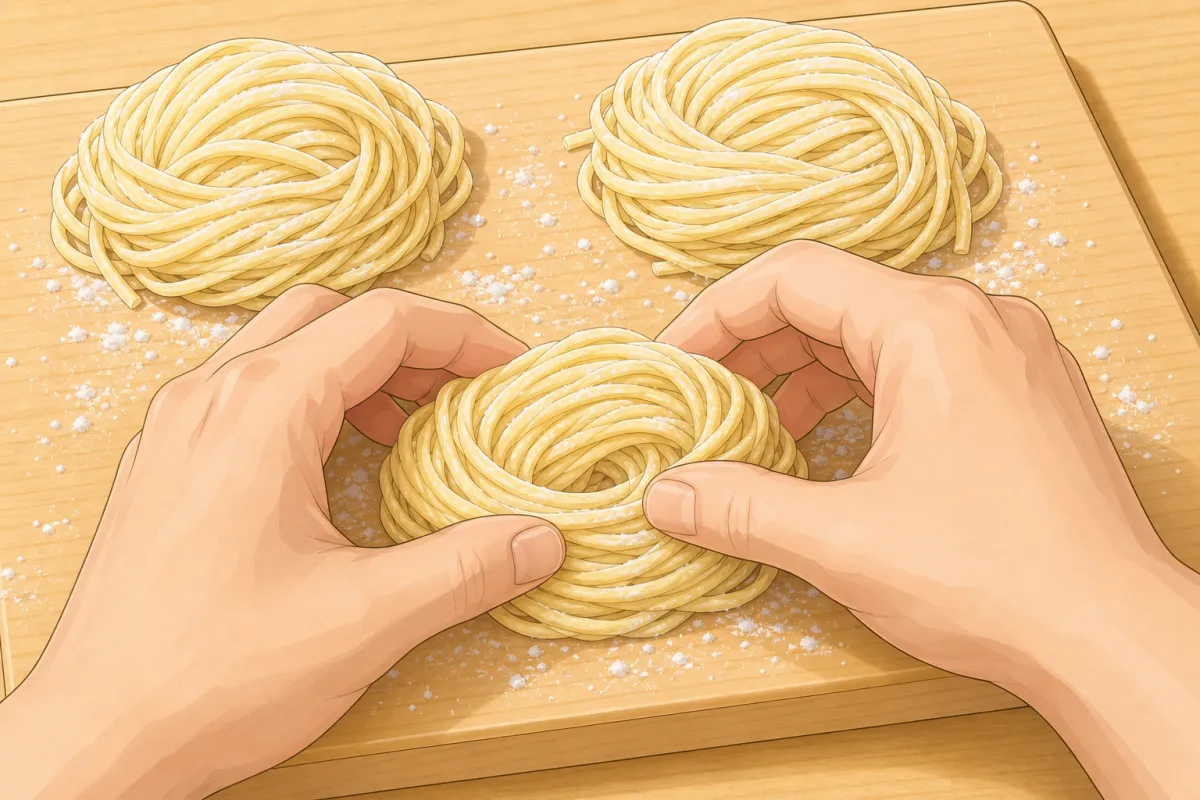
Toss with starch and shape into loose nests of about 130 g. 6Cut and portion
~10 min- Run the sheets through the thin cutter, pulling the noodles out from underneath rather than pushing them.
- Toss with a little starch and shape into loose nests of about 130 g.
- Cook now, keep in a bag in the fridge 2–3 days, or freeze the nests and cook them from frozen.
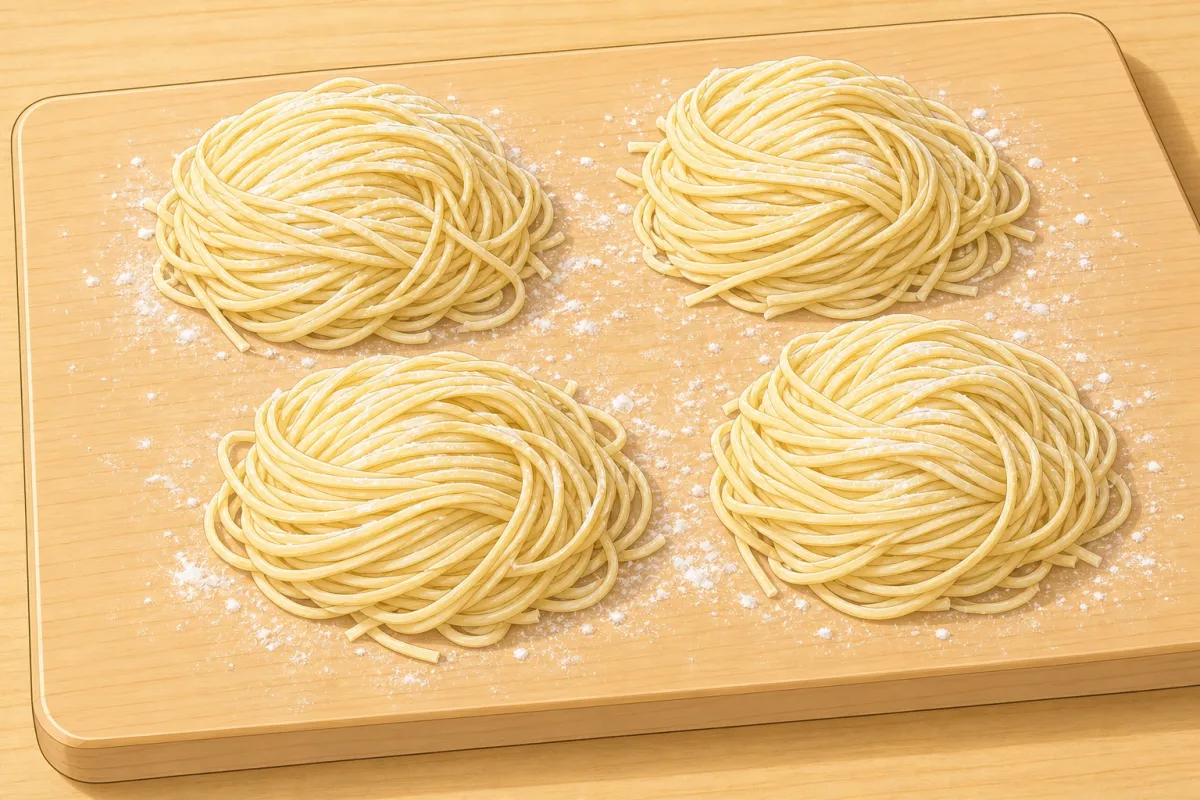
Should look like this 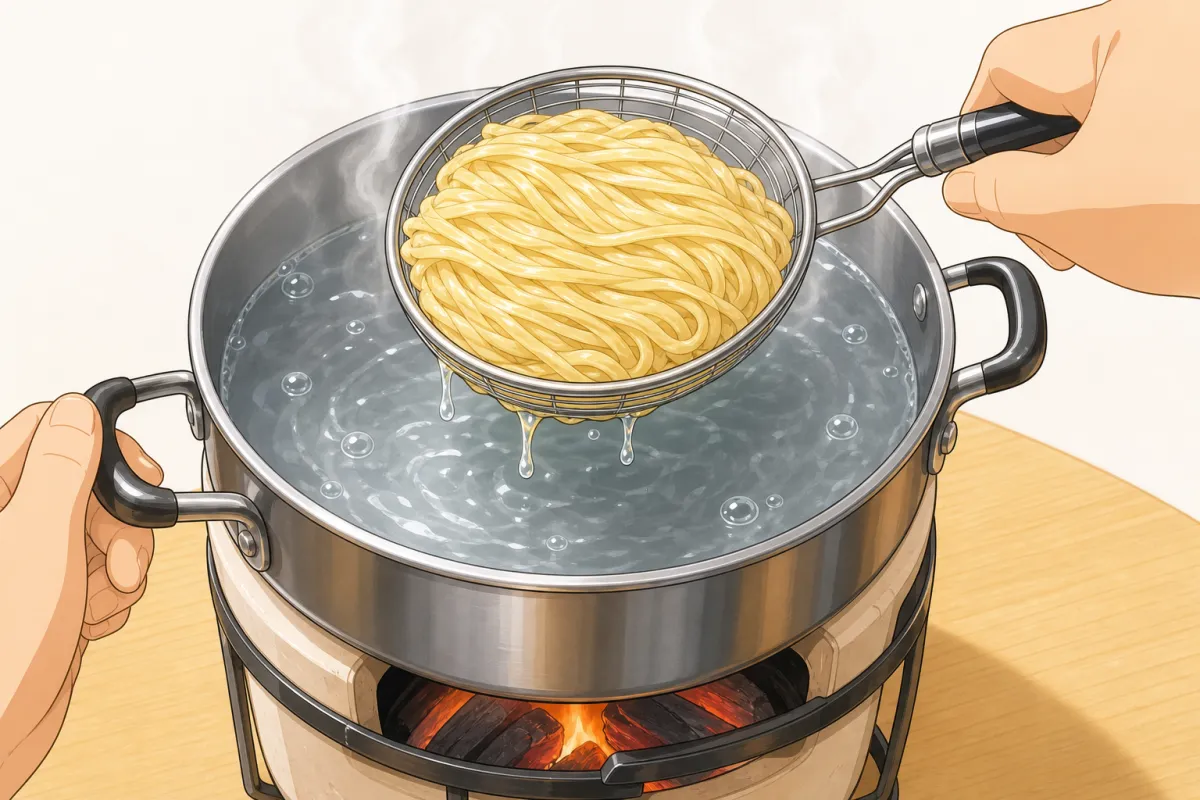
Boil 1½–2 minutes, then lift out and shake off the water well. 7Cook
high2 min- Boil in plenty of unsalted water for 1½–2 minutes — taste one: springy and cooked through.
- Lift out with a strainer, shake off the water well, and straight into the bowl.
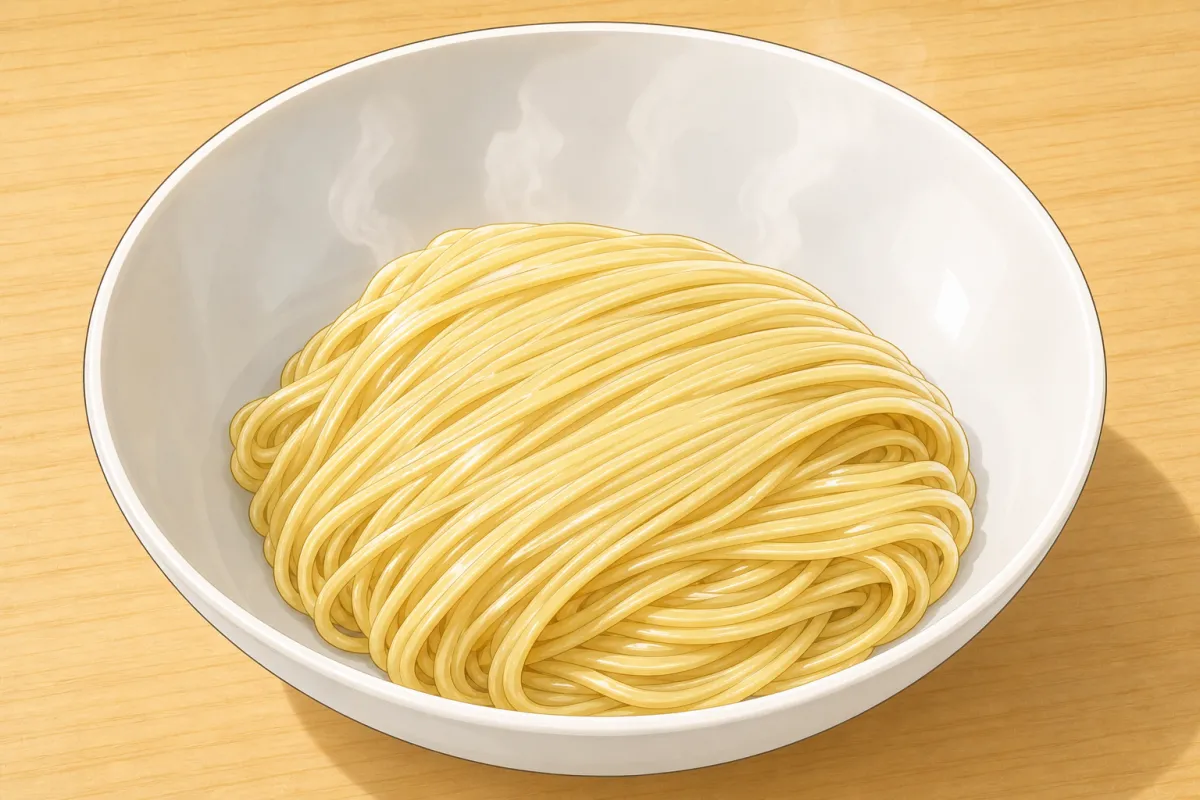
Should look like this
Based on: Brains for brunch — homemade ramen (Lucky Peach noodles) · Biting at the Bits — baked baking soda