Nigiri: shaping by hand
Nigiri is pressed, not packed: the outside holds, the inside stays loose enough to fall apart in your mouth. The pictures are close-ups of which finger does what, for a right-handed cook — the left hand holds the fish and cups the piece, the right hand shapes the rice and does the pressing. Start with sushi rice at about body temperature. Practise a few rice-only pieces first.
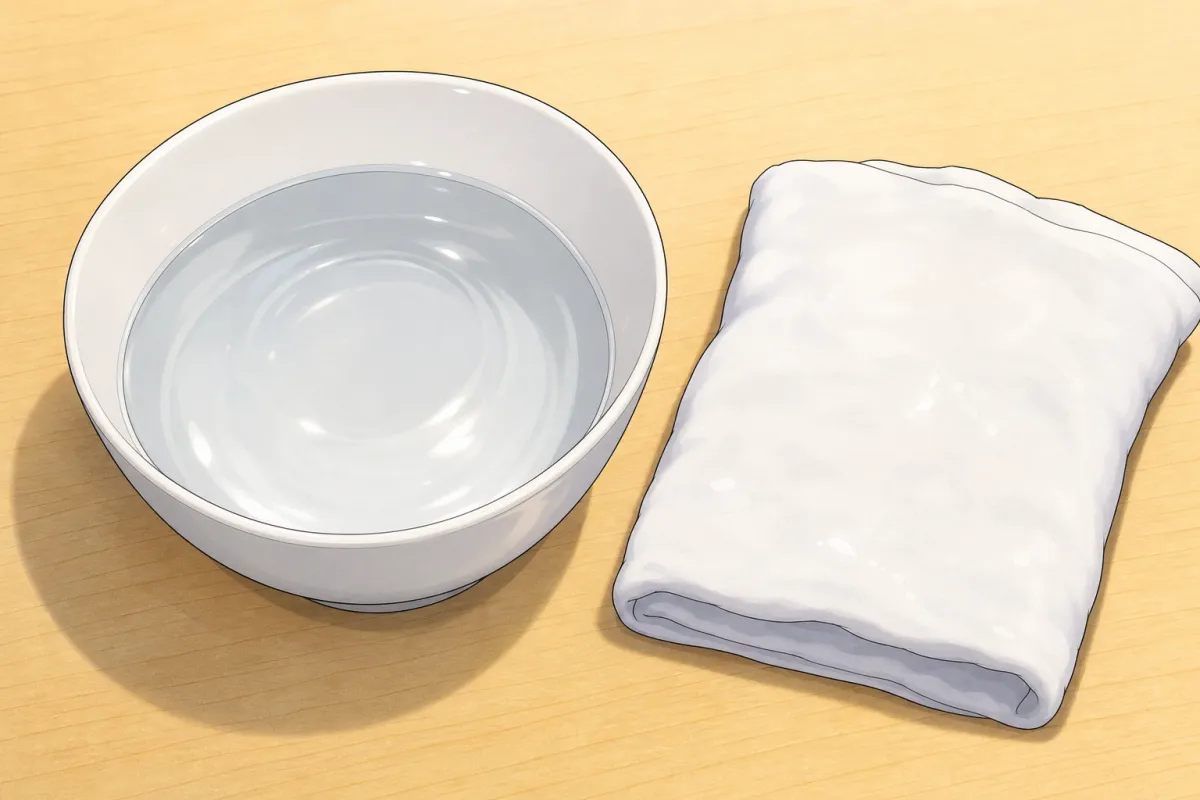
Mise en place — set out in the order it goes in
 Sushi ricebody temperature, under a damp towelStep 3
 Fishsliced, 16 piecesStep 4
 Wasabia small moundStep 4
 Tezuwater · rice vinegarStep 1
 To servesoy · gingerStep 10
Prep order — what happens when, and what overlaps
minutes
0510152025303540
Mix tezu 2 min
Slice the fish 10 min
Shape 16 pieces 24 min
Plate, serve 3 min
Bowl / counterBoard
Slice the fish in small batches and keep the rest of the block covered in the fridge — tuna darkens in the air. Each piece takes well under a minute once your hands know it.
Step by step
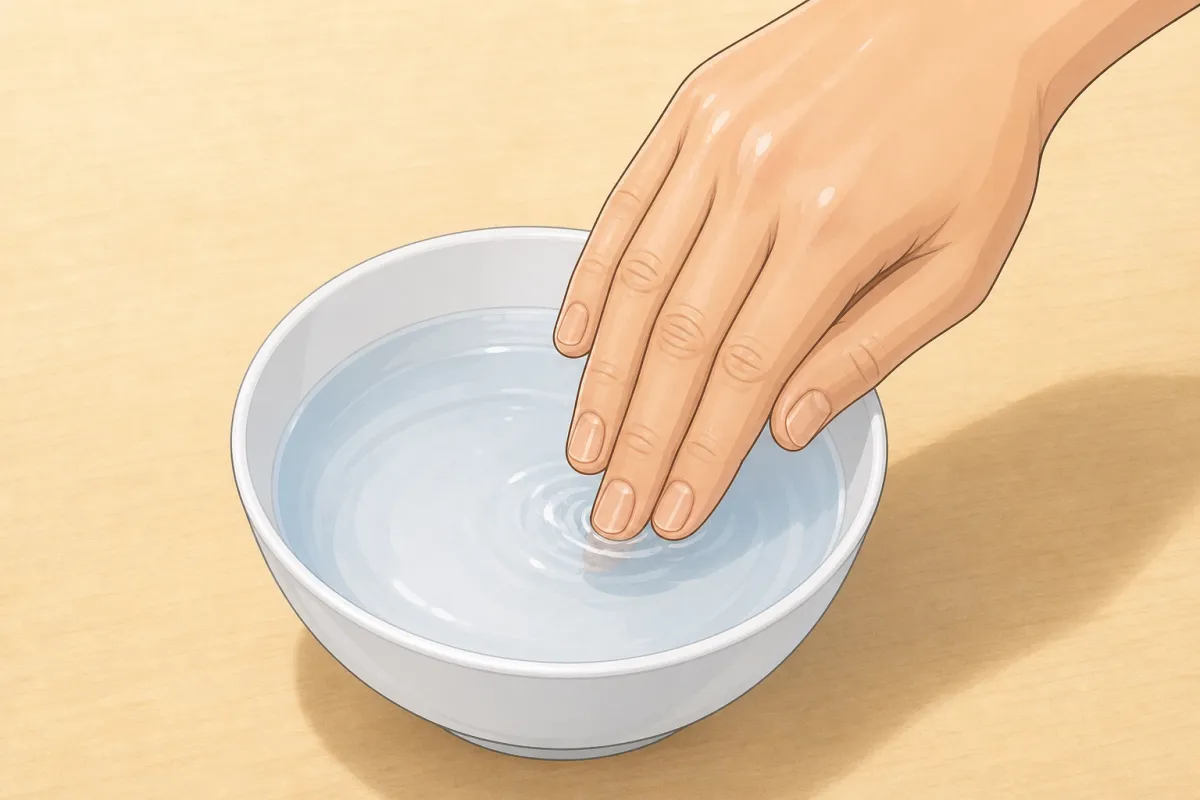
Dip only the fingertips of your right hand in the tezu. 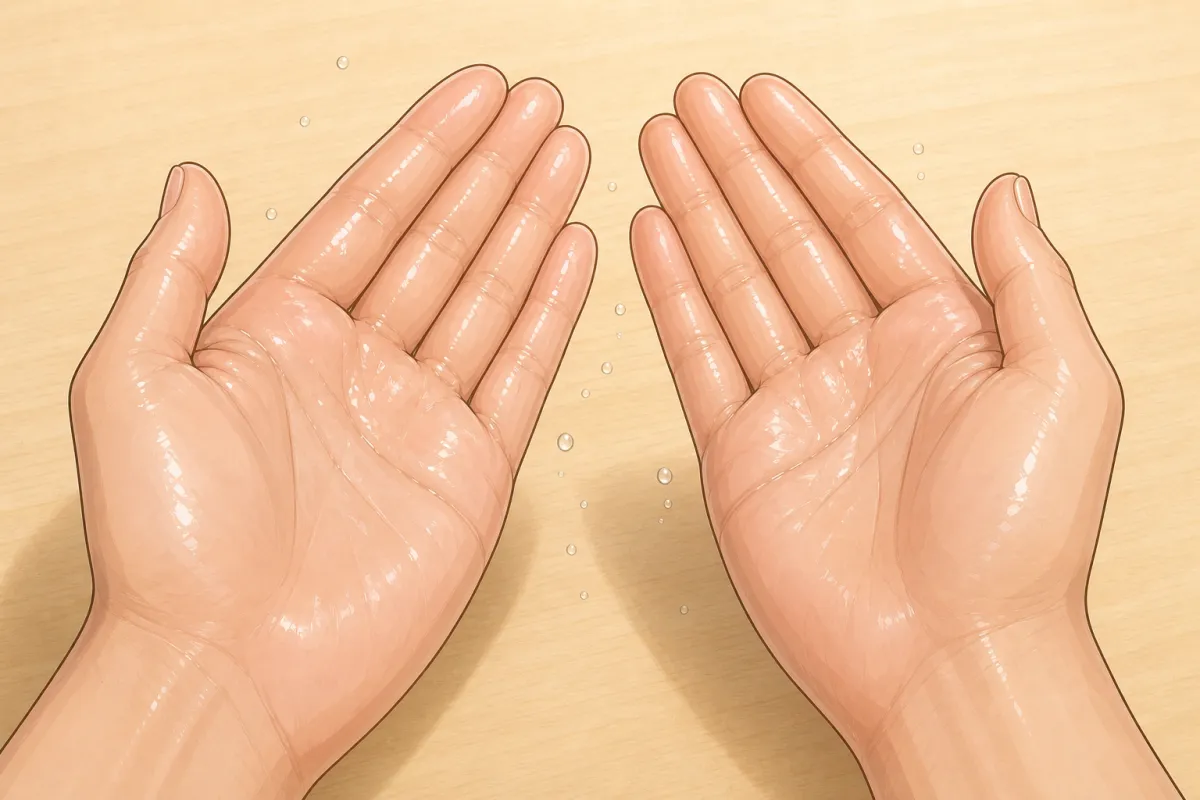
Rub the water over both palms — damp, not dripping. 1Tezu: wet your fingertips
1 minFor this step
- Water (tezu)250 ml
- Rice vinegar (tezu)40 ml
- Mix the water and rice vinegar in a small bowl.
- Dip just your fingertips and rub the water over both palms. Damp, not dripping: too wet and the rice slides, too dry and it sticks. Re-wet before every piece.
Should look like this 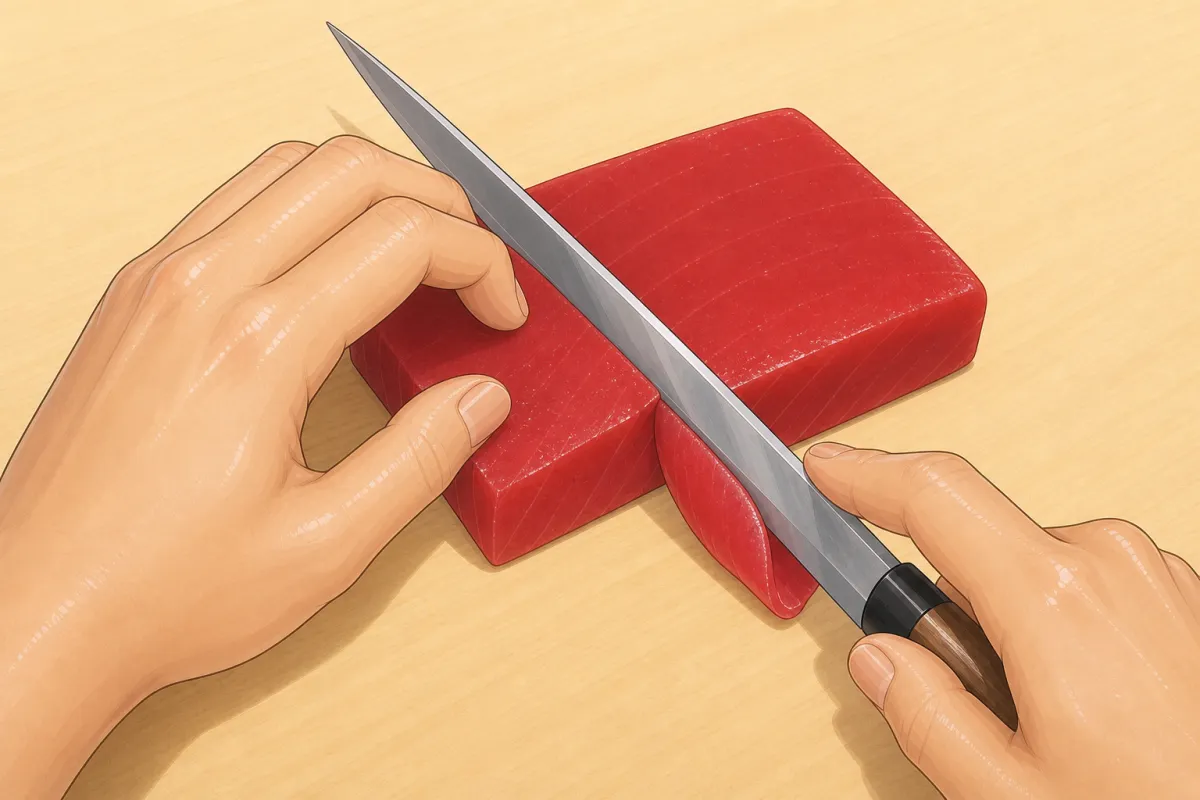
Tilt the knife 30–45°, heel on the far edge, one long pull towards you. 2Slice the fish
~10 minFor this step
- Sashimi-grade tuna or salmon, a block (saku)~200 g (16 slices)
- Find the grain (the faint white lines) and cut across it.
- Tilt the knife 30–45°, set the heel on the far edge and draw it towards you in one long pull — don't saw.
- Aim for slices about 6–7 cm long, 2.5–3 cm wide and 3–5 mm thick, about 12–14 g each.
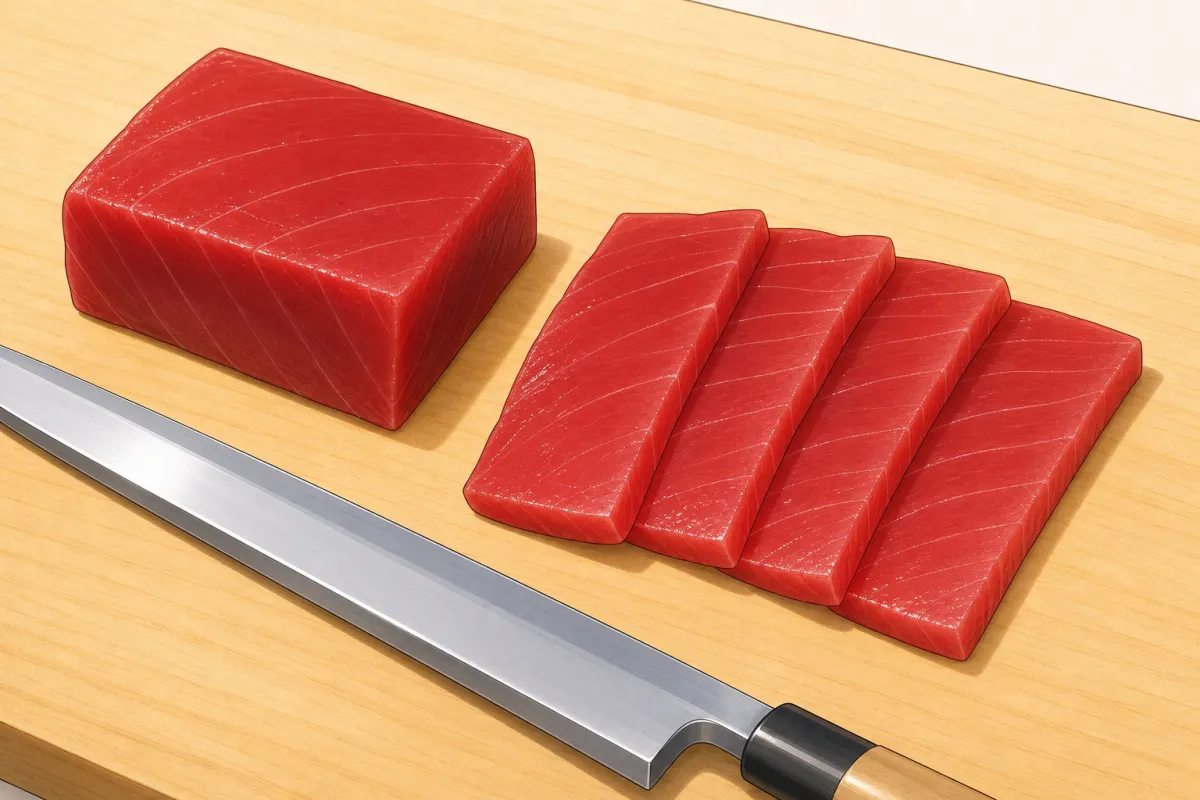
Should look like this 
Scoop 15–20 g of rice into your right hand. 
Close your fingers round it and roll it into a loose oblong. 3Right hand: a loose oblong of rice
10 sFor this step
- Sushi rice~300 g (18–20 g each)
- Take 15–20 g of rice in your right hand.
- Close your fingers round it and roll it once or twice into an oblong about 5 cm long.
- Hold it like an egg — no squeezing yet.
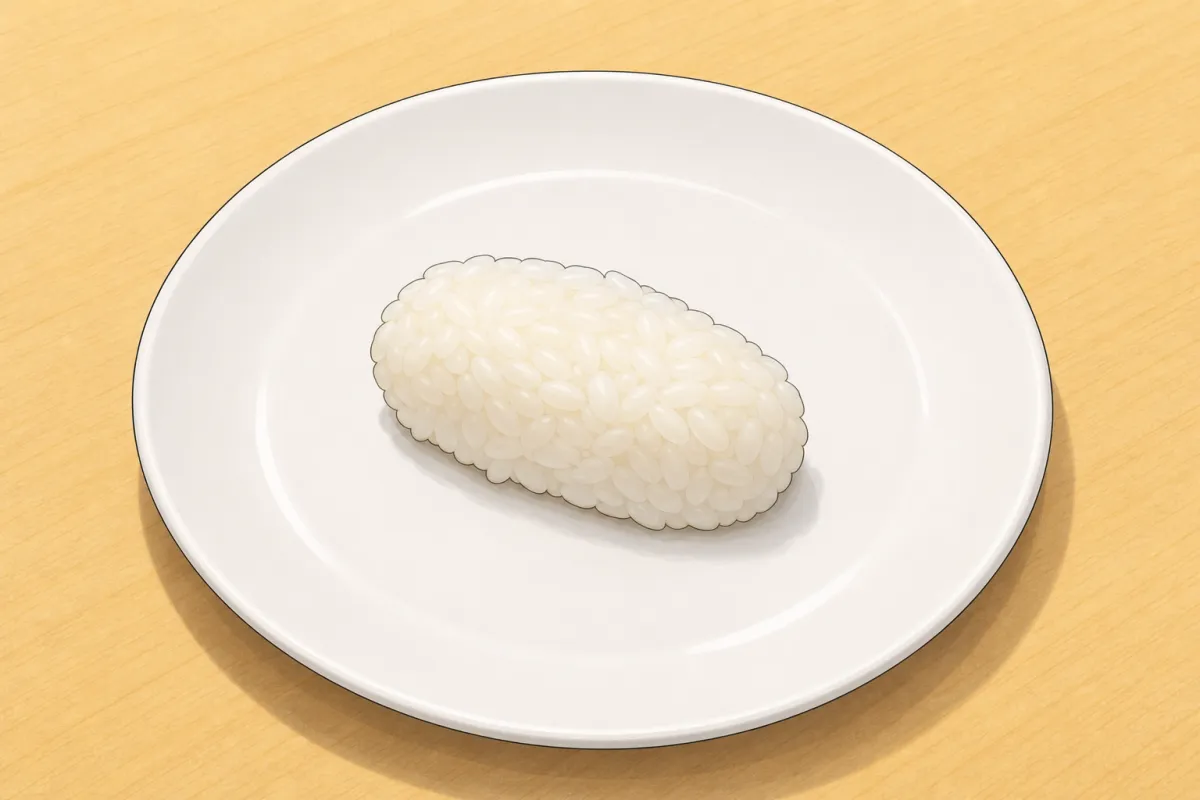
Should look like this 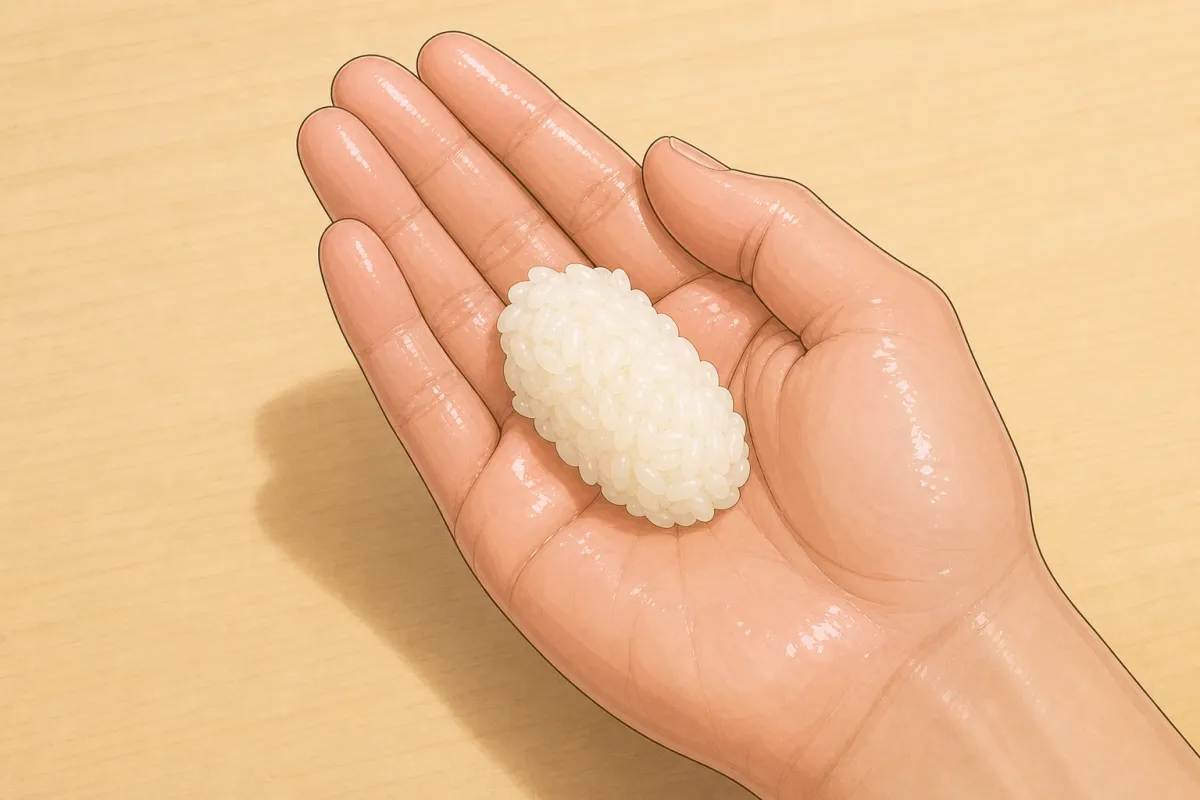
Fish across the left fingers at the middle joints, thumb at the base of the index finger. 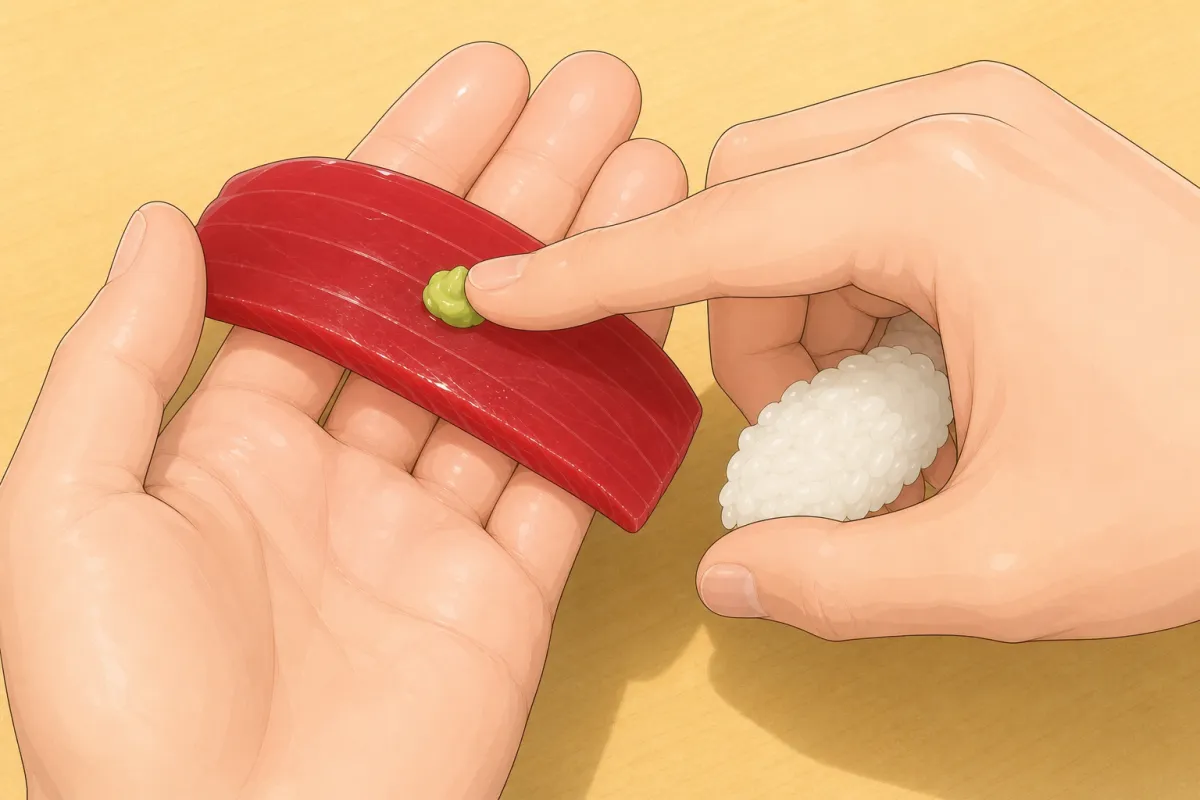
Right index finger: a pea of wasabi in the middle of the fish. 4Left hand: the fish, then wasabi
5 sFor this step
- Wasabia pea-sized dab per piece
- Lay a slice of fish across the fingers of your left hand, around the middle joints, with your left thumb resting at the base of the index finger.
- With your right index finger, dab a pea of wasabi in the middle of the fish.
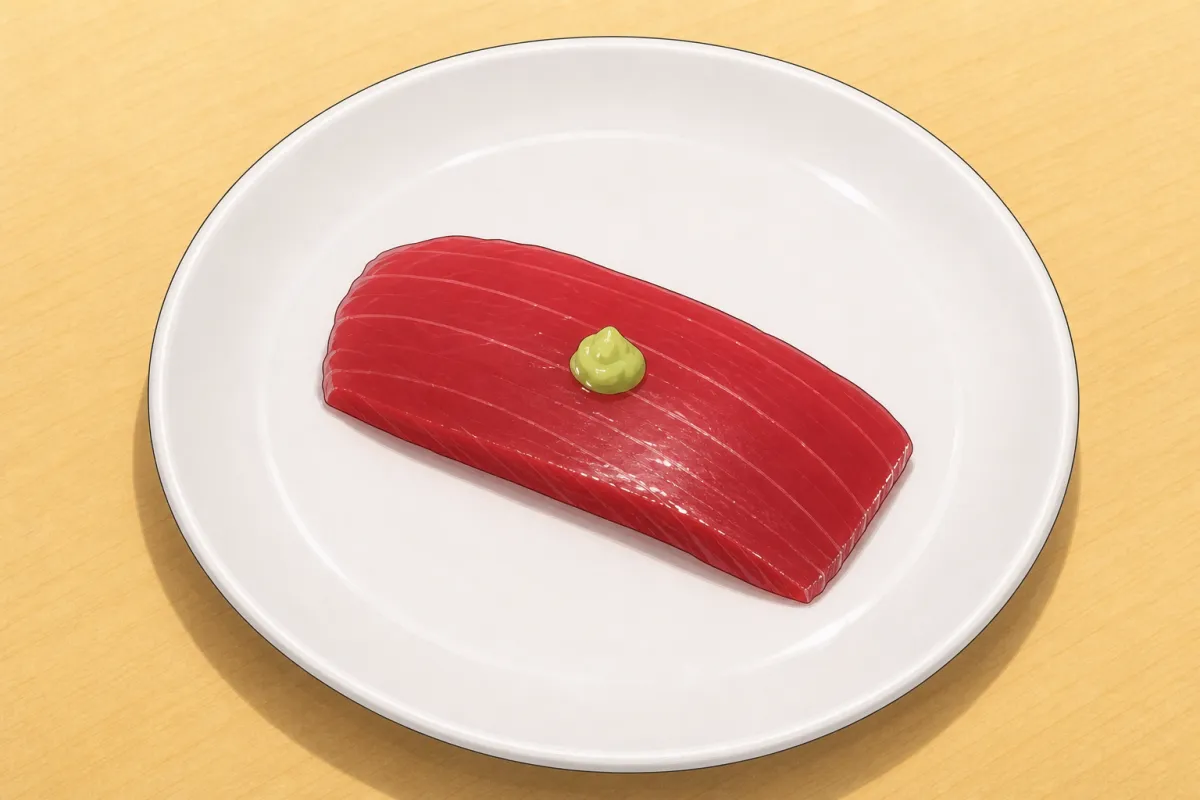
Should look like this 
Set the rice on the fish; left thumb presses a small dimple in its middle. 
Right thumb and index finger: squeeze the long sides lightly. 5Rice on, dimple, sides
5 s- Set the rice on the fish.
- Left thumb: press a small dimple into the middle of the rice — it keeps the inside loose.
- Right thumb and index finger: squeeze the long sides lightly.
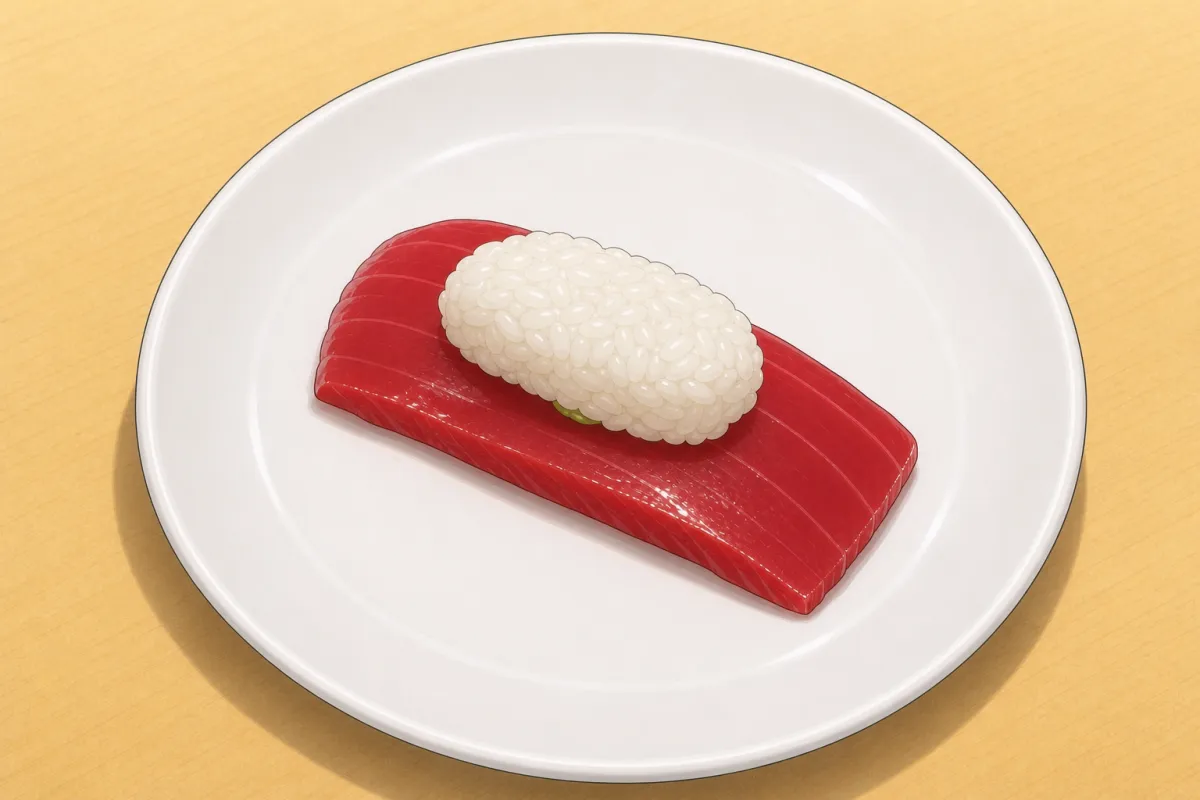
Should look like this 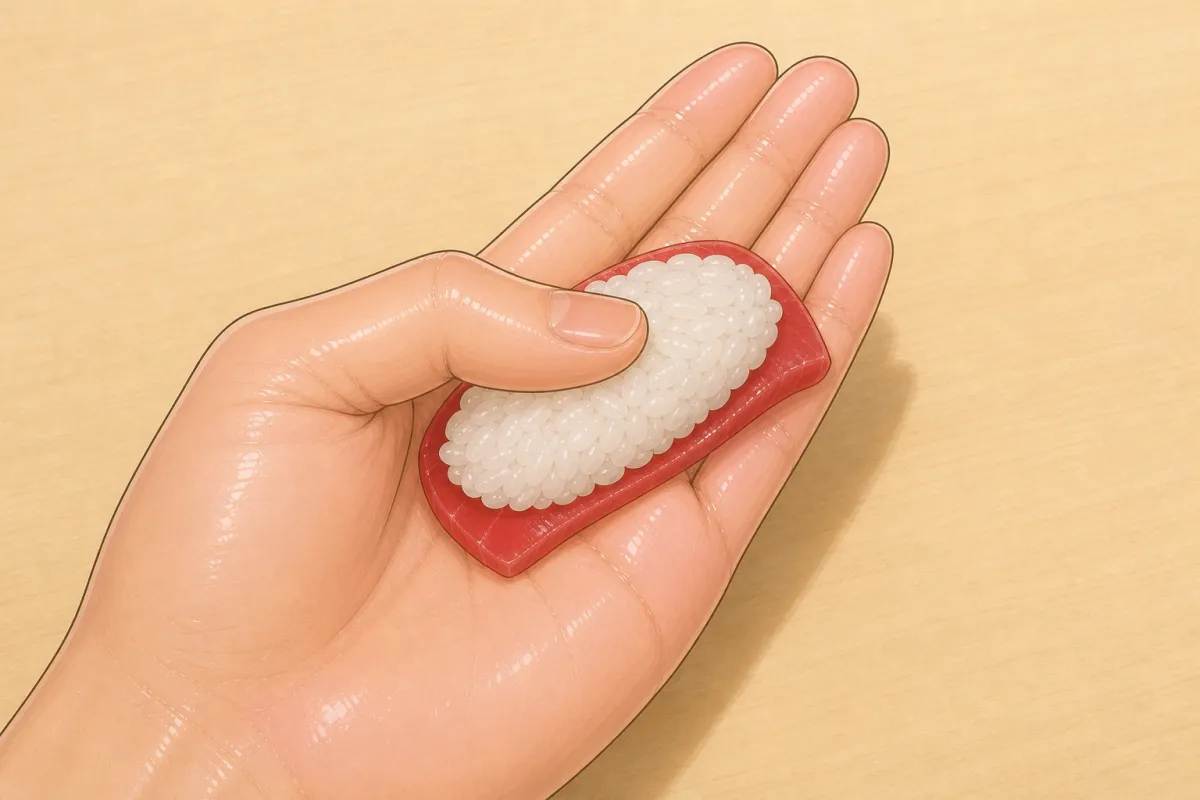
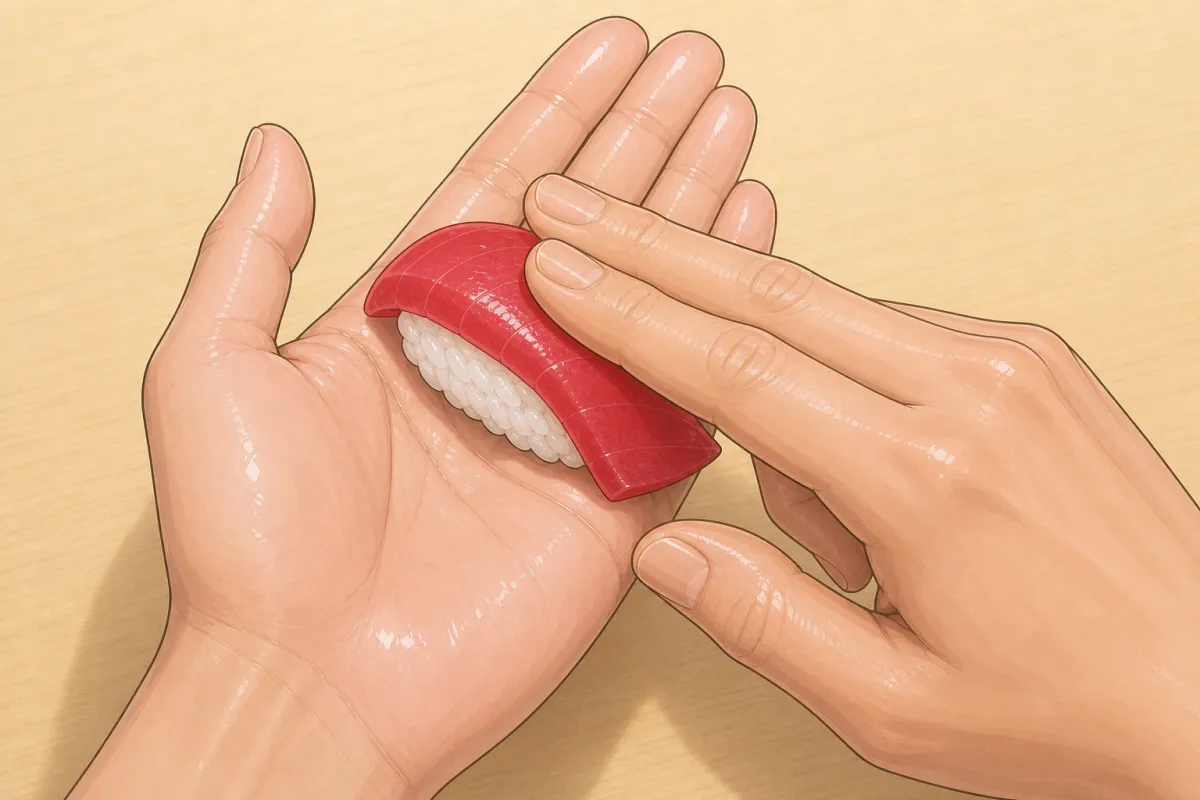
Right index and middle fingers lie along the rice and press down; the left fingers curl. 6Press the top
3 s- Lay your right index and middle fingers along the rice and press gently.
- At the same time curl the left fingers a little so they shape the sides.
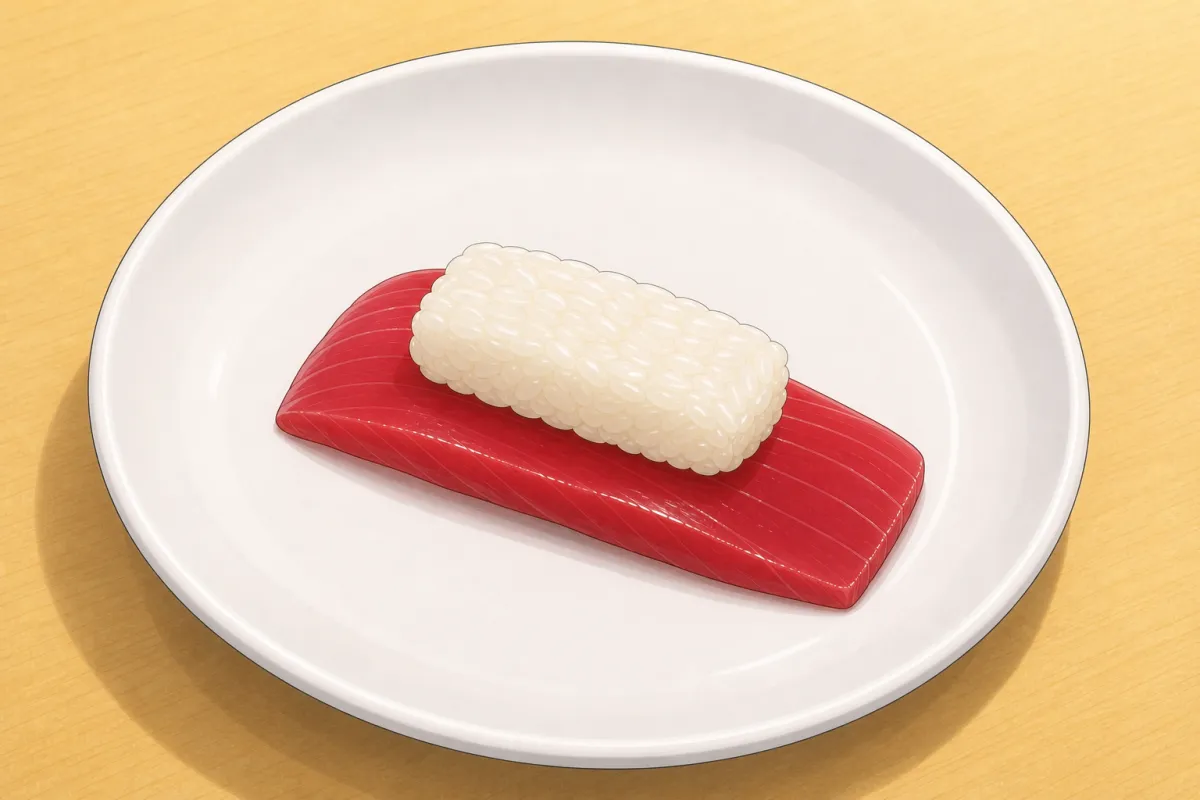
Should look like this 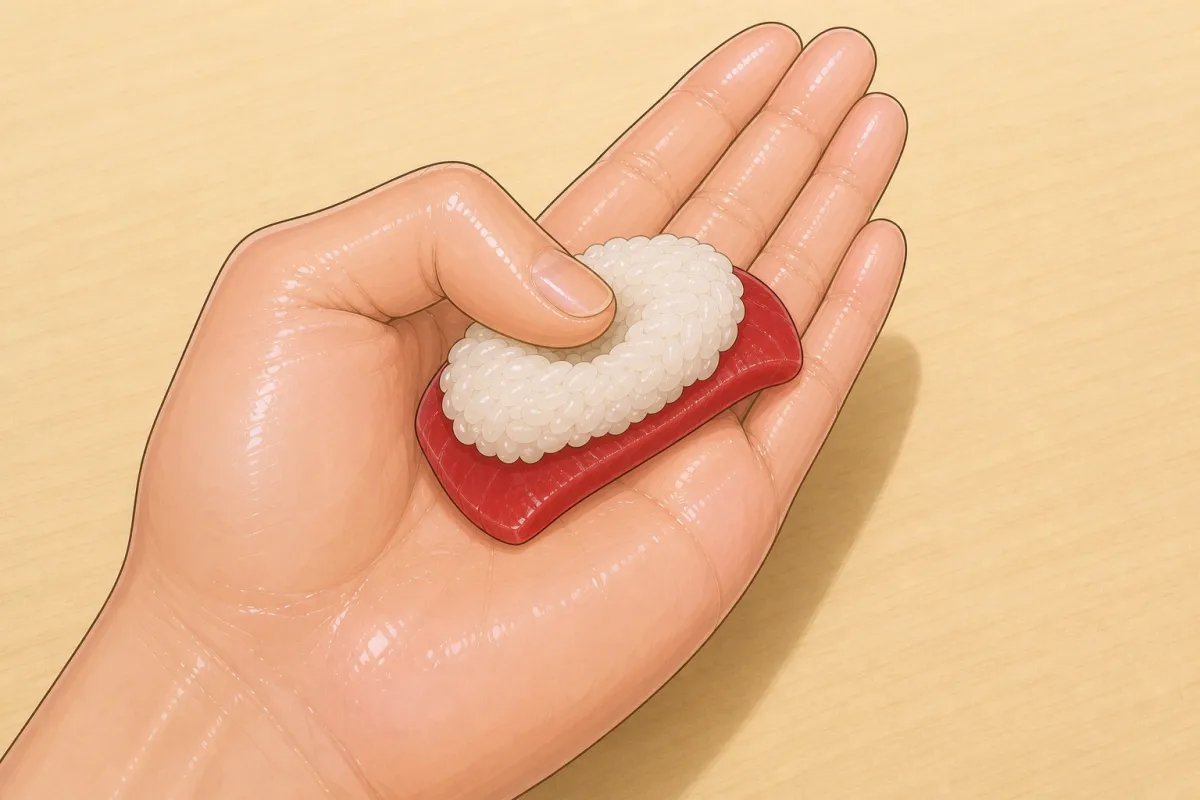
Open the left fingers and roll the piece towards the fingertips — fish ends up on top. 
Catch it and set it back in the left palm. 7Turn it over
3 s- Open your left fingers and roll the piece towards your fingertips so the fish ends up on top, catching it with your right fingers and setting it back in the left palm.
- (This turn is the kote-gaeshi, the small hand turn.)
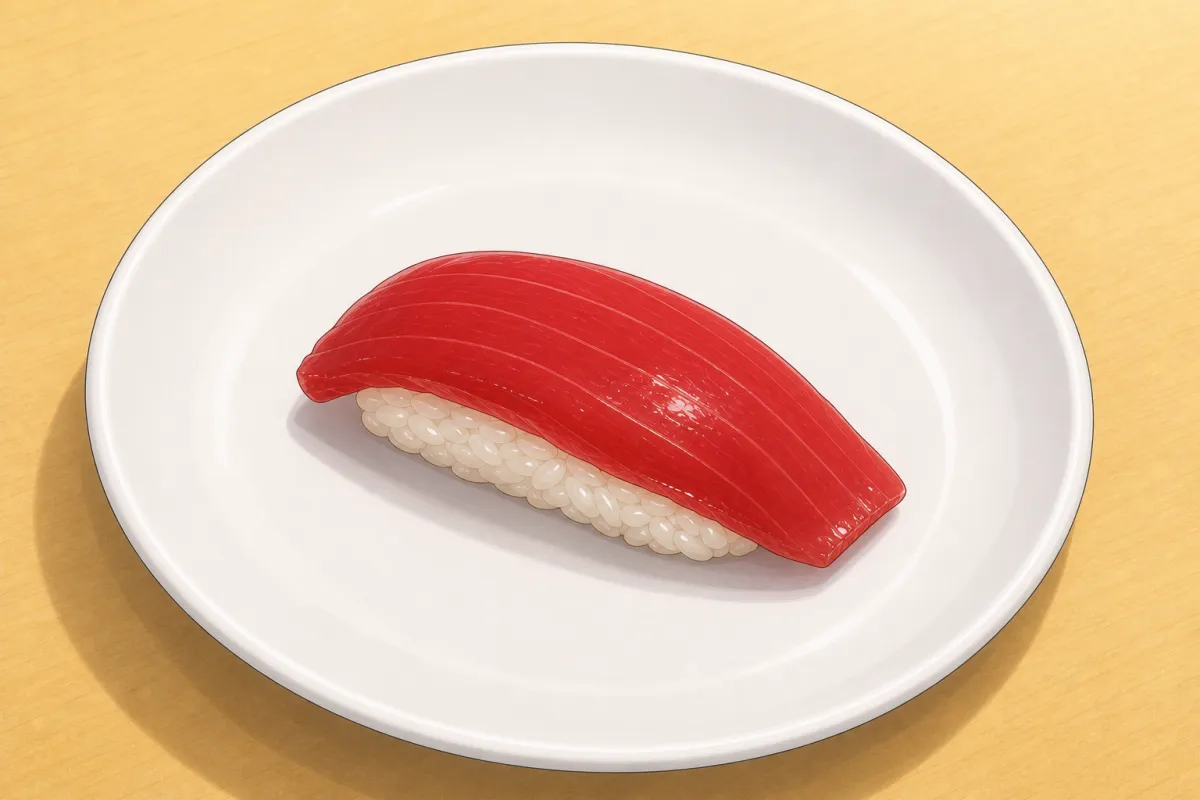
Should look like this 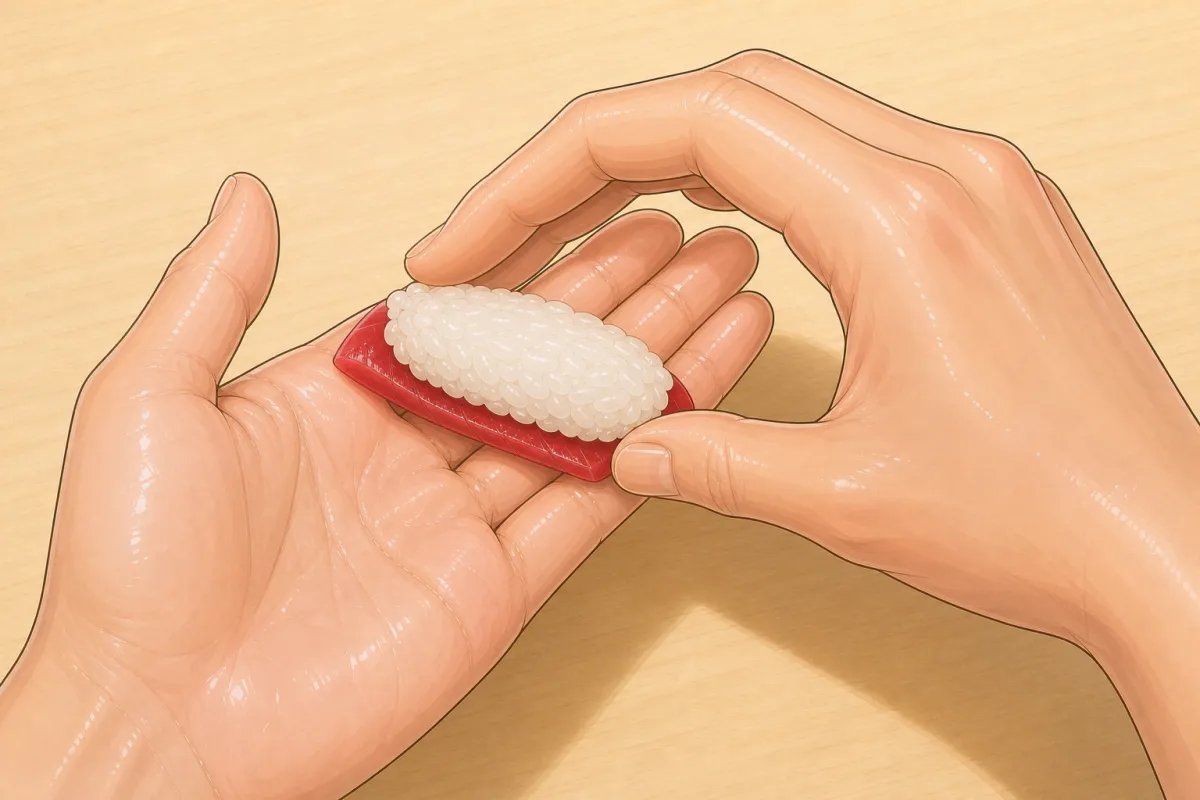
① Right thumb and index pinch the long sides. 
② Right index and middle press the fish down; ③ left thumb squares the front end. 8Pinch and press
5 s- ① Right thumb and index: pinch the long sides to tighten them.
- ② Right index and middle: press the fish down onto the rice.
- ③ Left thumb: nudge the front end square.
- The left palm stays cupped underneath the whole time.
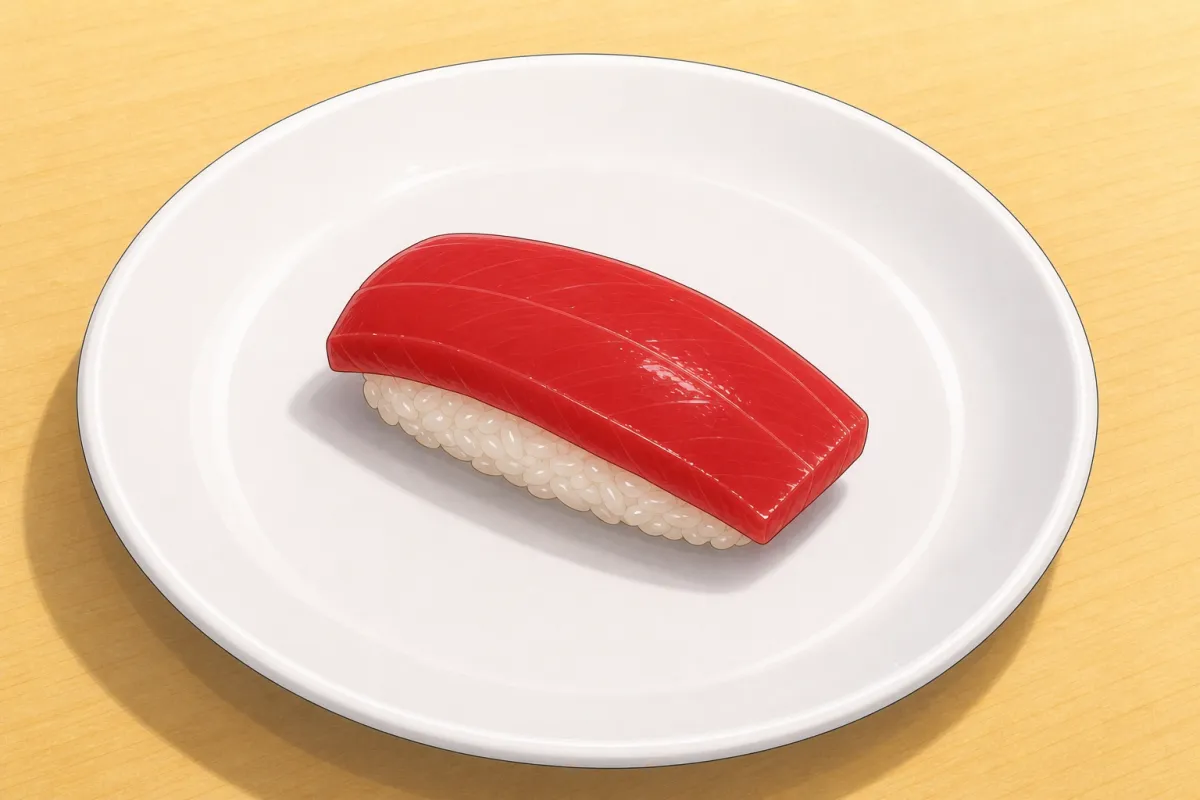
Should look like this 
Turn it end for end in your palm, then repeat ① ② ③. 
Last press: draw the fish slightly towards you so it lies smooth. 9Turn end for end, repeat
10 s- Turn the piece 180° in your palm and repeat ① ② ③.
- Two or three rounds in all. On the last press, draw the fish slightly towards you with your right index finger so it lies smooth.
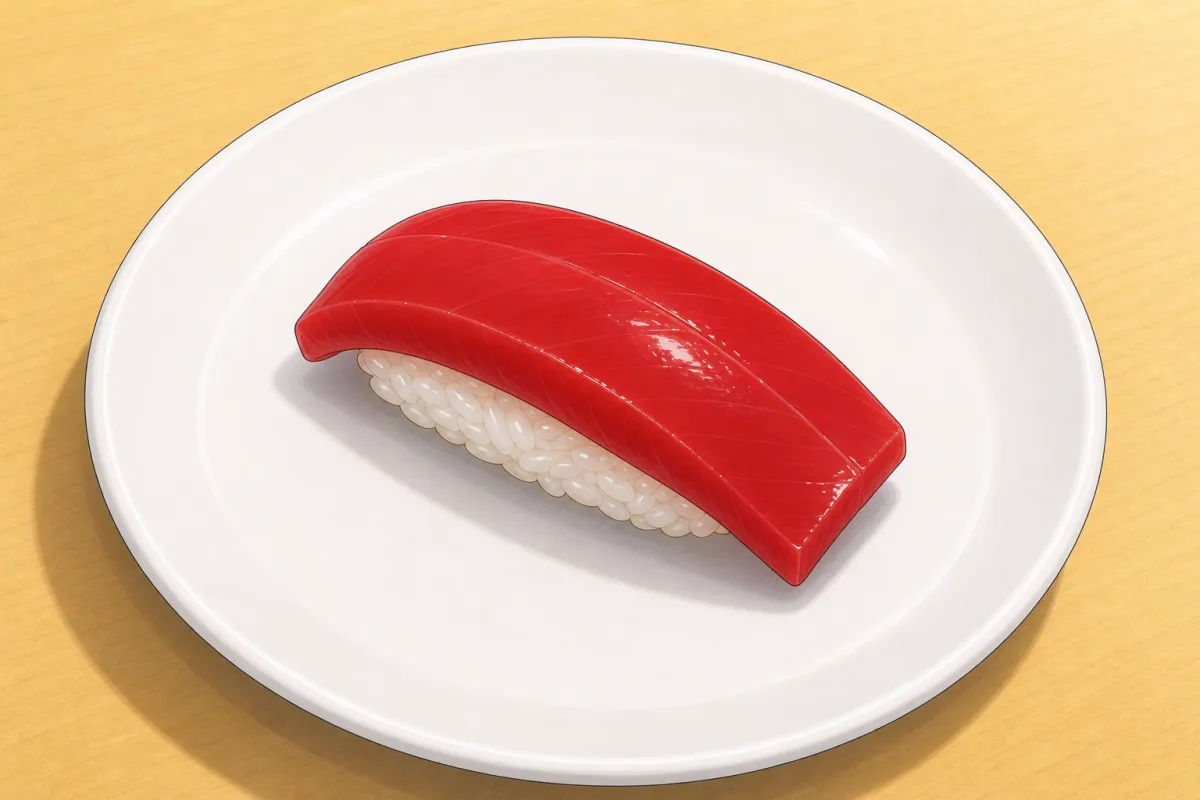
Should look like this 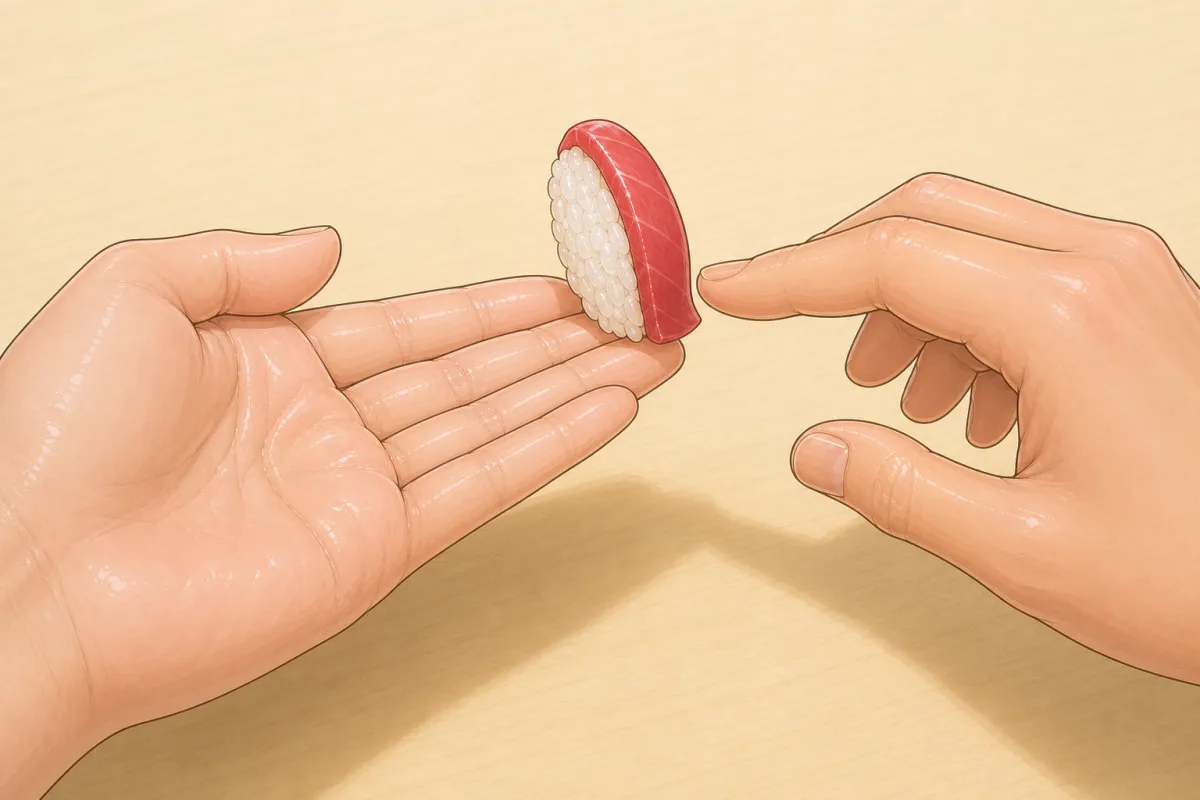
Dip the fish side, not the rice. 10Check the shape, serve
For this step
- Soy sauceto dip
- Pickled ginger (gari)optional
- The fish drapes over the top with a little overhang at the ends; the bottom is rounded like a boat; the whole thing is one bite.
- Serve straight away with soy sauce and ginger. Dip the fish side, not the rice.
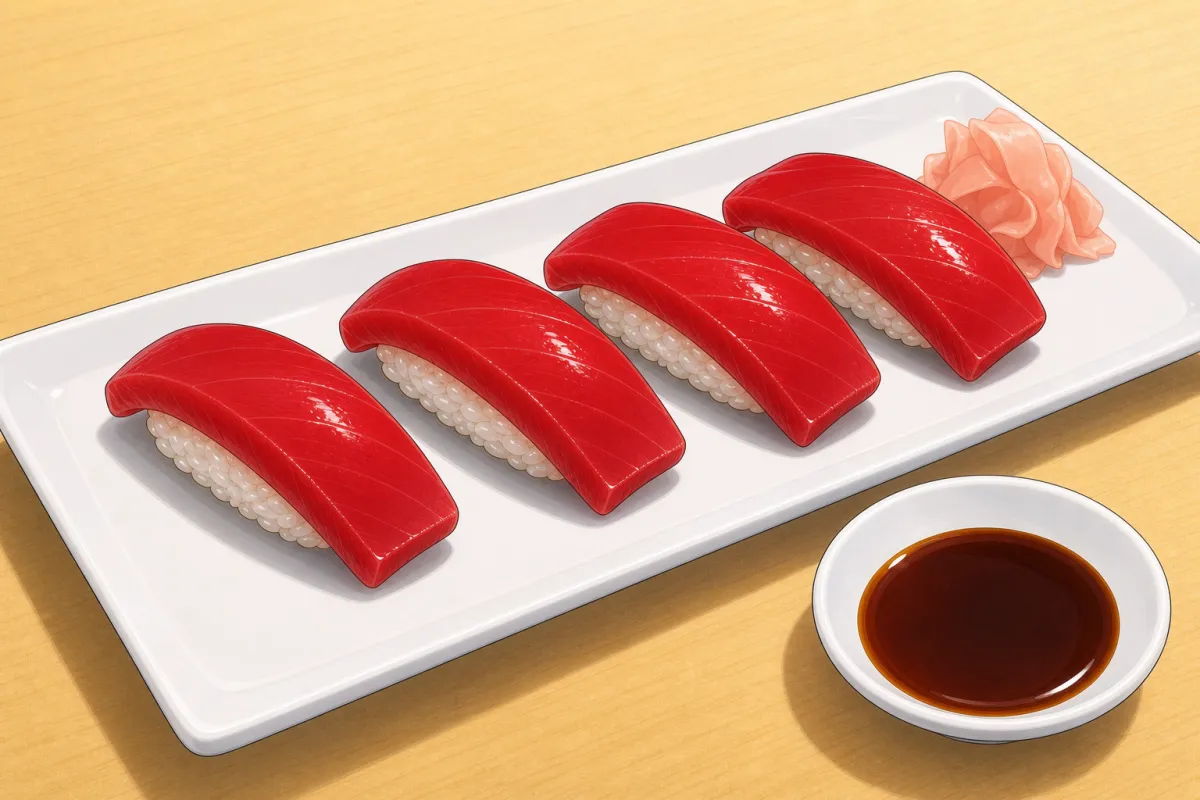
Should look like this
Based on: The Japanese Food Lab — How to make Edomae nigiri sushi · Sushi University — Four essential sushi hand techniques · Umami Cart — How to make nigiri sushi (portions, slicing)