Onigiri: the shape, the fillings, the grill
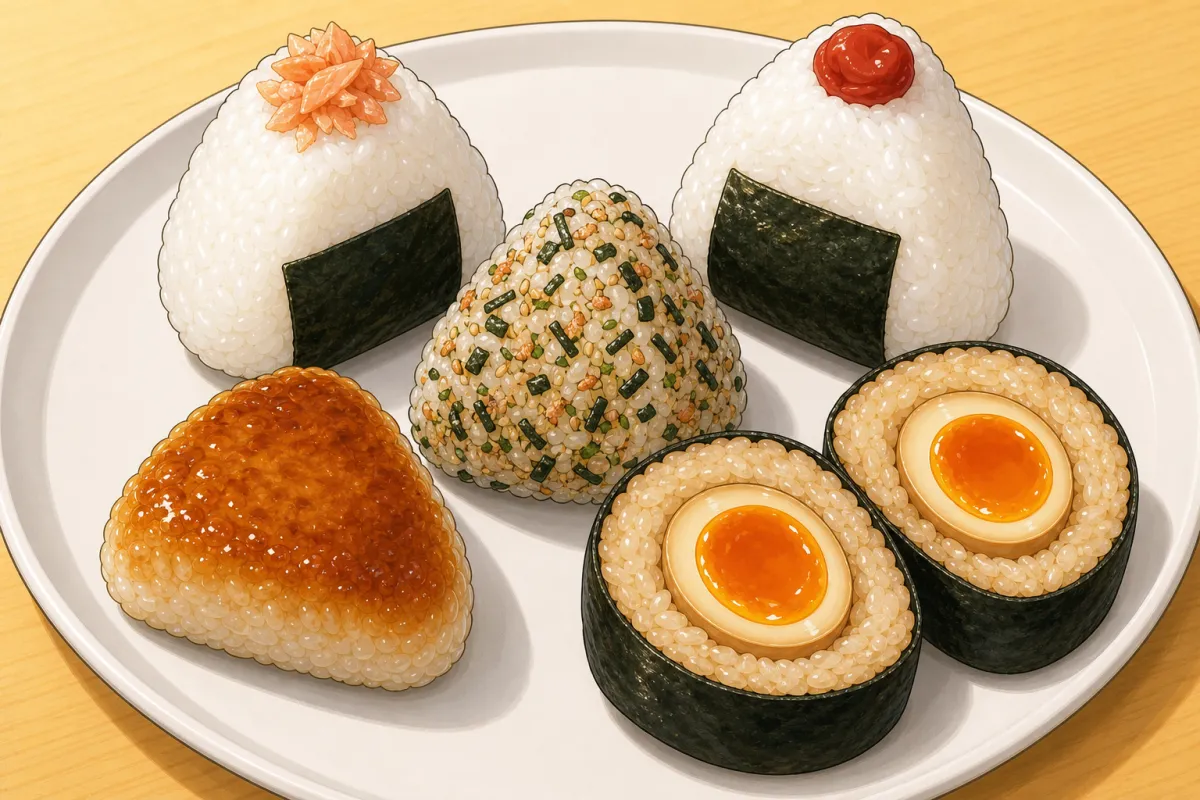
Japanese rice balls. The rice is plain short-grain rice, seasoned only by the salt on your hands — not sushi rice, which is vinegared and too soft and sharp for this. Shape them by hand (left hand underneath, right hand the roof) or with a mold; fill them with the classics or something louder; hide a whole marinated egg in a bakudan (“bomb”); or grill them into yaki onigiri.
Mise en place — set out in the order it goes in
 Ricefreshly cooked, warmStep 5
 Hand stationbowl of water · kosher saltStep 5
 Classic fillings
- salmon
- okaka
- tuna-mayo
- umeboshi
 Loud fillings
- spicy tuna-mayo
- karaage
- kimchi + cheese
 Marinated eggspeeled, in the soy marinadeStep 11
 Nori + furikake
- nori in thirds
- whole sheets
- furikake
 Glazesoy · sesame oilStep 14
Prep order — what happens when, and what overlaps
The bakudan eggs need a few hours to overnight in the marinade — start them the day before if you can. Keep the rice and the shaped onigiri covered with a damp towel so they don’t dry out.
Step by step
Rice
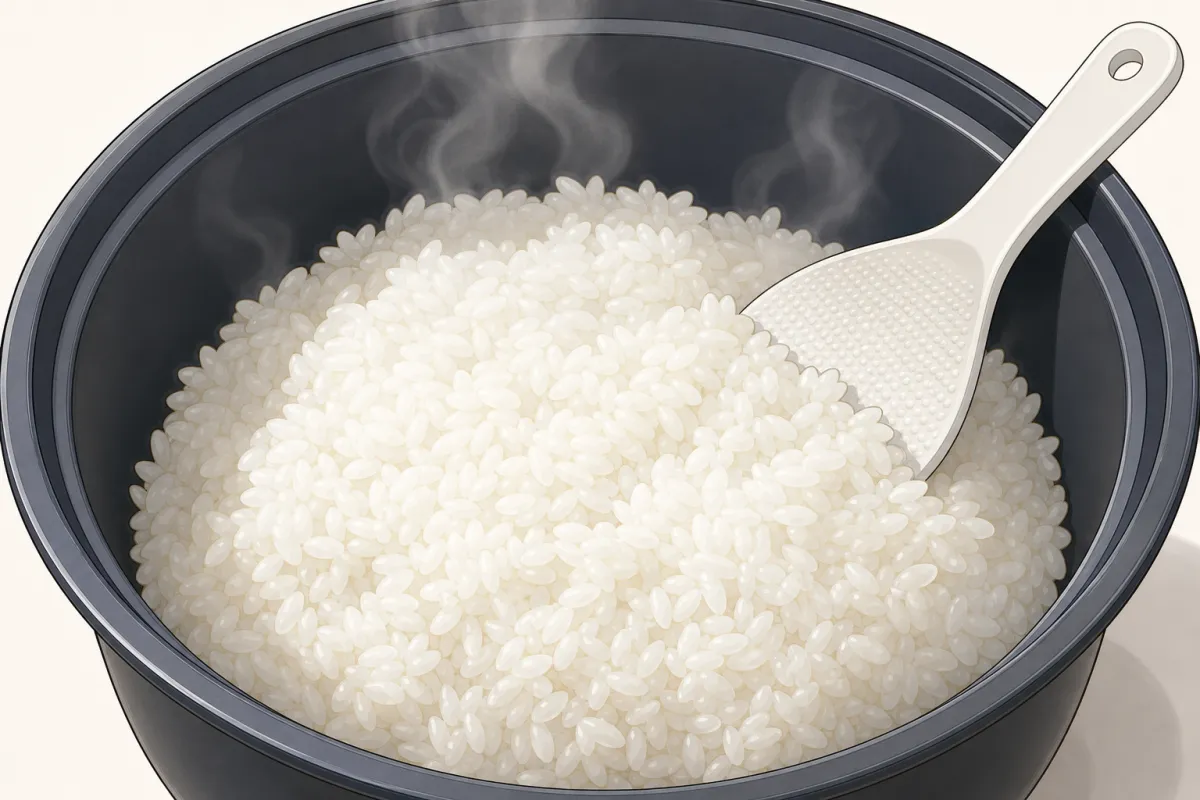
1Cook the rice
per your rice cooker~1 h incl. soakingFor this step
- Japanese short-grain rice450 g
- Water (rice)600 ml (2½ cups)
- Wash the rice, then soak it 20–30 minutes in the water.
- Cook it (rice cooker or pot): 450 g raw makes about 990 g cooked — enough for 9 hand-shaped onigiri of ~110 g.
- Plain rice — no vinegar, no sugar. The salt goes on your hands.
Fillings
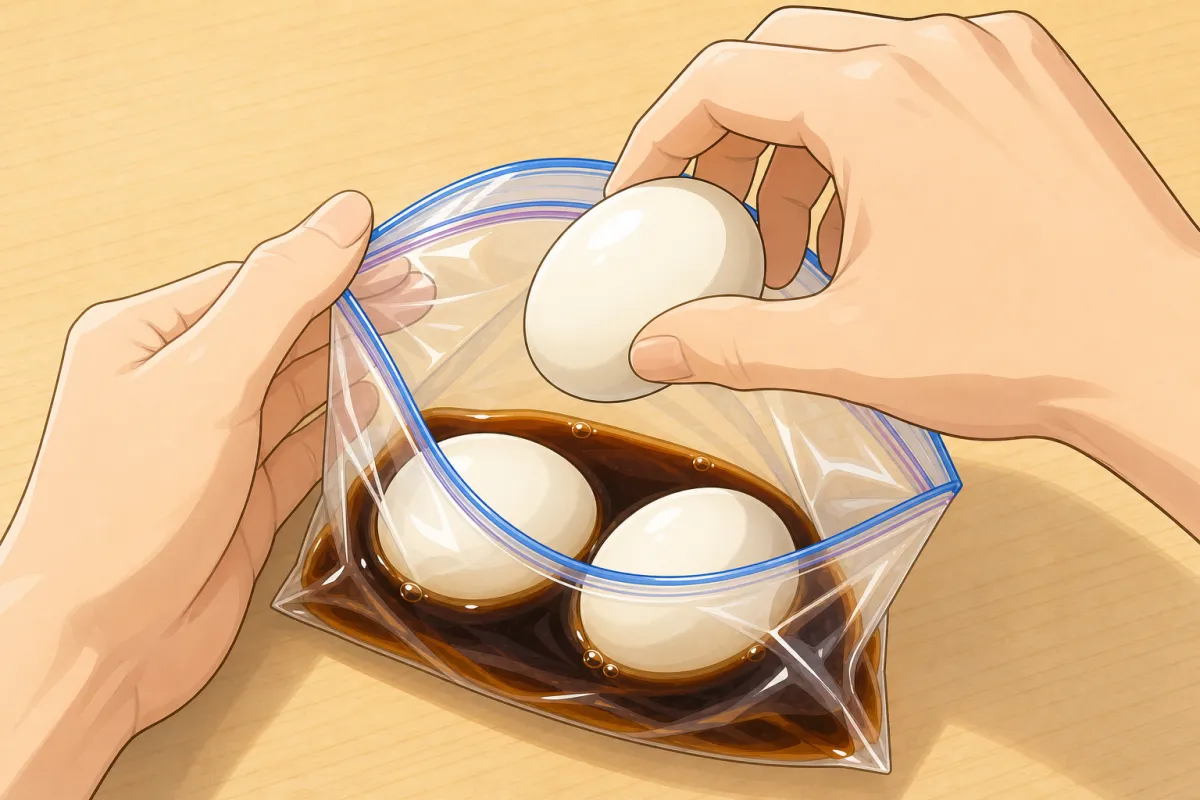
Peel the cooled eggs, then into a zip bag with the marinade, air pressed out. 2Marinate the bakudan eggs (ahead)
15 min + a few hFor this step
- Eggs4
- Soy sauce (egg marinade)3 tbsp
- Sake3 tbsp
- Mirin2 tbsp
- Sugar1 tbsp
- Boil the eggs 7–8 minutes from the fridge, then straight into cold water and peel. Firmer than the 6-minute ramen egg, so they hold up to being pressed in rice.
- Boil the soy sauce, sake, mirin and sugar for a minute and let it cool.
- Eggs and marinade into a zip bag, fridge for a few hours to overnight. Save the marinade — it seasons the bakudan rice.
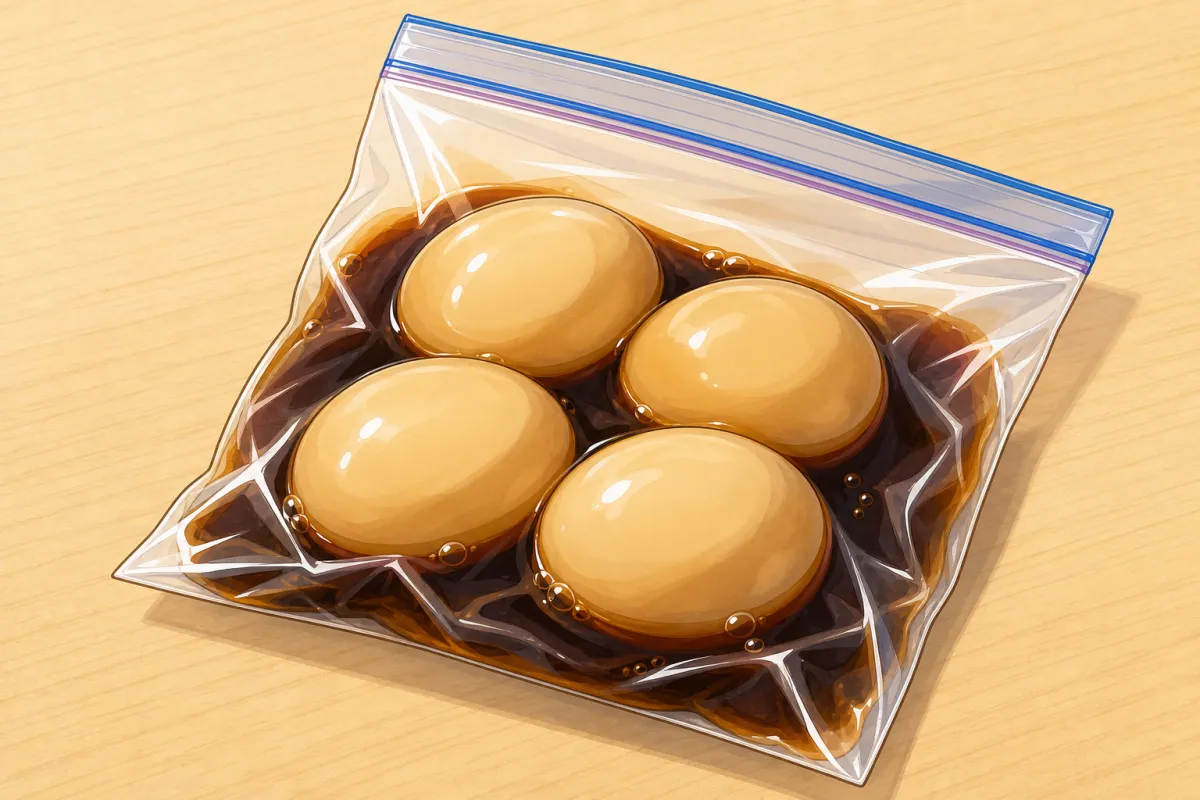
Should look like this 
Okaka: moisten the bonito flakes with soy — damp, not drenched. 3Classic fillings
~25 minFor this step
- Salmon fillet1–2 fillets
- Kosher salt (salmon)to sprinkle both sides
- Katsuobushi (bonito flakes)1 packet (3–5 g)
- Soy sauce (okaka)1 tbsp
- Canned tuna, drained1 can (140 g
- Japanese mayo (Kewpie)2 tbsp
- Soy sauce (tuna-mayo)½ tbsp
- Umeboshi (pickled plums)2
- While the rice cooks:
- Salted salmon: salt both sides, broil or bake at 218 °C for 10–20 minutes until well done and flaky, then flake it
- Okaka: katsuobushi moistened (not drenched) with the soy sauce
- Tuna-mayo: drained tuna + mayo + soy sauce
- Umeboshi: pits out, flesh on a plate
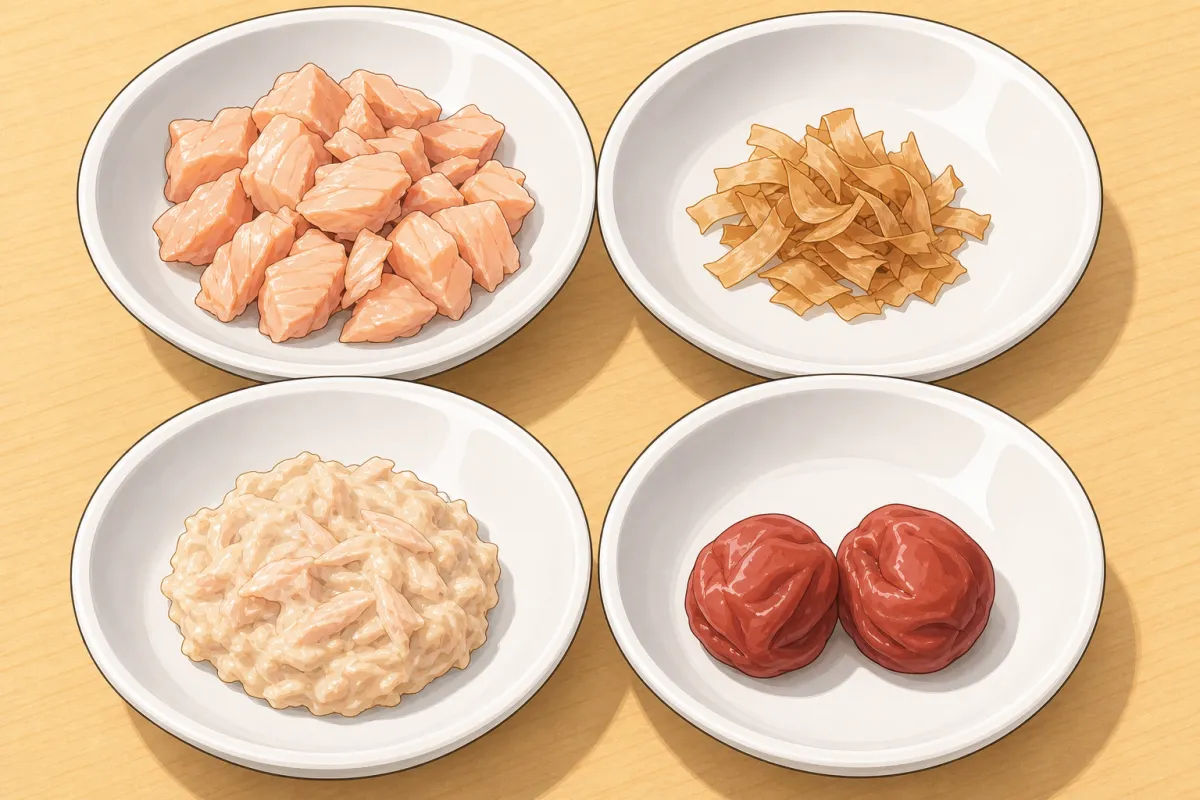
Should look like this 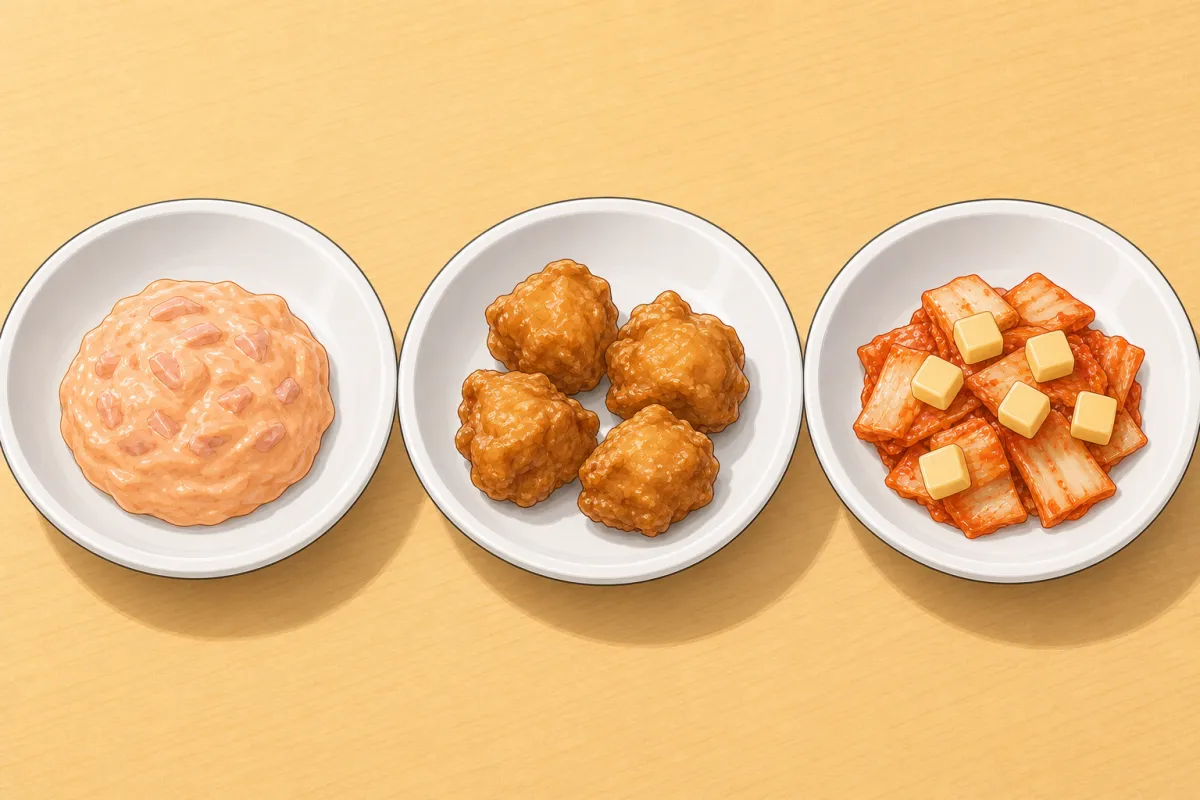
4Loud fillings
~6 minFor this step
- Sriracha (spicy tuna-mayo)1–2 tsp
- Karaage, leftover3–4 pieces
- Kimchi, chopped and squeezed~60 g
- Cheese (mozzarella or cheddar), small cubes~40 g
- Same 1–2 tsp per onigiri:
- Spicy tuna-mayo: half the tuna-mayo with sriracha stirred in (the roll’s spicy mayo works too)
- Karaage: leftover karaage, cut into small pieces
- Kimchi + cheese: chopped kimchi, squeezed dry, with a few cheese cubes
Shape by hand
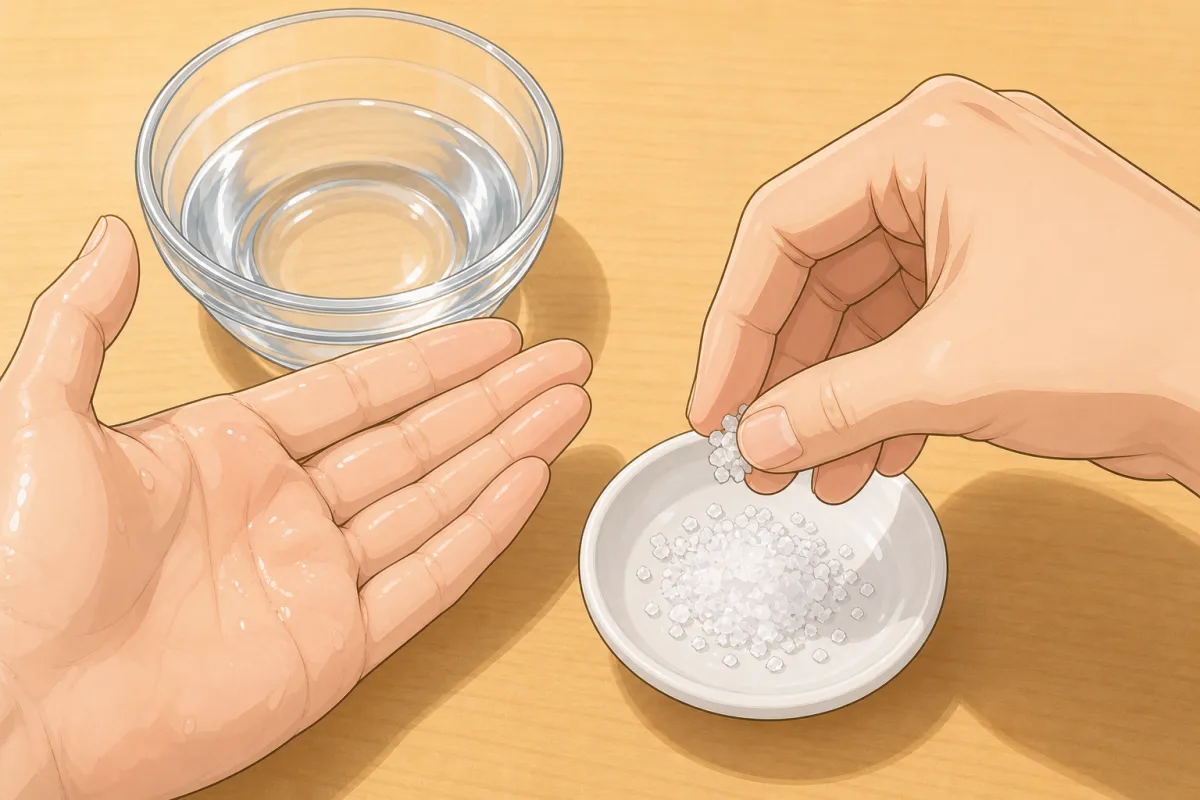
Wet both palms, then dip 2–3 fingers in kosher salt… 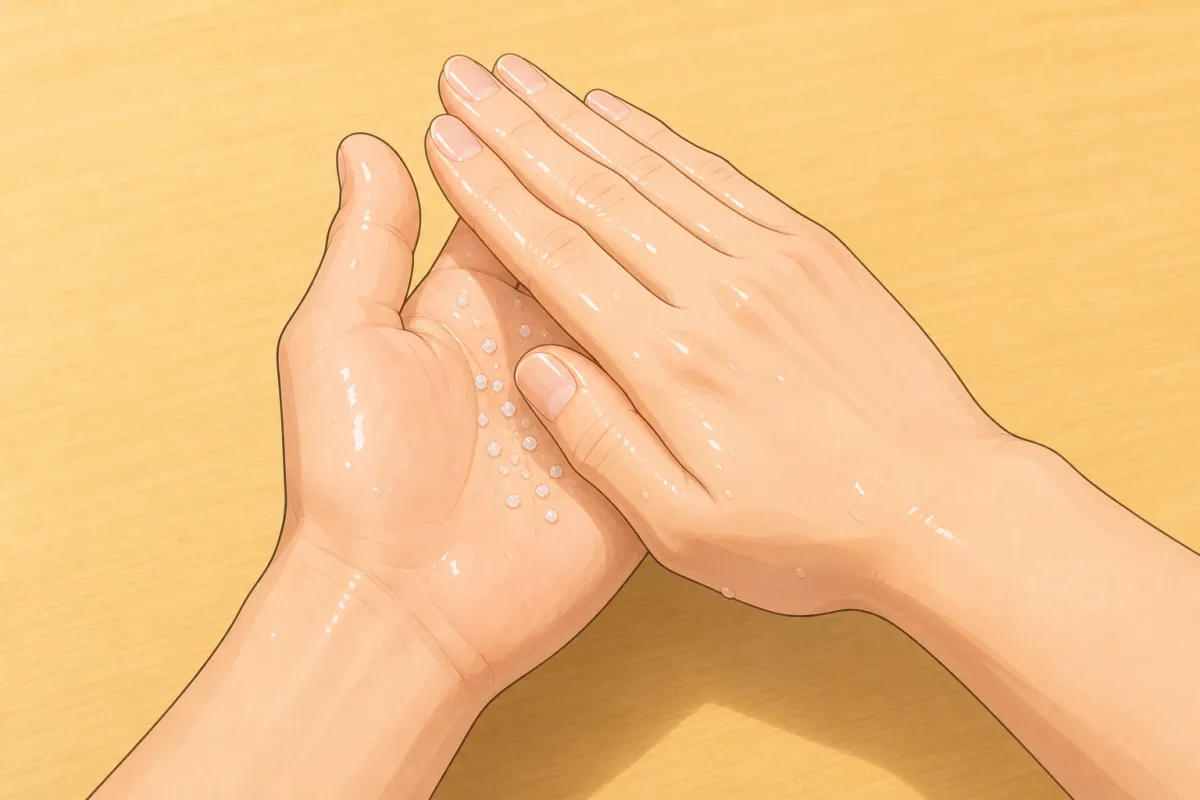
…and rub the salt over both palms. 5Wet and salt your hands
~5 minFor this step
- Kosher salt (for your hands)a little for each onigiri
- Let the rice cool just until you can hold it — it must still be warm to stick.
- Wet both palms with a little water.
- Dip 2–3 fingers in kosher salt and rub it over both palms (table salt: half as much).
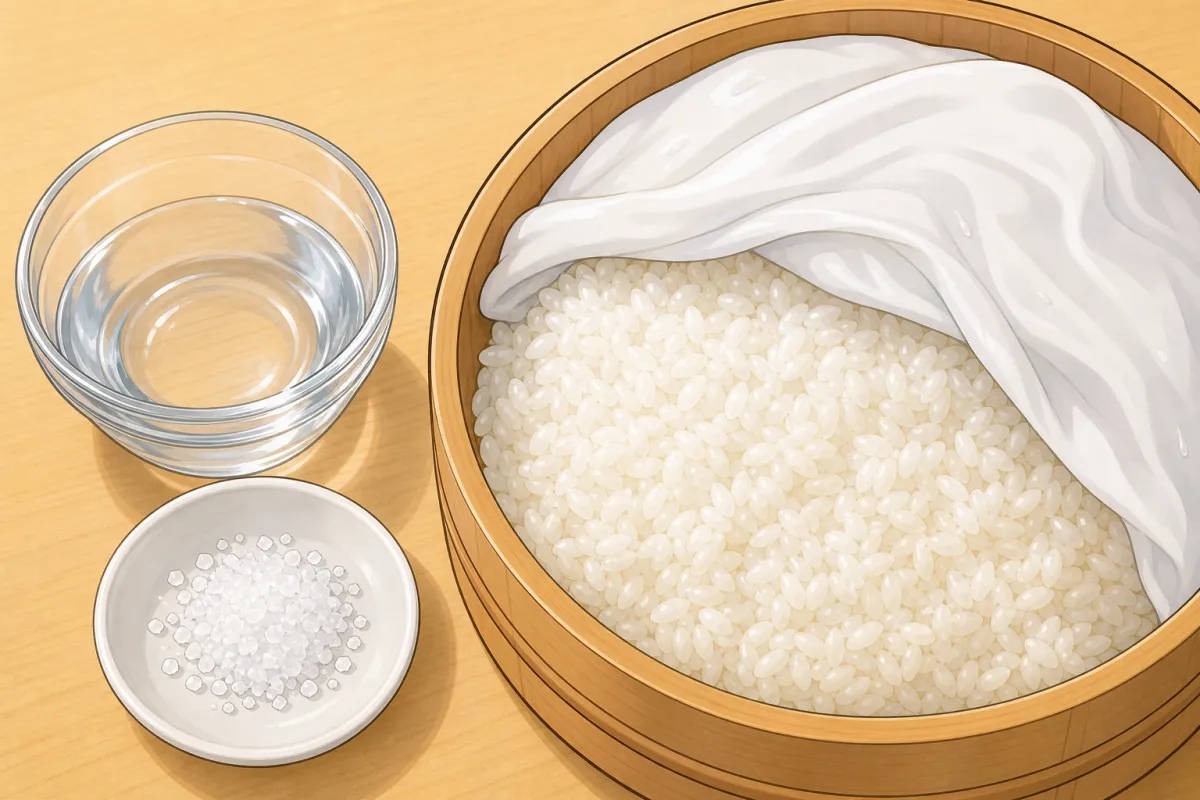
Should look like this 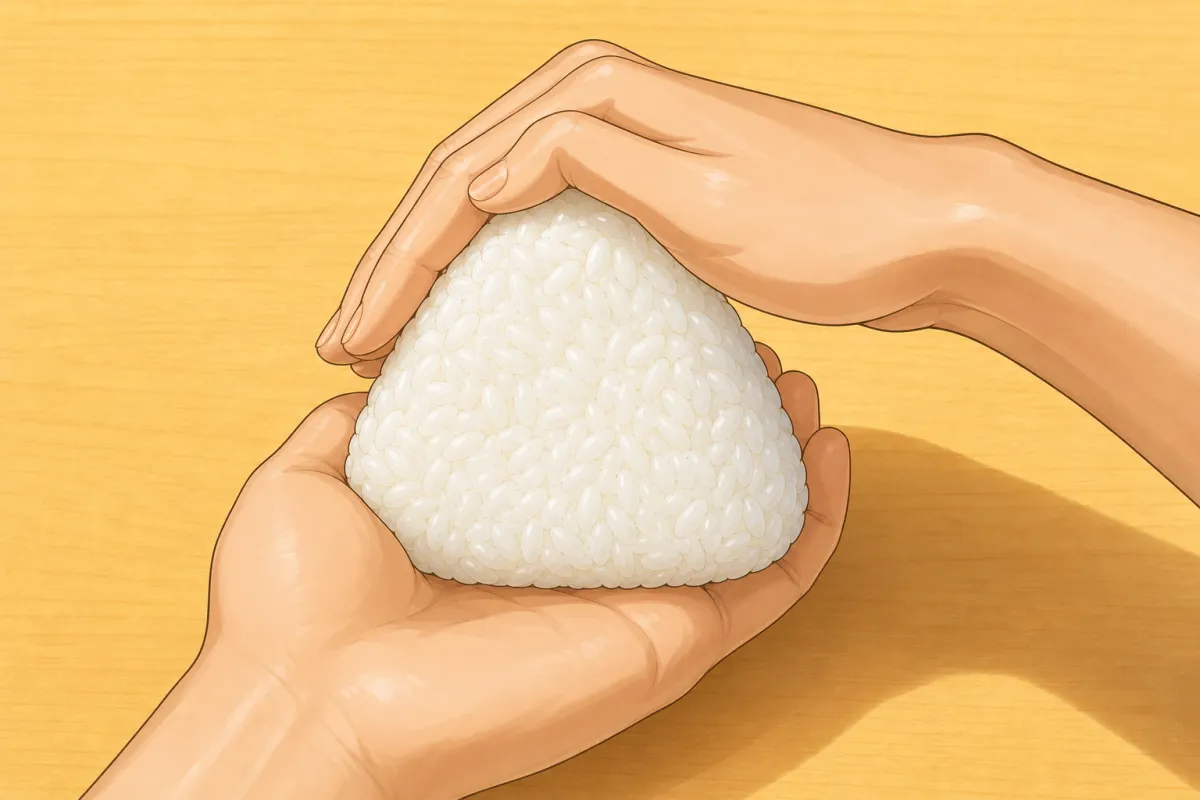
About 50 g of warm rice on your left palm; press a small well into the middle. 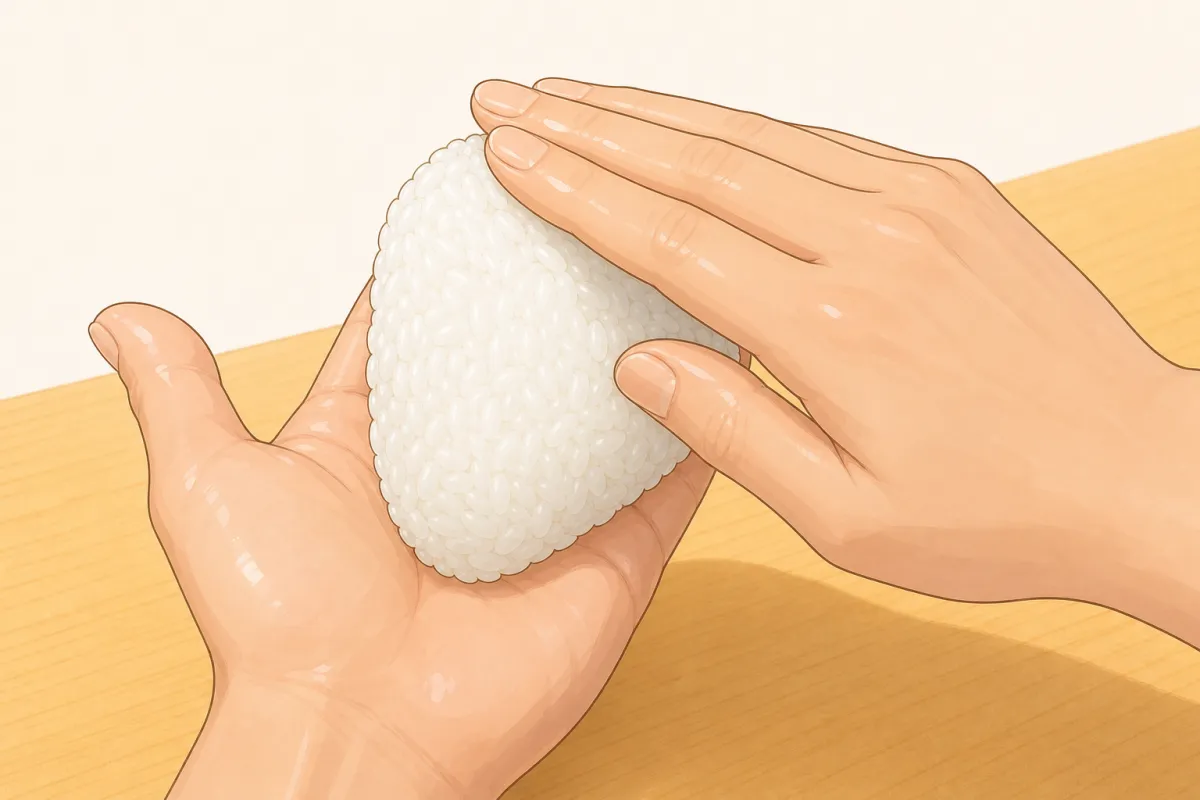
1–2 tsp of filling in the well, then cover with more rice. 6Rice, filling, close
1 min each- Scoop ~50 g warm rice onto your LEFT palm — the left hand always stays underneath.
- Press a small well in the middle and put in 1–2 tsp of one filling.
- Cover with another ~50 g of rice and press it gently round the filling into a ball.
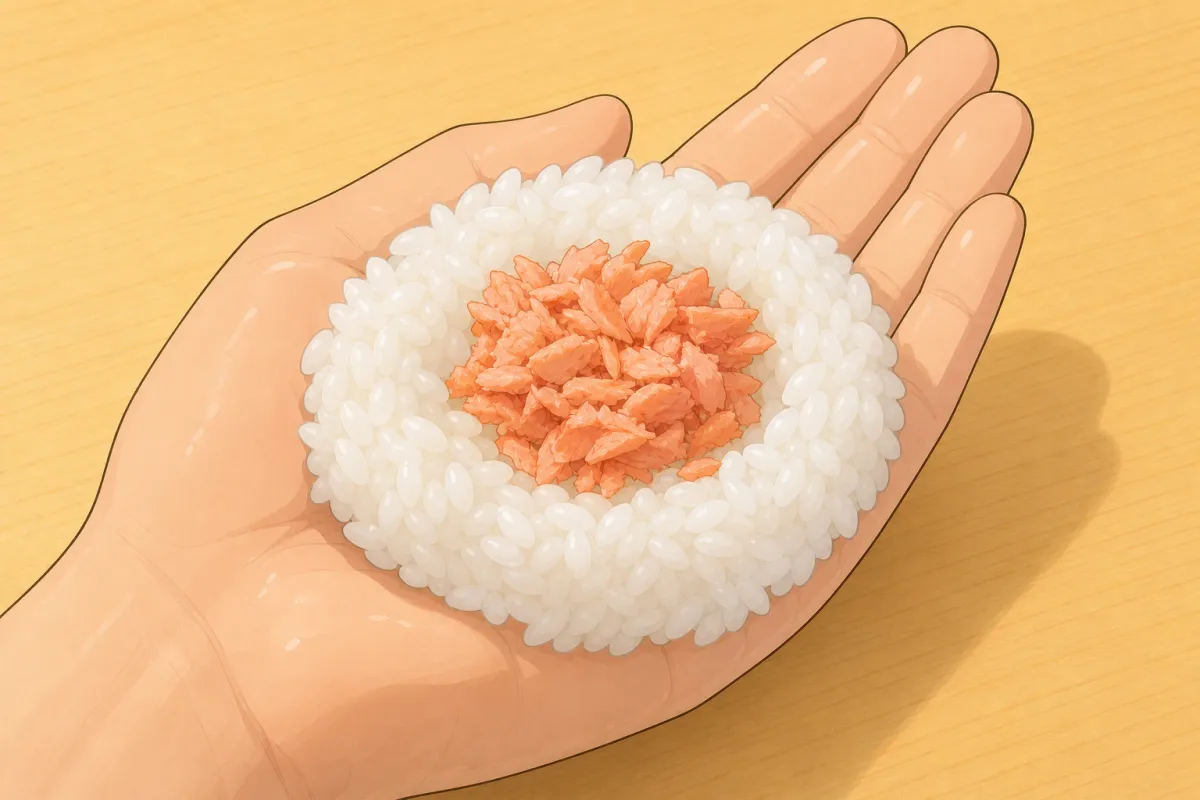
Should look like this 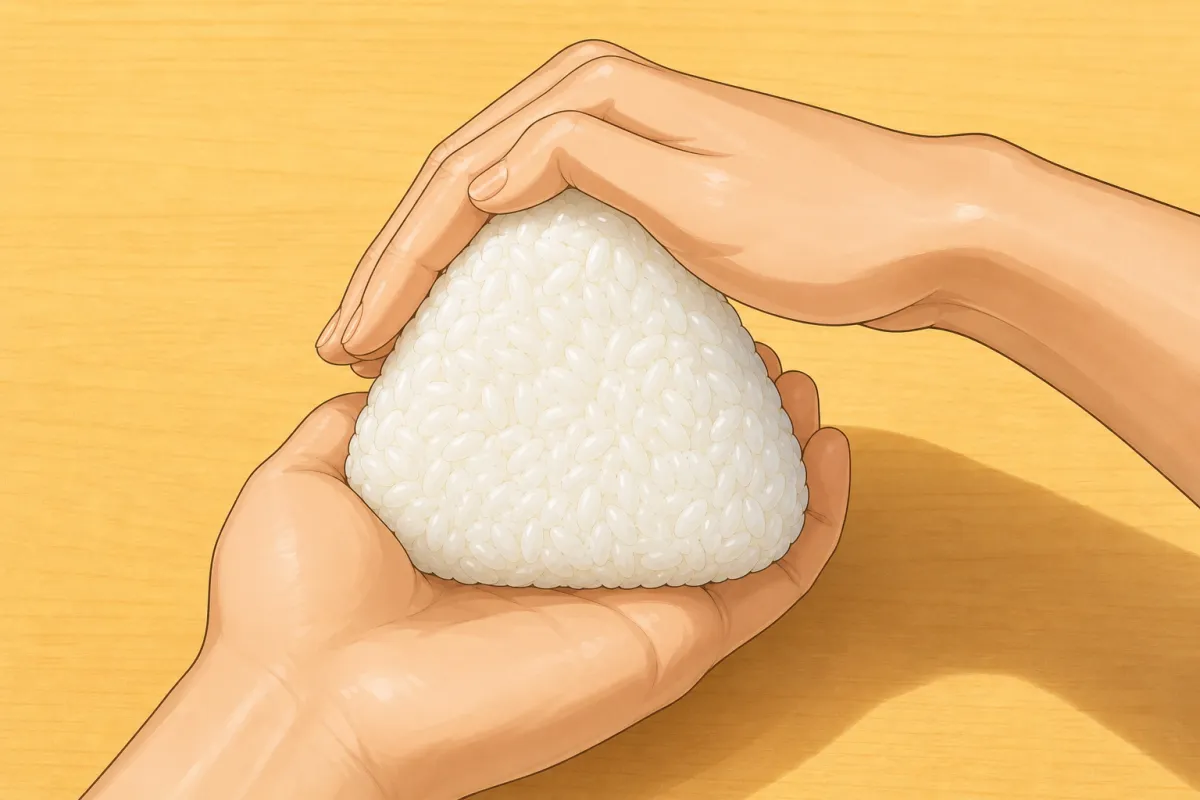
Right hand on top, fingers together and bent like a roof; left hand underneath in a “C”, pressing the sides. 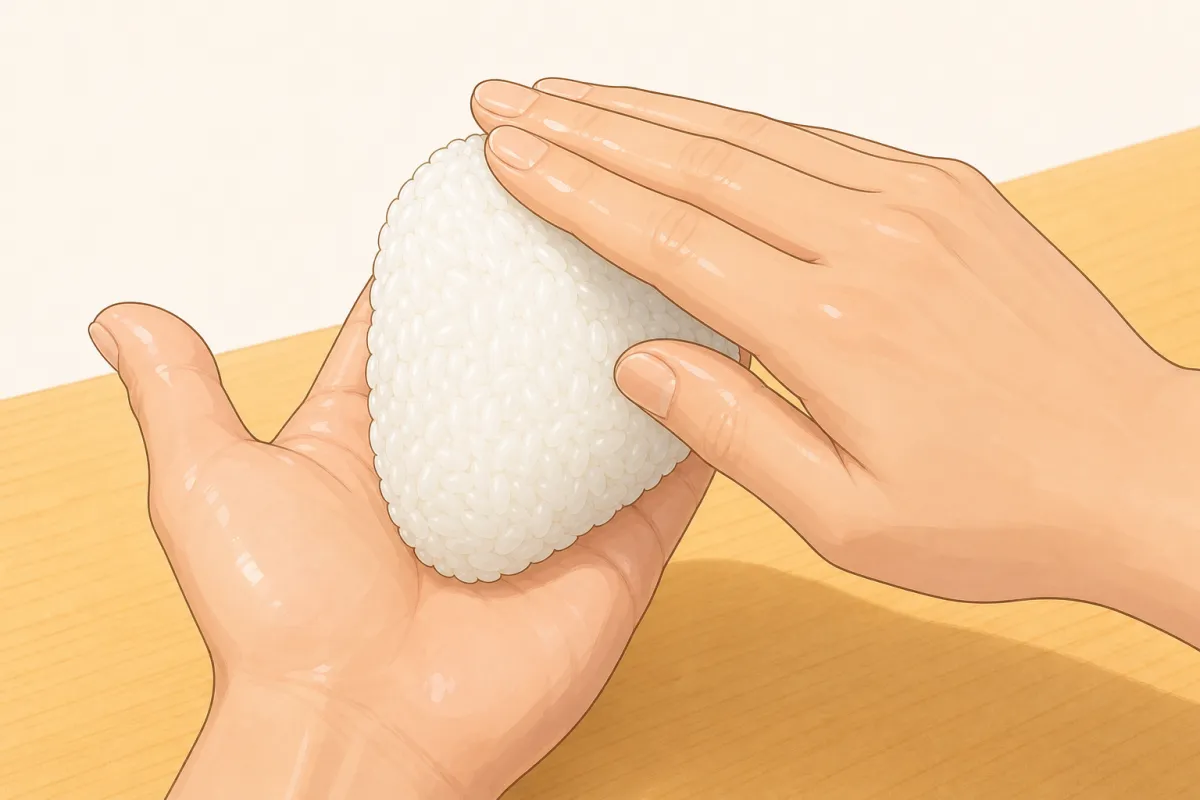
Press lightly, then roll the corner you just made towards you — a third of a turn — and press again. 7Press the triangle
~1 min each- RIGHT hand on top, fingers together and bent into a roof — it makes the corner.
- LEFT hand underneath in a “C” — fingers and heel gently flatten the two sides.
- Press lightly, then roll the corner you just made towards you — a third of a turn.
- Three corners, then 2–3 more rounds. Lay it on each face and press once to flatten.
- Firm enough to hold together, but airy inside — don’t squeeze.
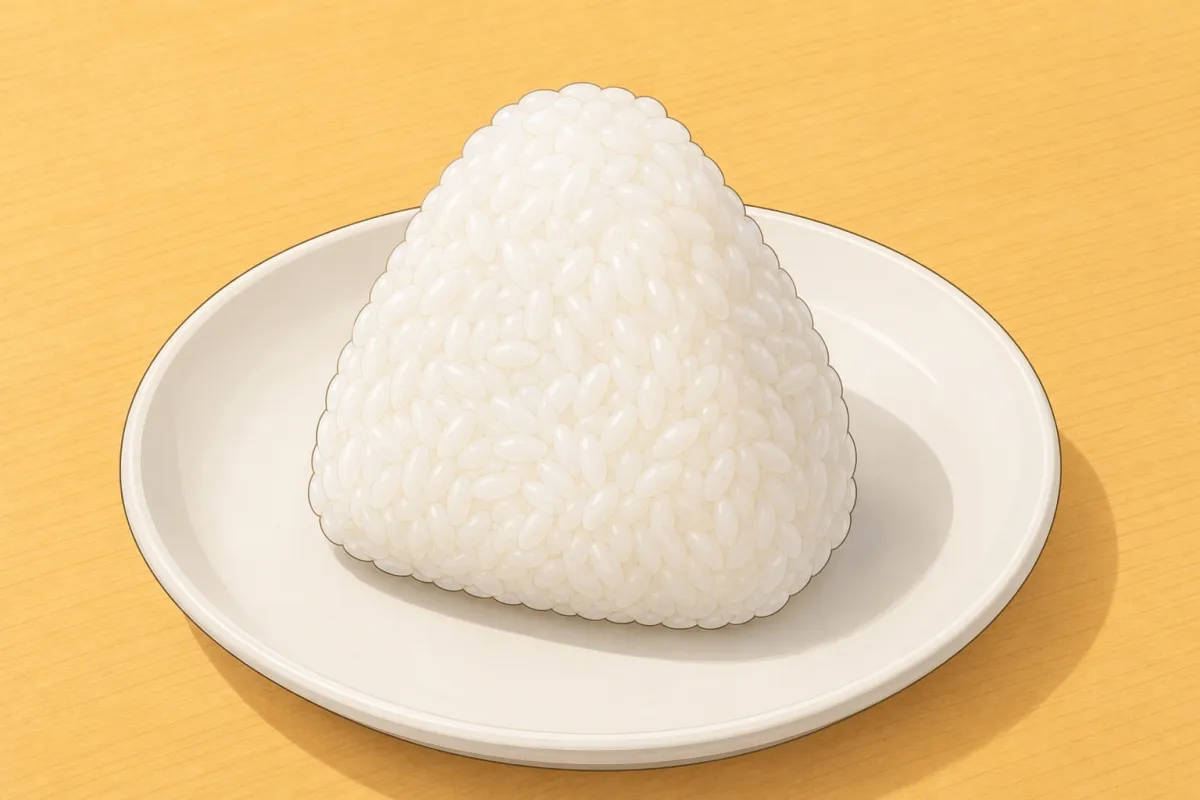
Should look like this 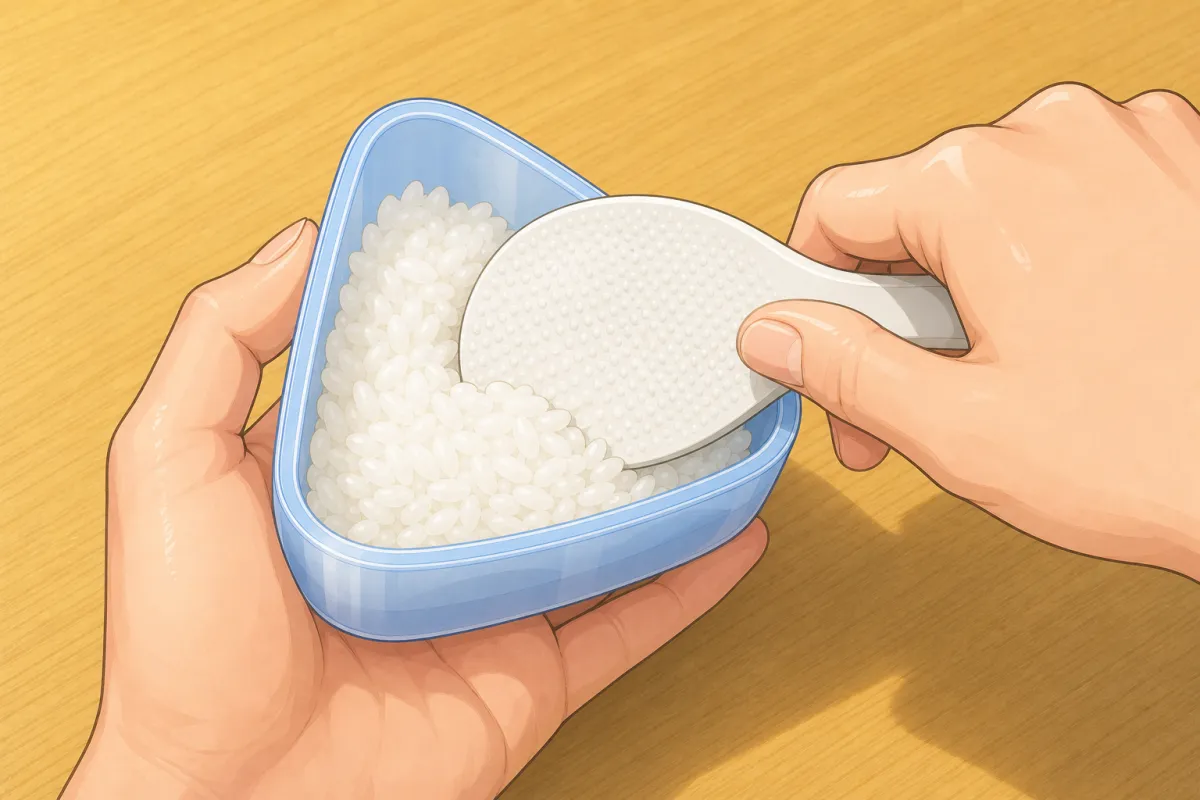
Rice and filling on plastic wrap in a bowl; gather and twist it shut, then press the triangle. 8Or: through plastic wrap
~1 min each- Line a small bowl with plastic wrap and sprinkle in a little salt.
- Rice in, a well, the filling, more rice on top, a little more salt.
- Gather and twist the wrap shut, then press the same triangle through it. Good for lunchboxes — nobody’s hands touch the rice.
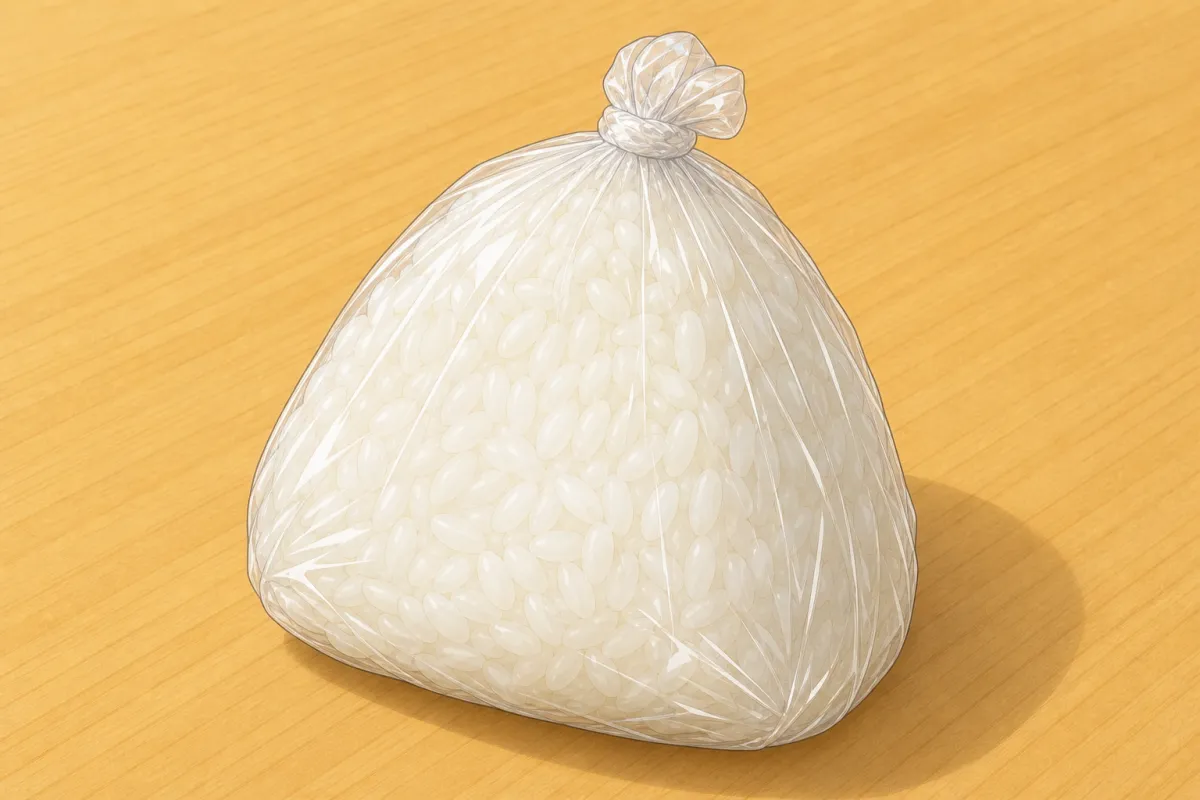
Should look like this Shape with a mold
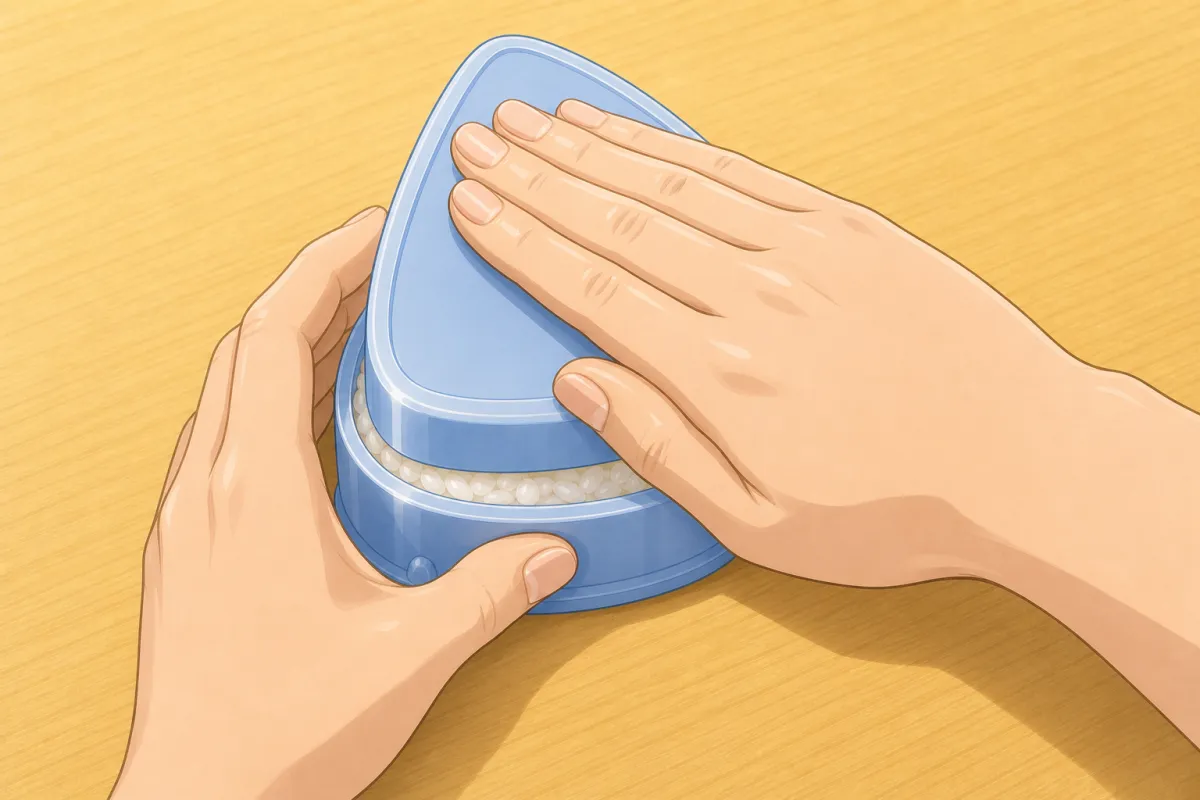
Fill the wet mold halfway, pushing the rice into the corners. 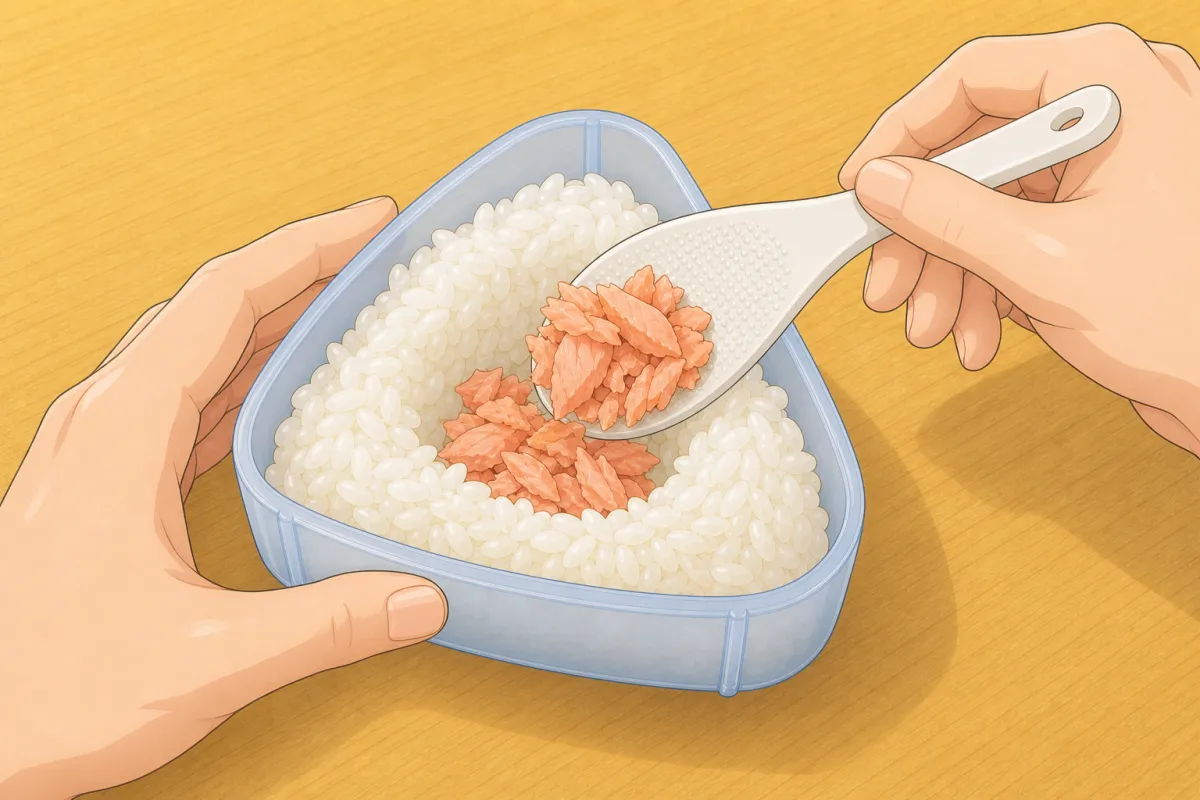
Filling in the middle, then rice to the brim. 9Fill the mold
~1 min each- Dip the mold and its lid in water, shake off the excess, and sprinkle salt inside.
- Fill it halfway with warm rice, pushing it into the corners.
- A spoonful of filling in the middle, then rice to the brim and a little salt on top.
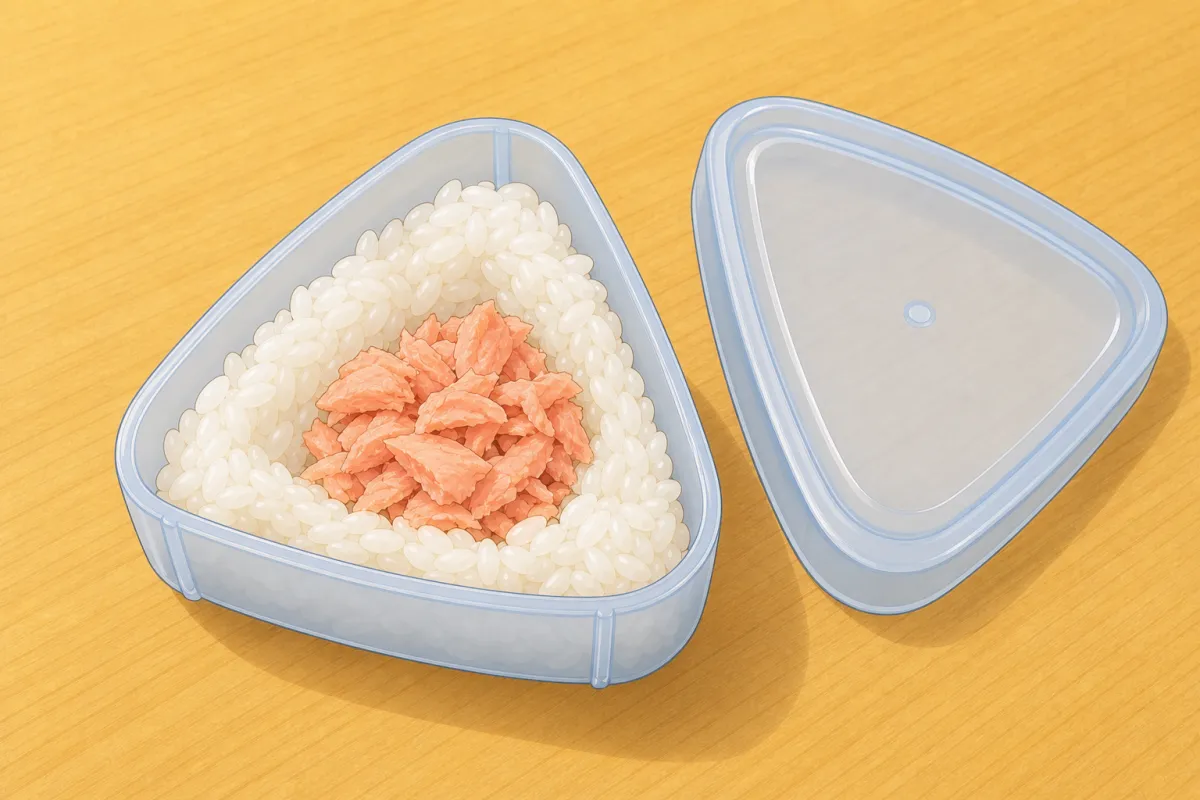
Should look like this 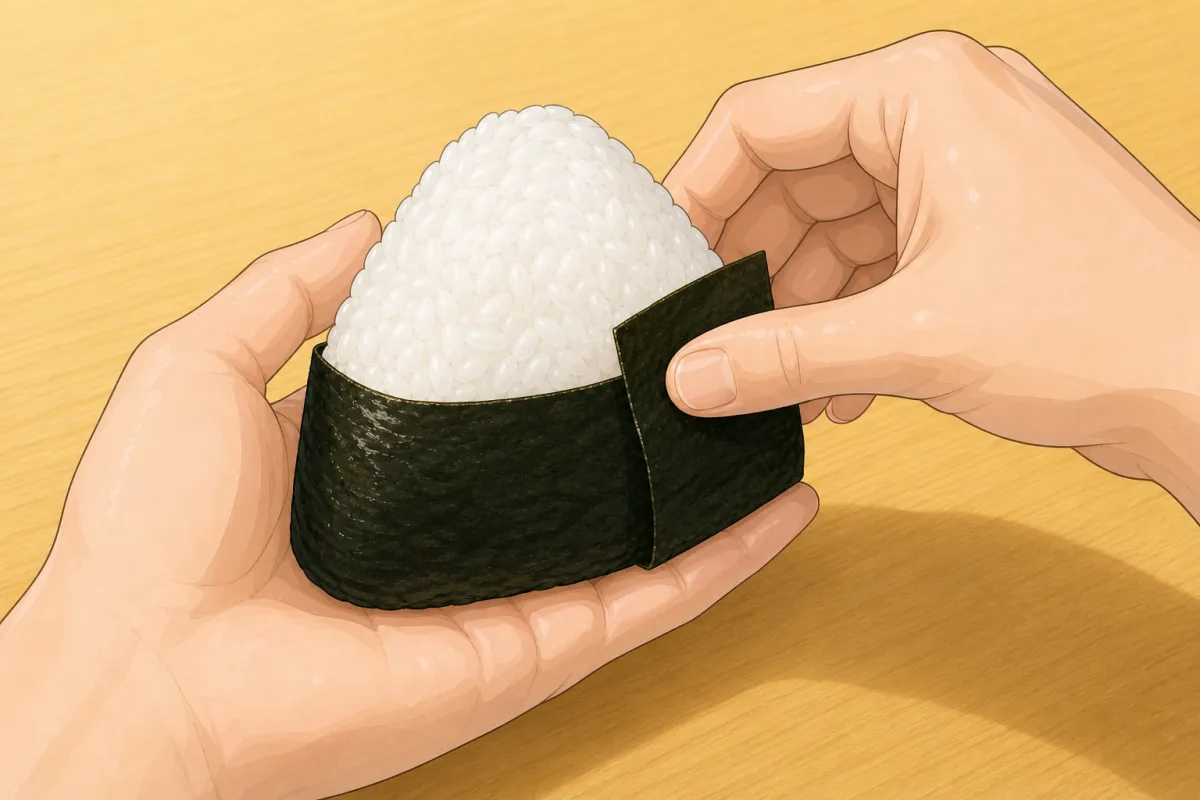
Lid on and press down firmly — stop when you feel resistance. 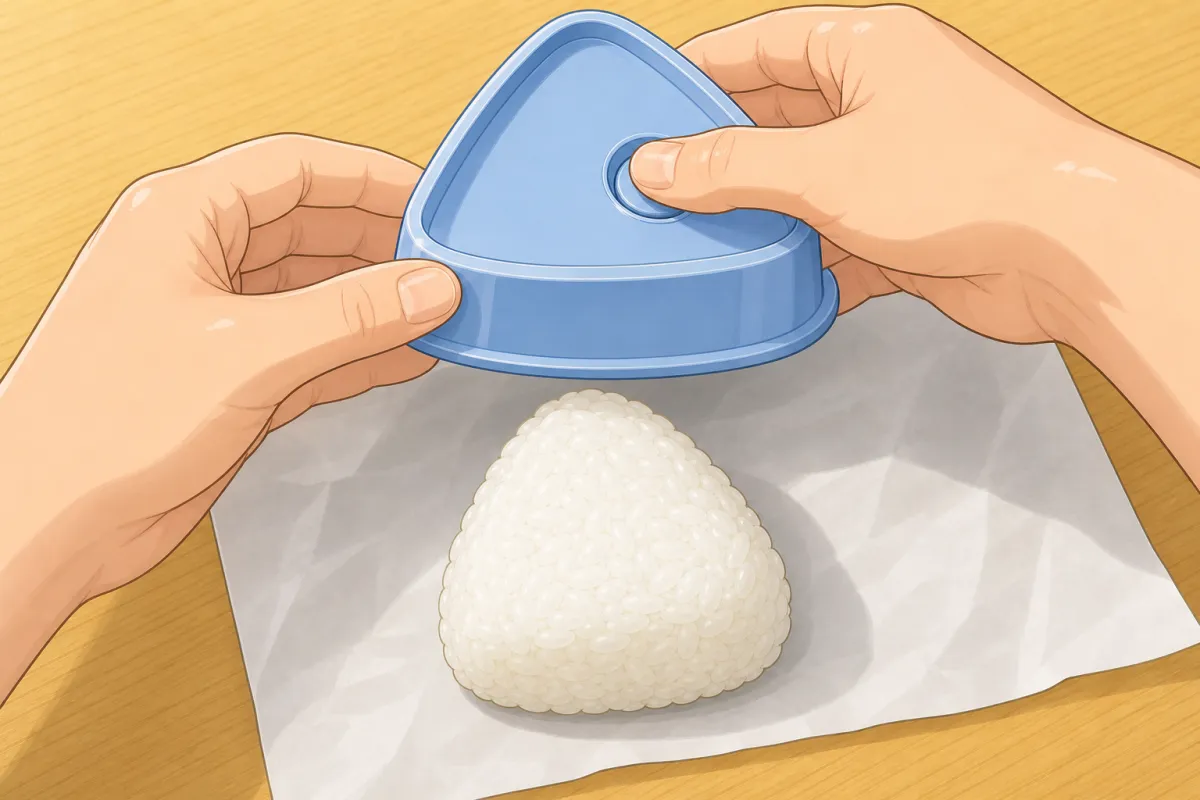
Flip it over and push the button to pop the onigiri out. 10Press and push out
~30 s each- Lid on and push down firmly — you should feel a slight resistance. No resistance? Add a little rice.
- Lid off, flip the mold over the tray and push the button to pop the onigiri out.
- Wet your fingers before touching it. A mold makes smaller, denser onigiri (~75 g each, 13 from the pot); a lighter push keeps them fluffier.
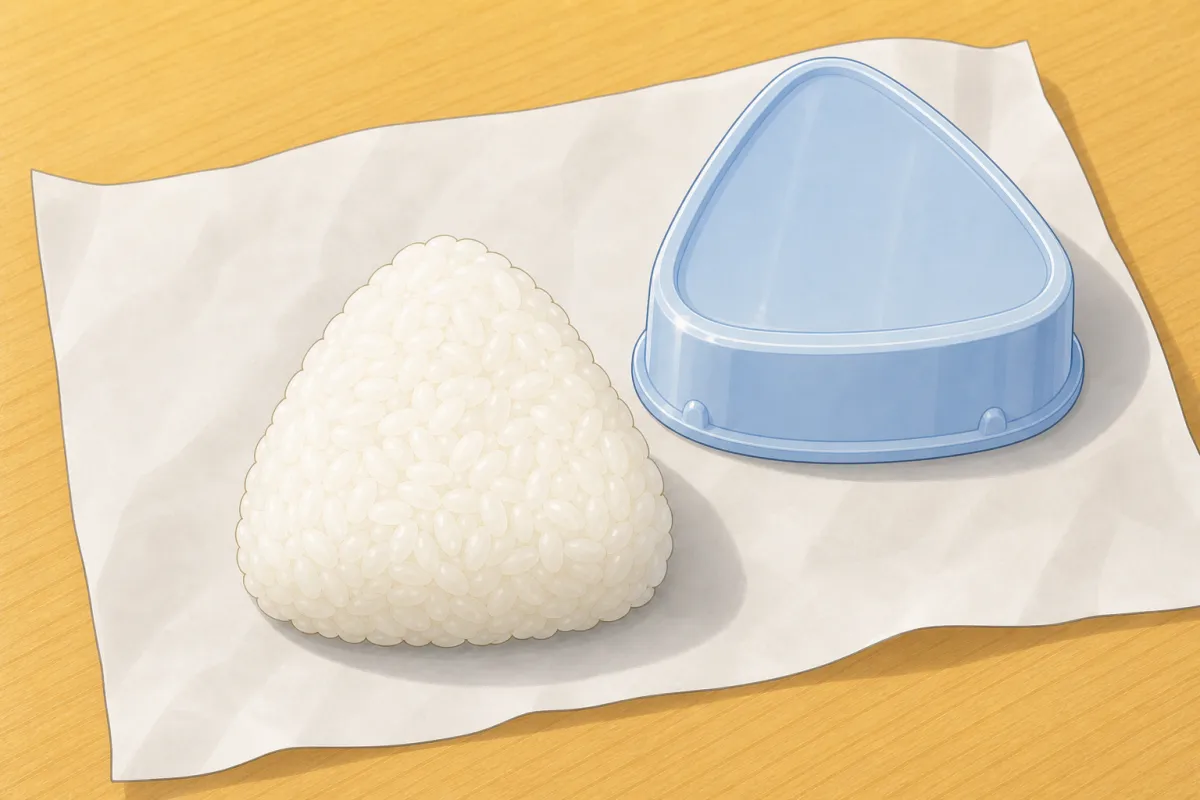
Should look like this Bakudan

About 150 g of seasoned rice in your palm, a whole marinated egg in the middle. 
Cover it, shape a round ball, then wrap it all over in a whole sheet of nori. 11Bakudan — the bomb
~2 min eachFor this step
- Nori3 sheets
- Take the eggs out of the marinade and stir ¼ cup (60 ml) of it into ~600 g of the warm rice.
- ~150 g of that rice in your left palm, a well in the middle, one whole egg in it.
- Cover with more rice and shape it round, the egg in the centre.
- Wrap it all over in a whole nori sheet — the black ball is the bomb.
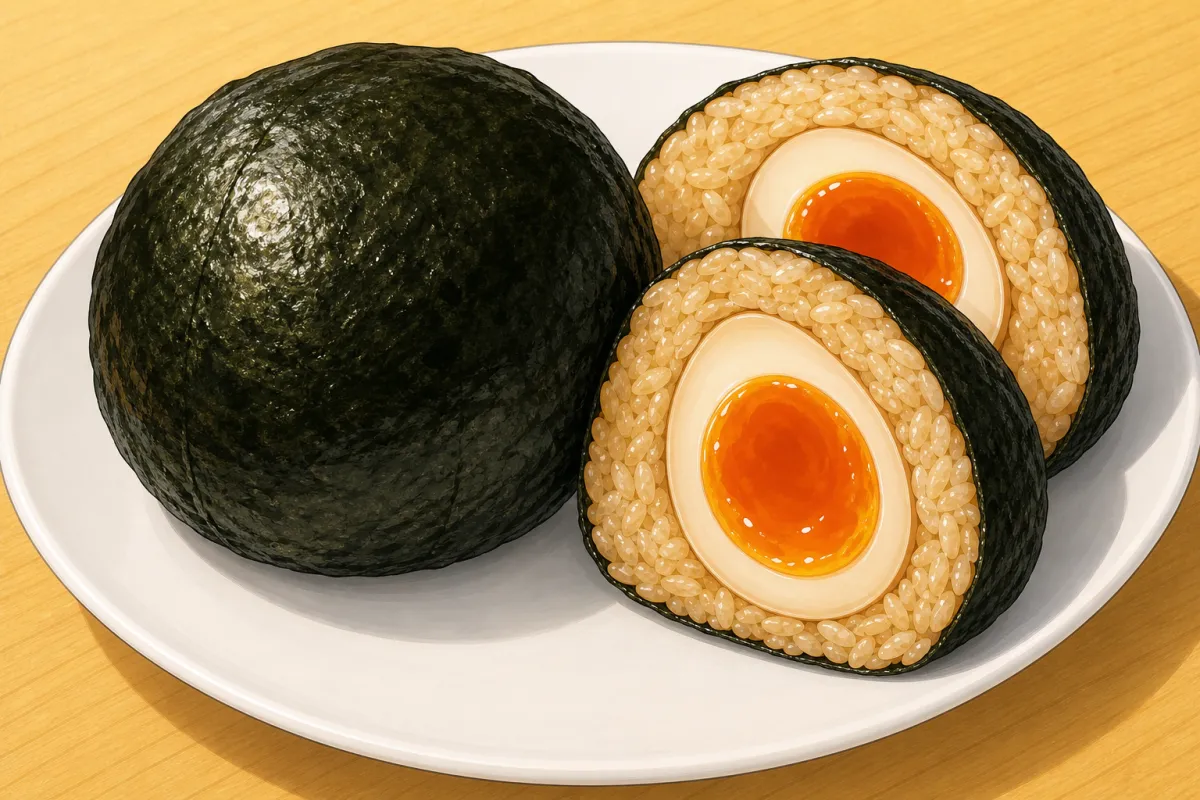
Should look like this Finish

Wrap a third of a nori sheet round the bottom just before eating — the nori stays crisp. 
Or coat the faces in furikake with damp fingers. 12Nori, furikake, a dab on top
~4 minFor this step
- Furikaketo coat (optional)
- Wrap a third of a nori sheet round the bottom of each onigiri — right before eating for crisp nori, or now for soft nori that sticks.
- Or skip the nori: coat the three faces in furikake with wet fingers.
- A little of the filling on the tip tells you what’s inside. Eat warm or at room temperature, within about 6 hours.
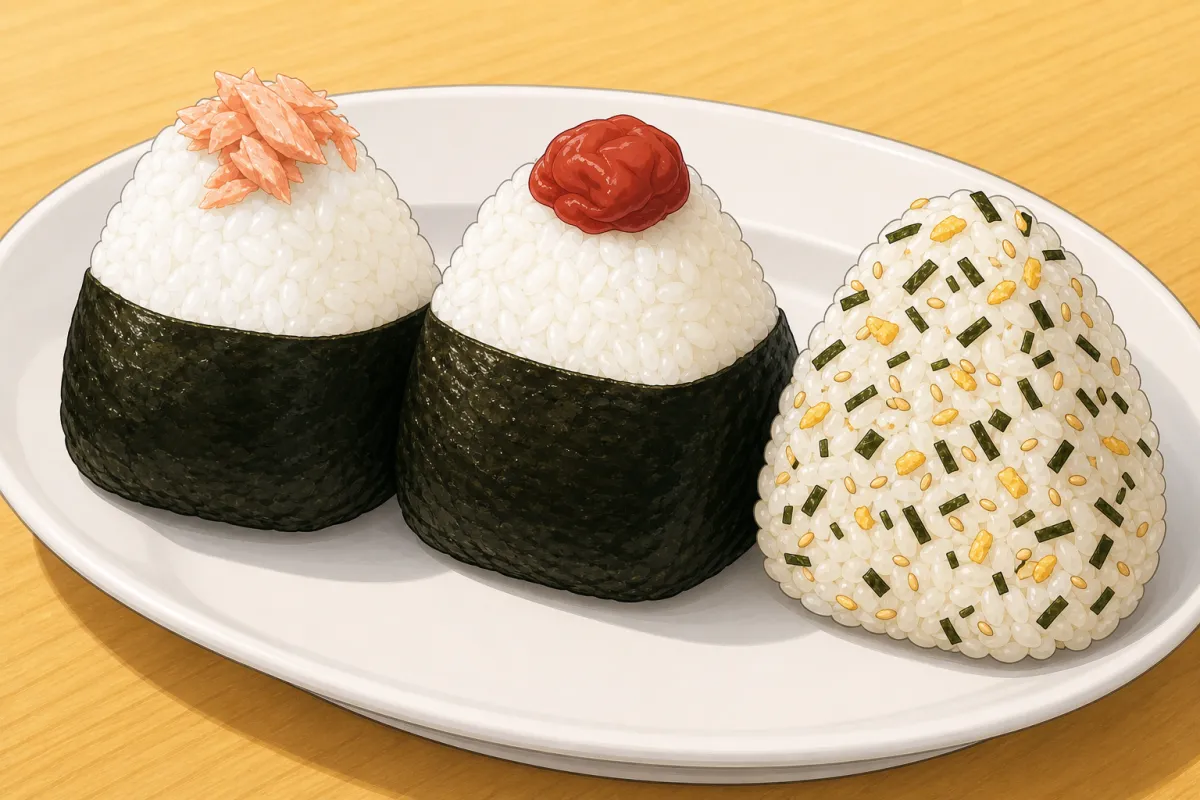
Should look like this Yaki onigiri

Turn each one only when its side is crisp, with two spatulas. 13Yaki onigiri: grill
medium-low~10 min- Press plain onigiri a bit firmer than usual so they don’t break in the pan.
- Parchment in a frying pan, onigiri on it, medium-low heat.
- Leave each side until crisp and lightly browned before turning (two spatulas) — handling them too early breaks them.
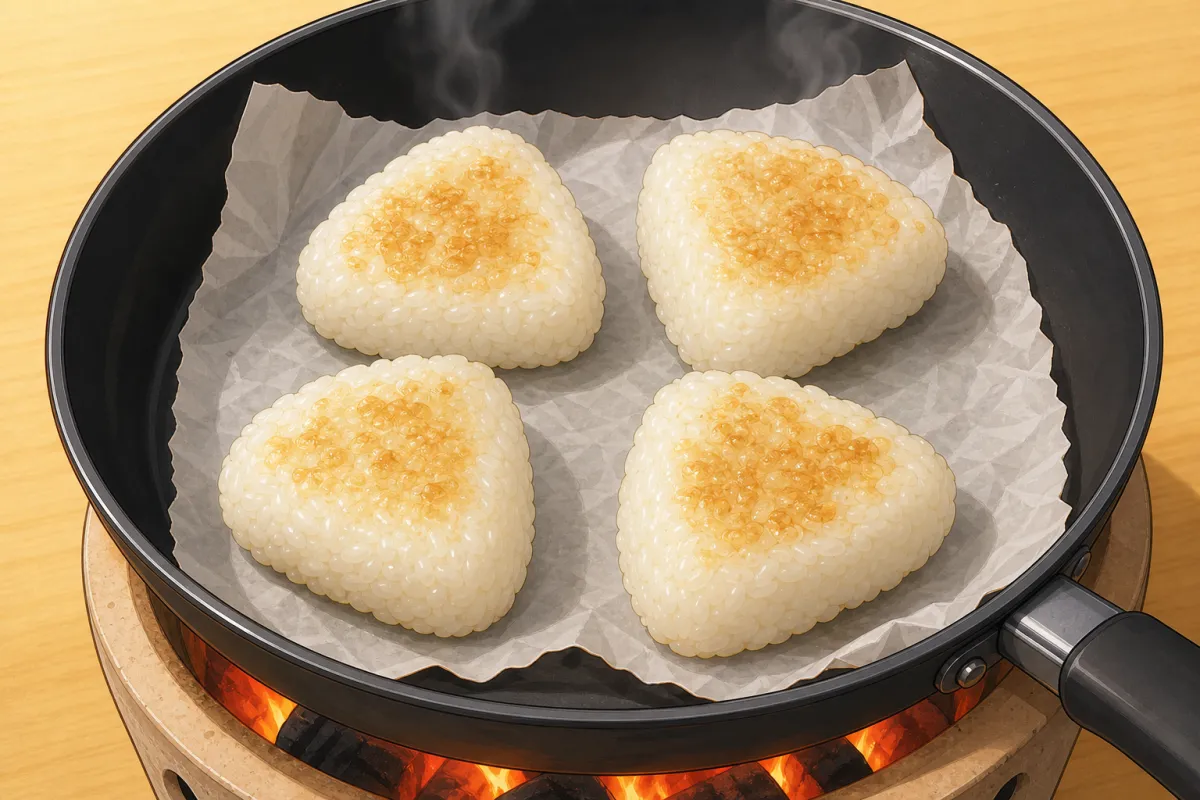
Should look like this 
Low heat: brush on the soy glaze, turn it onto the pan, brush the other side. 14Yaki onigiri: glaze
low~3 minFor this step
- Soy sauce (glaze)1 tbsp
- Toasted sesame oil1 tsp
- Heat to low. Brush one side with the soy sauce and sesame oil, turn it onto the pan, brush the other.
- A minute more per side — the glaze burns fast.
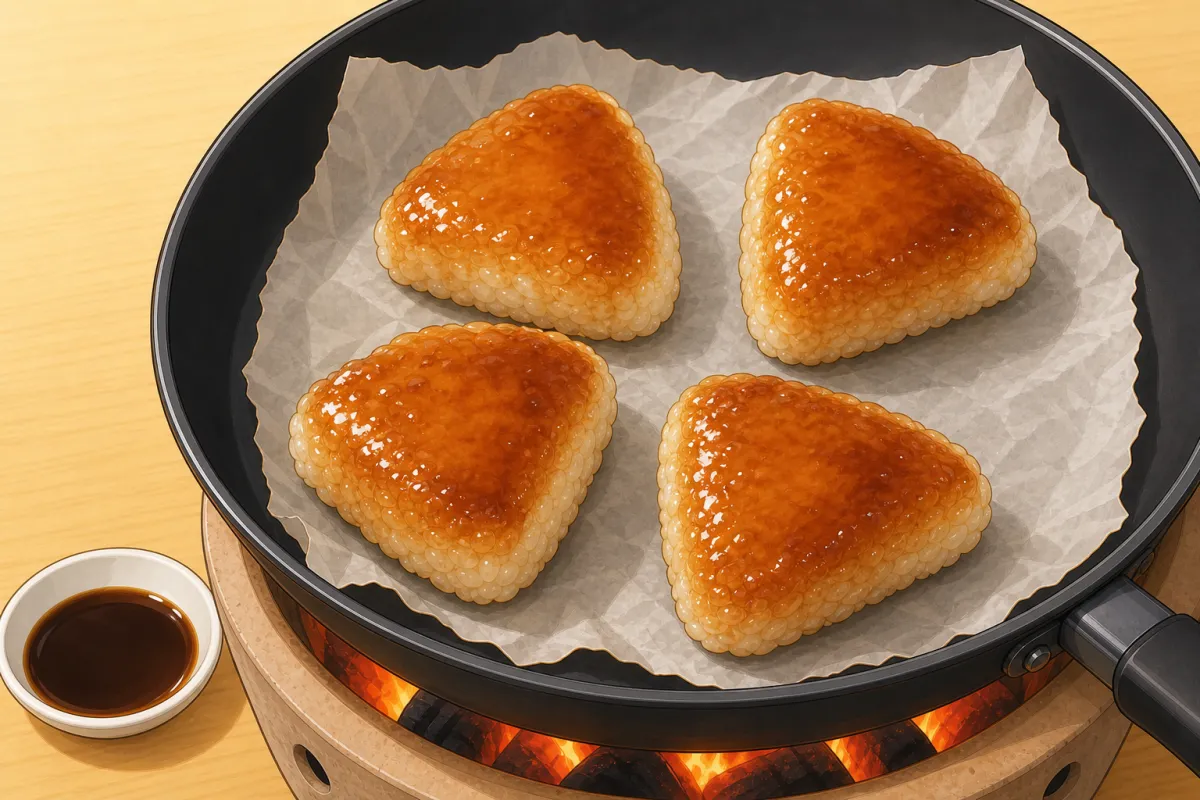
Should look like this
Based on: Just One Cookbook — Onigiri (Japanese rice balls) · Just One Cookbook — Yaki onigiri (grilled rice balls) · Japanese Cooking 101 — Ajitama onigiri (ramen egg rice balls) · Hiroko’s Recipes — Bakudan onigiri, the nori-wrapped “bomb”