Anko: sweet red bean paste (tsubuan)
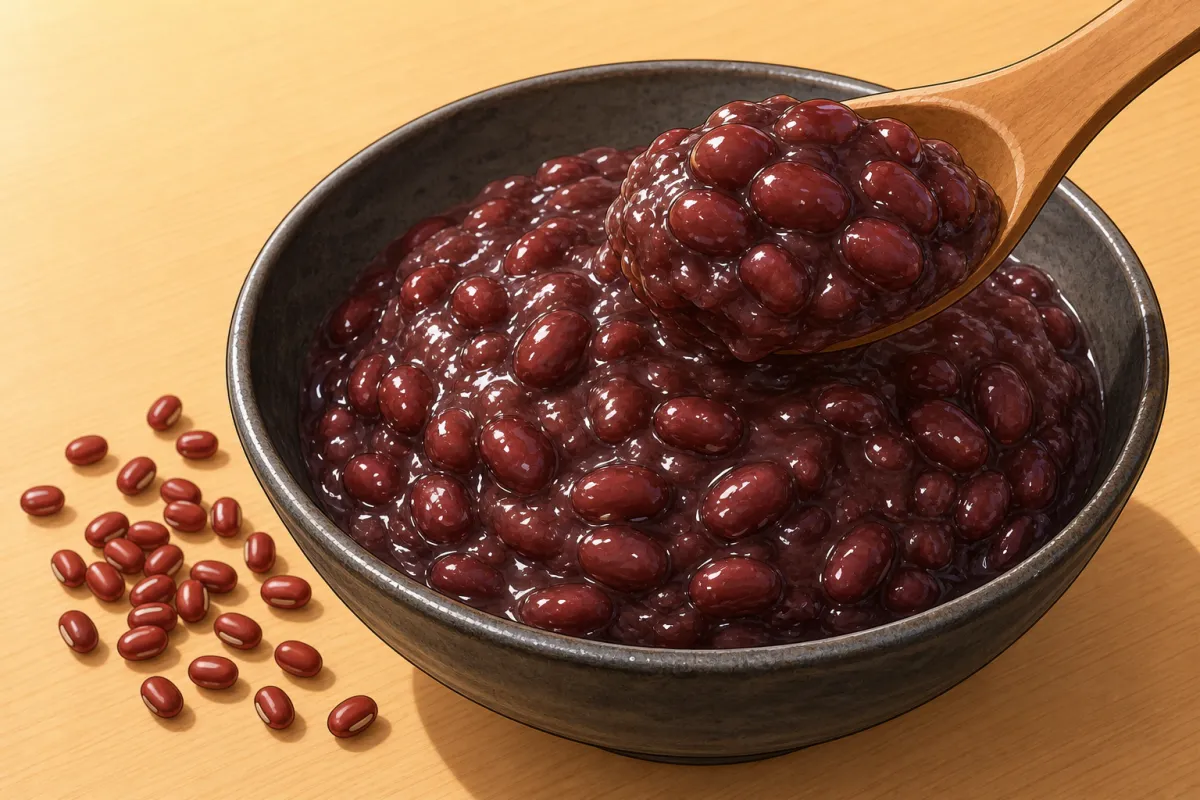
Tsubuan is the chunky kind of anko: the beans stay mostly whole in a dark, glossy, just-sweet paste. Azuki don't need soaking. A quick boil and drain takes off the bitter edge, then they simmer until they are soft right through. The sugar goes in only then, because sugar added early keeps the skins hard. Large azuki (dainagon) work the same and take a little longer. Six daifuku take 150–210 g, so one batch fills two or three sets: plain, strawberry daifuku, mame or yomogi.
Mise en place — set out in the order it goes in
 Azukirinsed, floaters outStep 1
 Sugar180 g, in three partsStep 4
 Salt¼ tspStep 4
Prep order — what happens when, and what overlaps
h:mm
0:000:301:001:302:002:30
Rinse, pick over 5 min
Boil 2–3 min, drain 15 min
Simmer until soft 1 h 20
Sugar in, stir down 20 min
Cool on a tray 30 min
Bowl / counterPan / stoveHands-off
Step by step
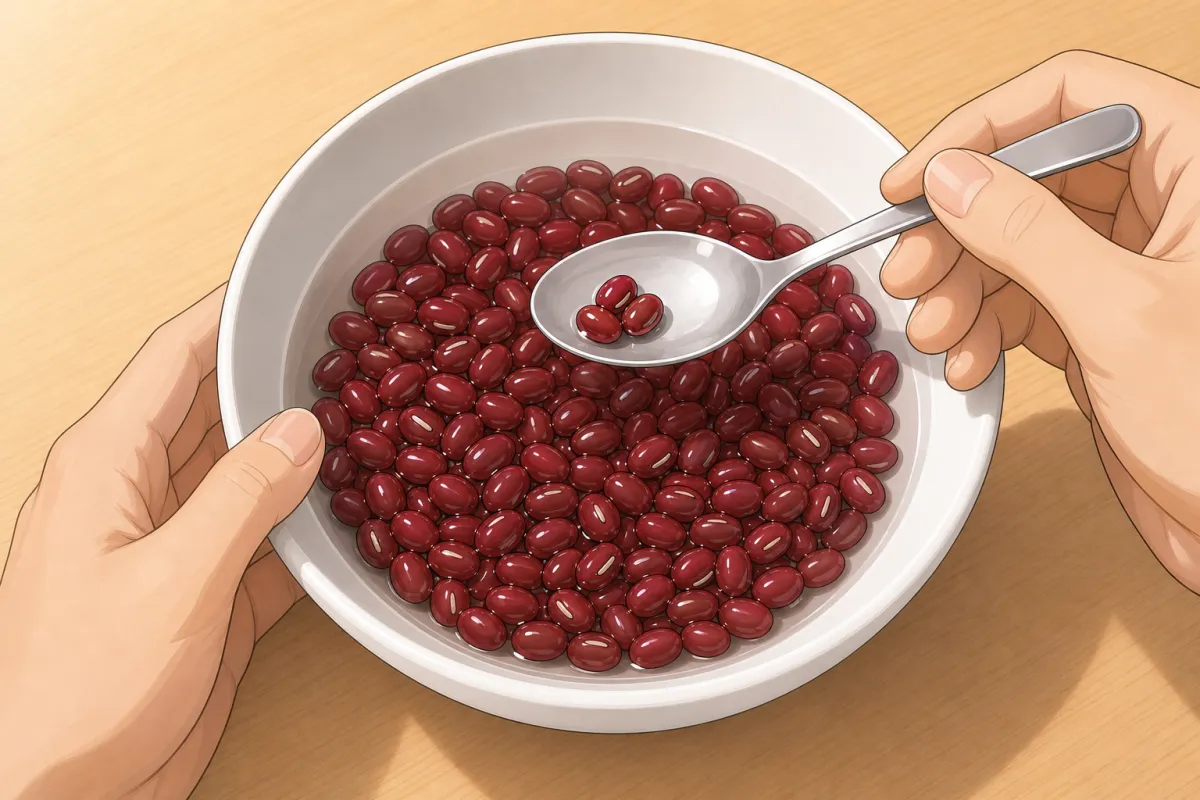
Lift out anything that floats. 1Rinse
5 minFor this step
- Dry azuki beans200 g
- Put the beans in a bowl of cold water and swirl. Lift out anything that floats, plus any split or shrivelled beans and little stones.
- Drain. No soaking.
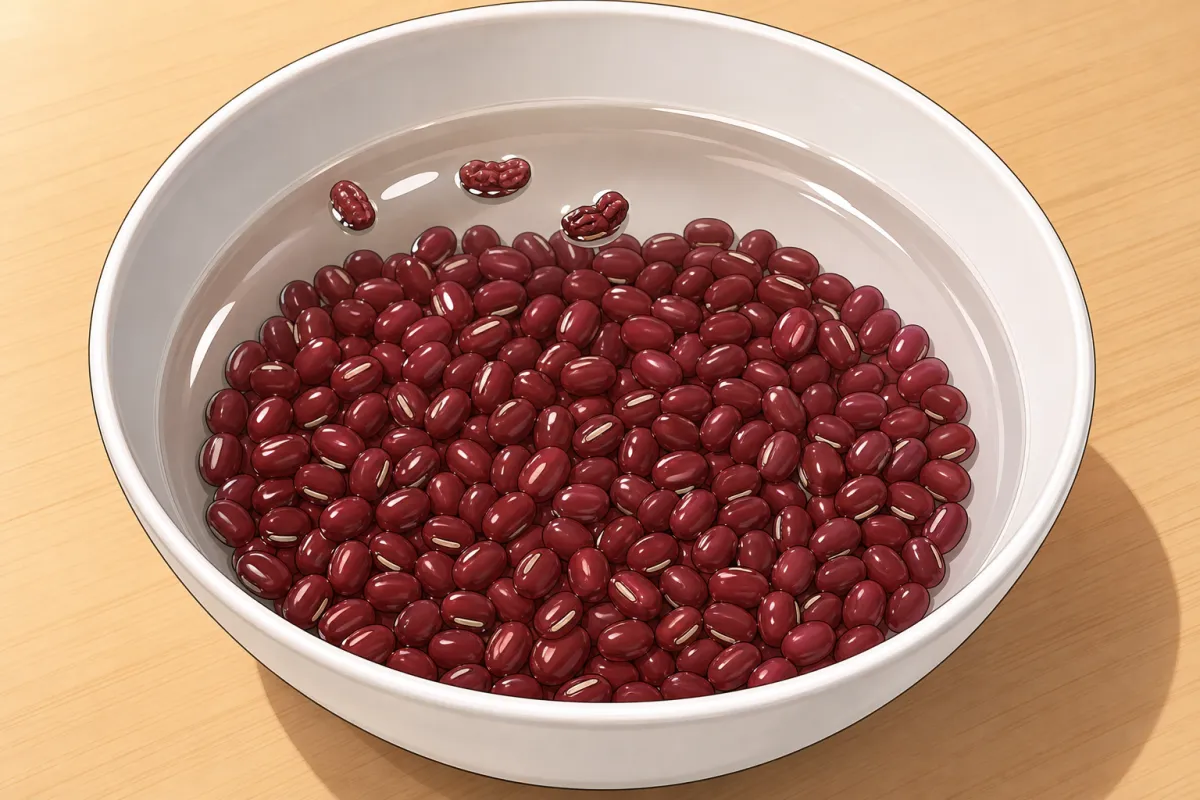
Should look like this 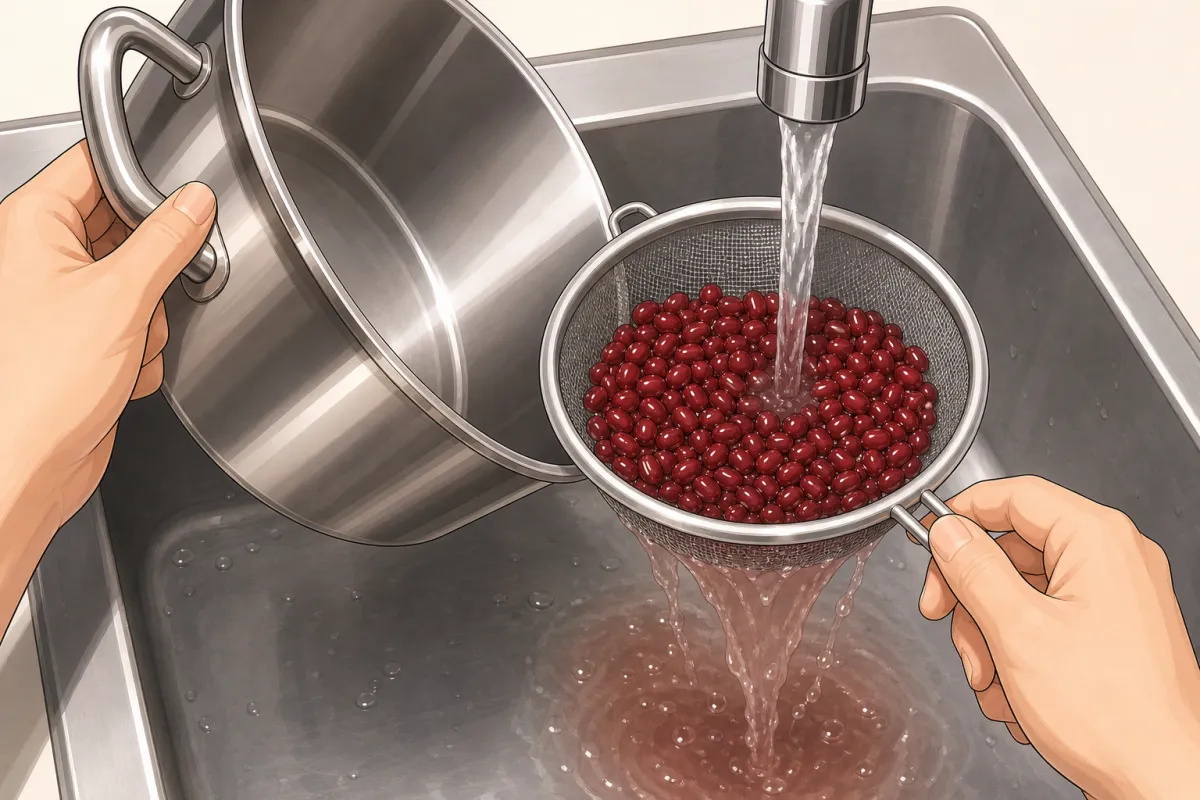
Boil 2–3 minutes, then tip into the sieve and rinse. 2Boil once, then drain
high~15 min- Cover the beans with about 800 ml of cold water and bring it to a boil.
- Boil 2–3 minutes, until the water turns a cloudy red-brown.
- Tip into a sieve and rinse the beans under the tap. This water is bitter; it goes down the drain.
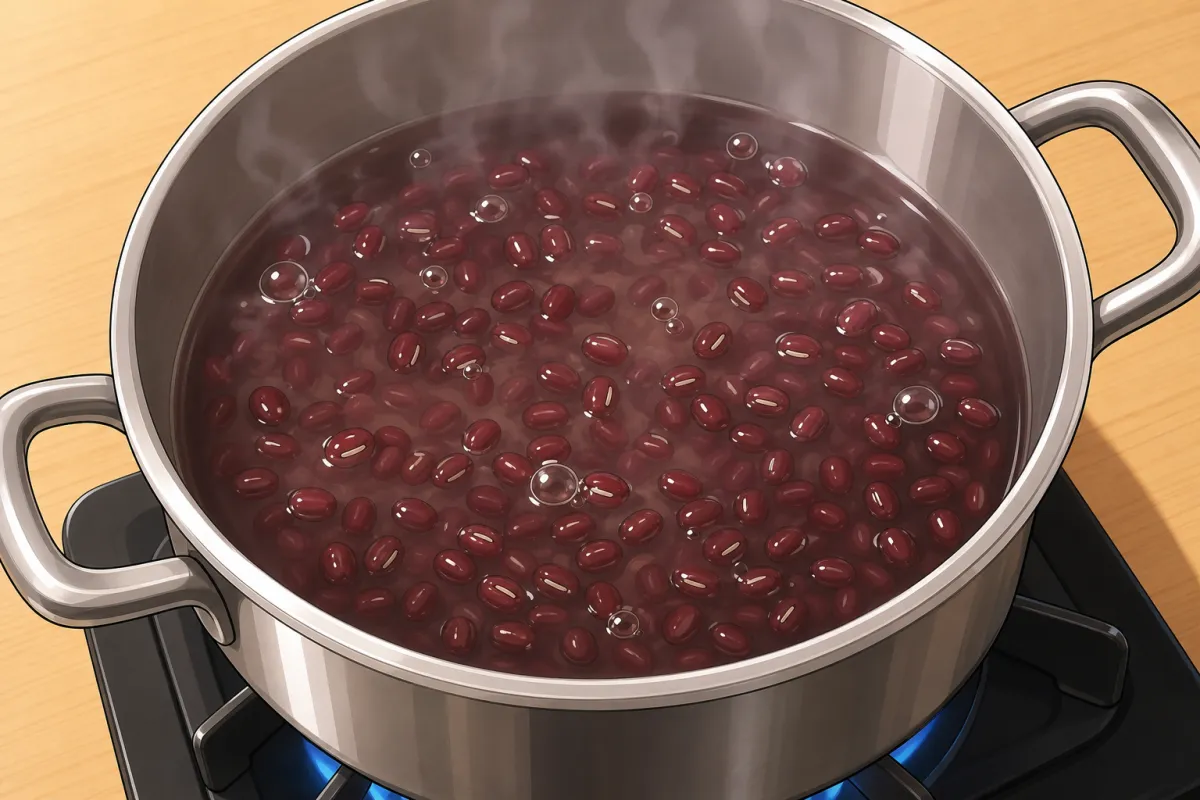
Should look like this 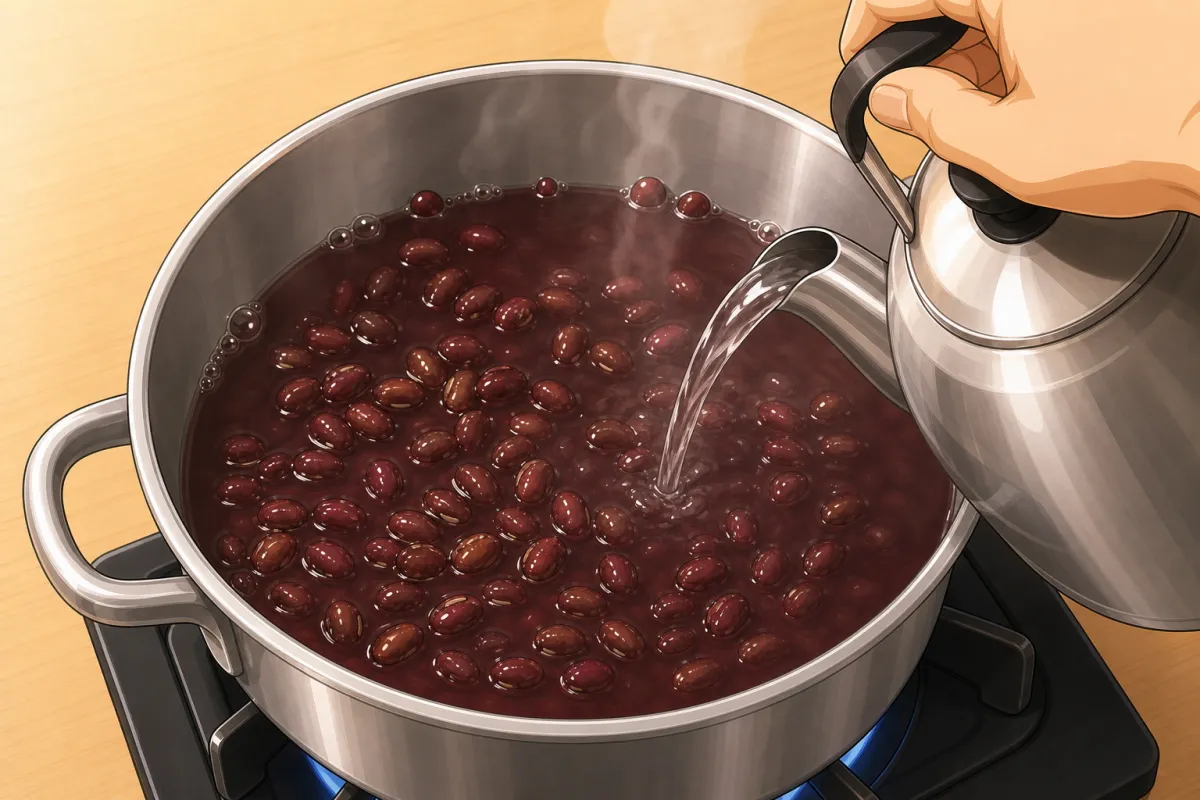
Keep the beans under water: add a splash whenever they peek out. 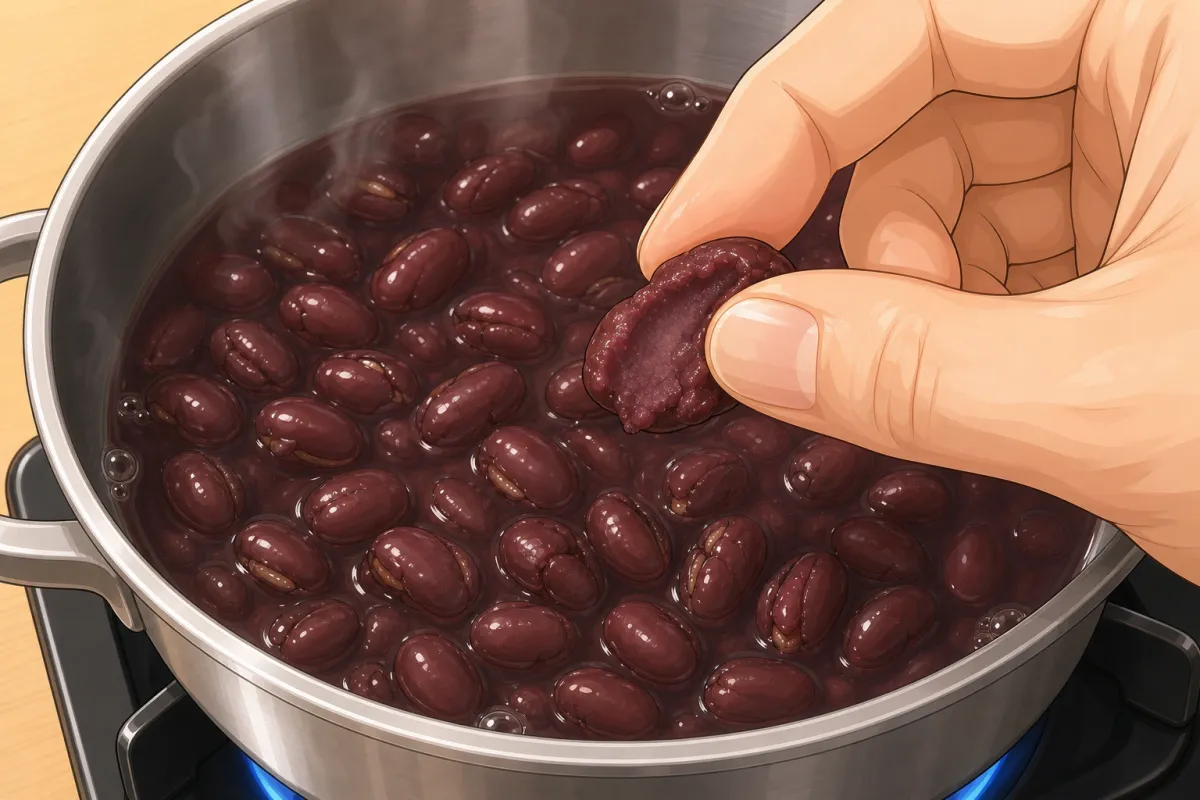
Done when a bean squashes between thumb and ring finger, no chalky centre. 3Simmer until a bean crushes
low60–90 minFor this step
- Waterabout 2 L in all
- Back in the pot with about 1 L of fresh water. Bring to a boil, then turn it down to a gentle simmer with the lid ajar.
- Keep the beans covered: add a splash of hot water whenever they start to peek out. Beans left above the water stay hard.
- After 60 minutes, take out a bean and press it between your thumb and ring finger. It's ready when it squashes with no chalky white centre. If not, go on up to 90 minutes.
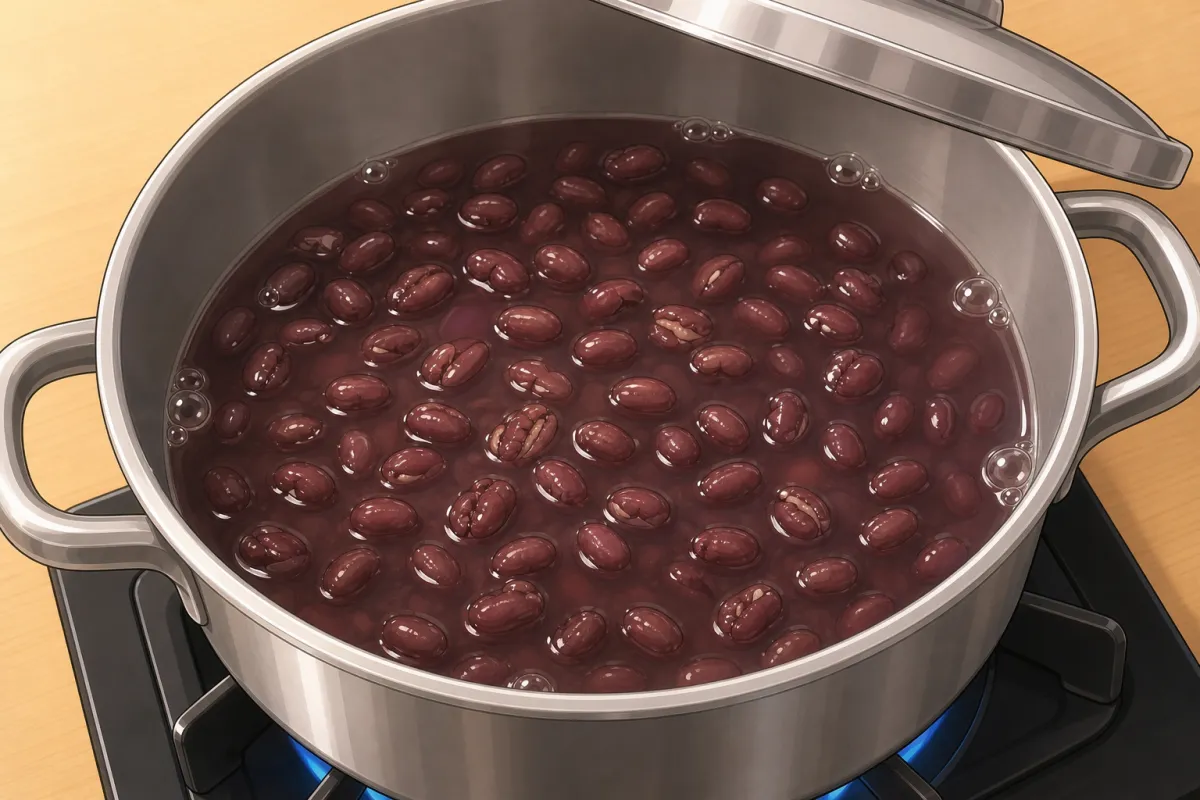
Should look like this 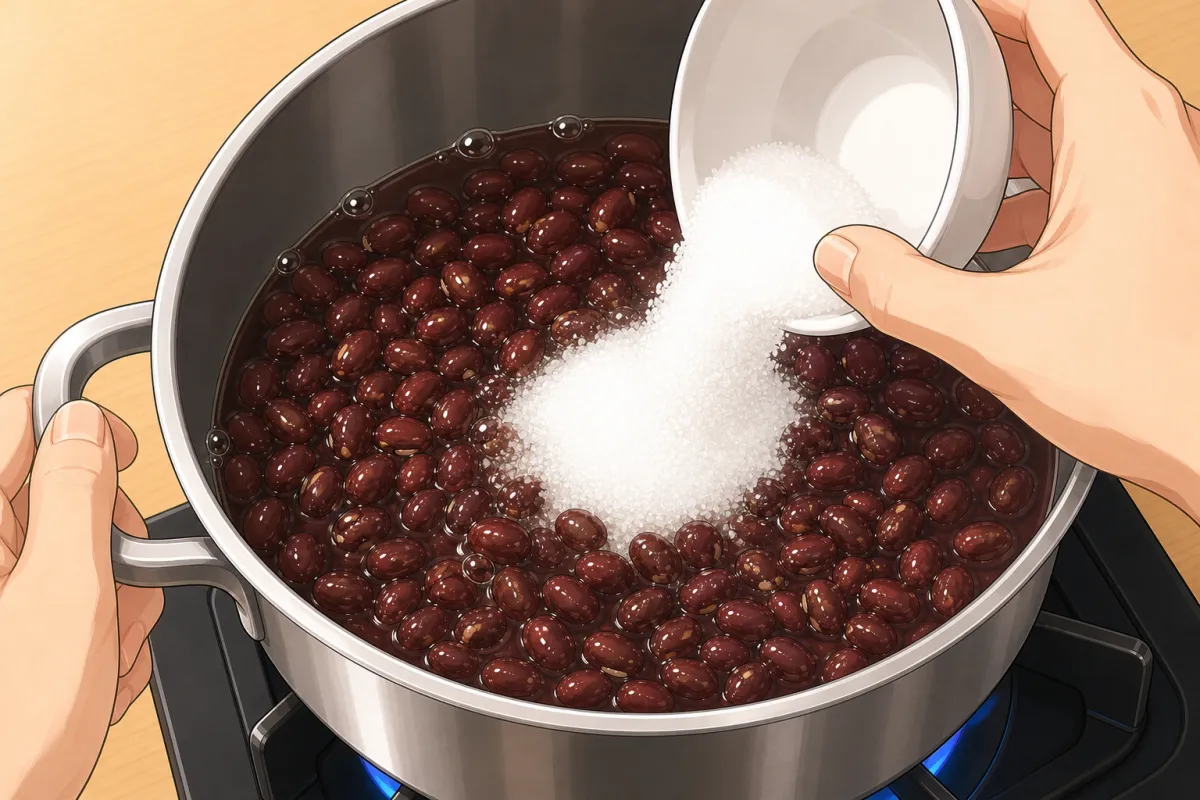
Sugar in three goes over medium-low. 4Drain down, sugar in three goes
medium-low5 minFor this step
- White sugar180 g
- Salt¼ tsp
- Pour off water until it sits just below the top of the beans. Keep about a cupful aside.
- Over medium-low, stir in a third of the sugar. When it has melted, add the next third, then the last, with the salt.
- The sugar draws water out of the beans, so the pot looks soupy again. That's right.
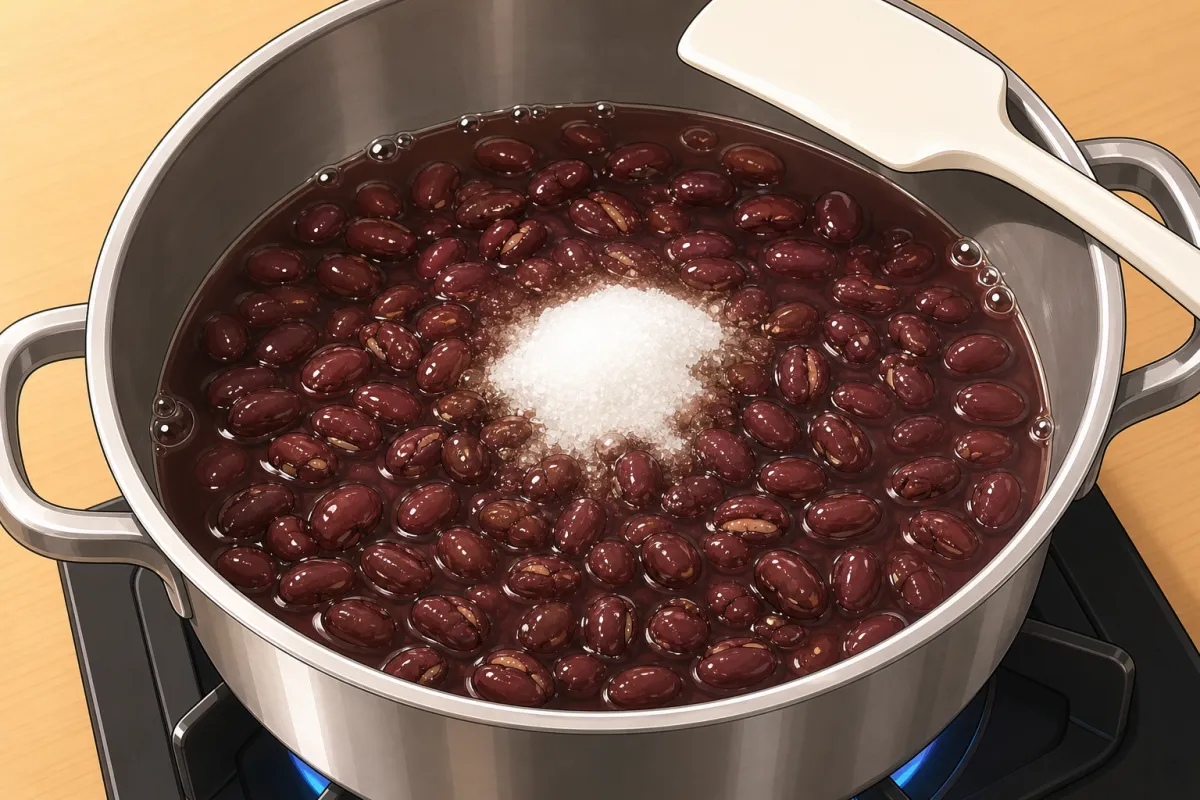
Should look like this 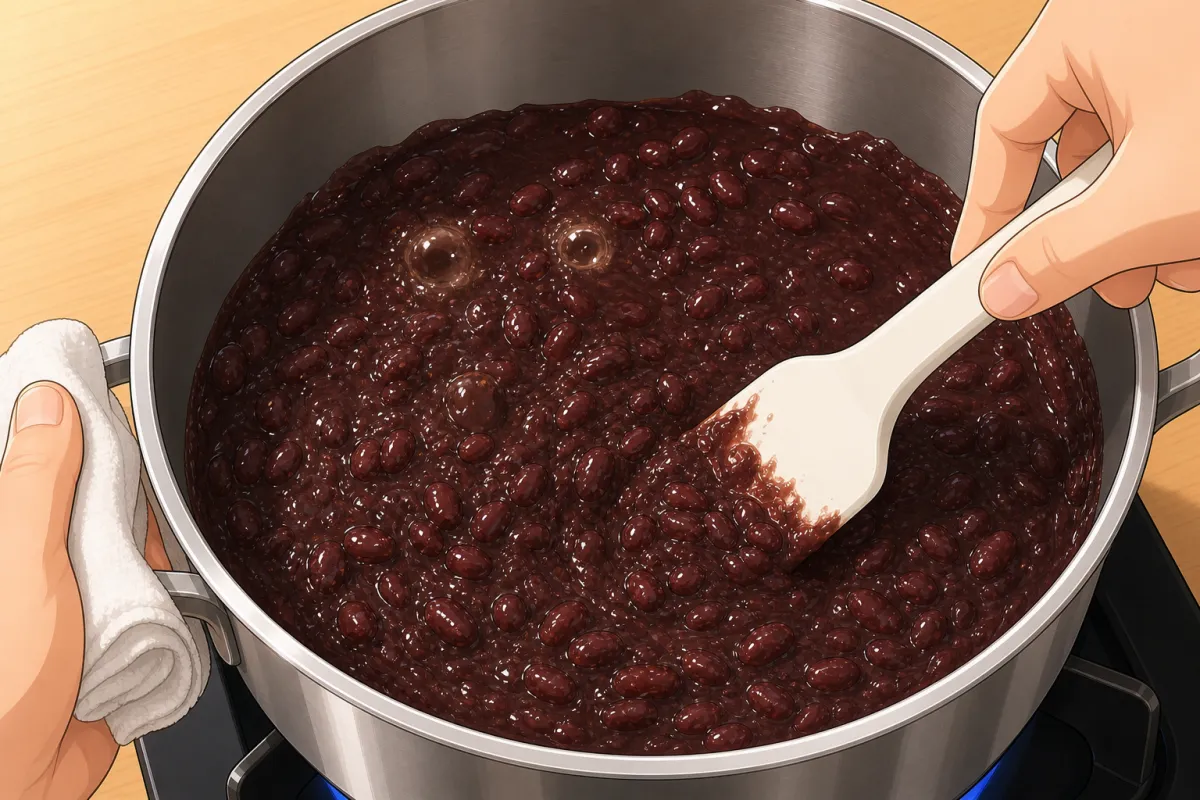
Keep scraping the whole bottom as it thickens. 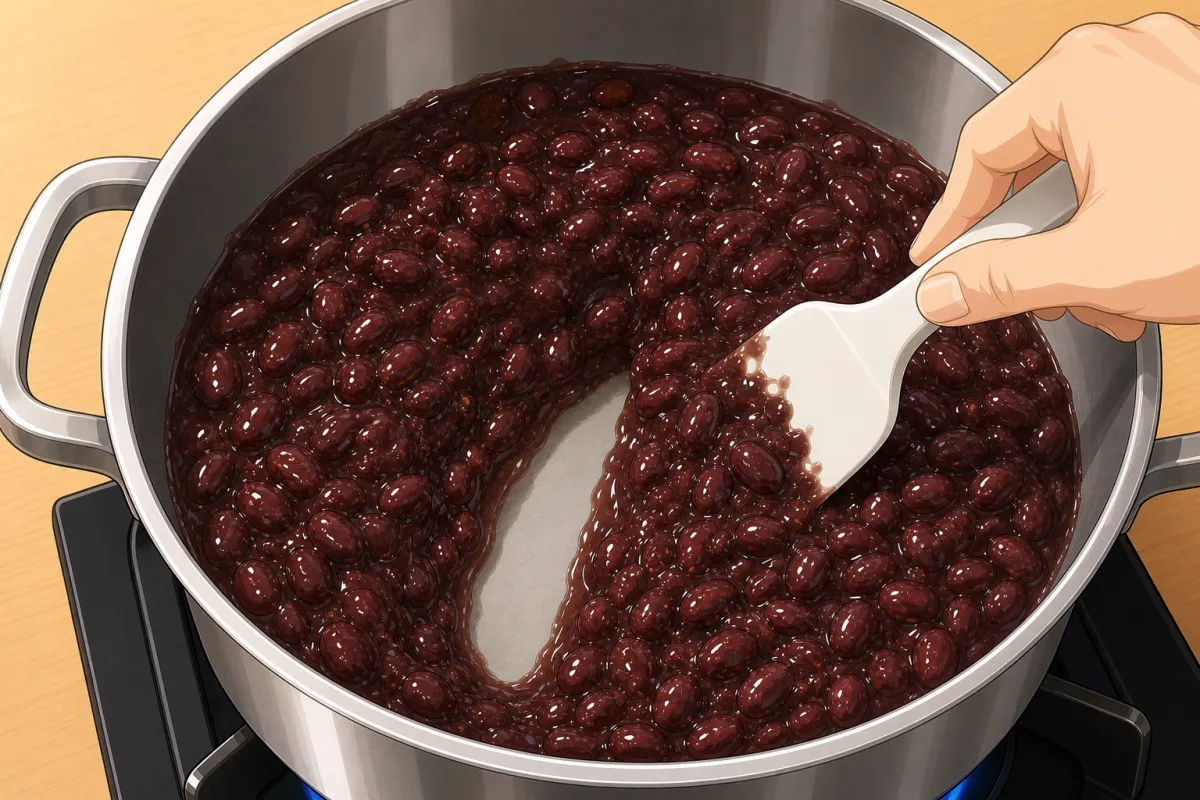
Stop when the spatula trail closes up slowly. 5Stir down until it leaves a trail
medium-low10–15 min- Keep stirring along the bottom with the spatula, scraping the whole base, for 10–15 minutes. It thickens and turns glossy and dark. It also spits, so keep your hand to the side.
- Drag the spatula across the bottom. Stop when it leaves a trail that closes up slowly.
- Stop while it's still a little softer than you want. It firms up a lot as it cools. If it's too stiff once cold, stir in a spoonful of the bean water you kept.
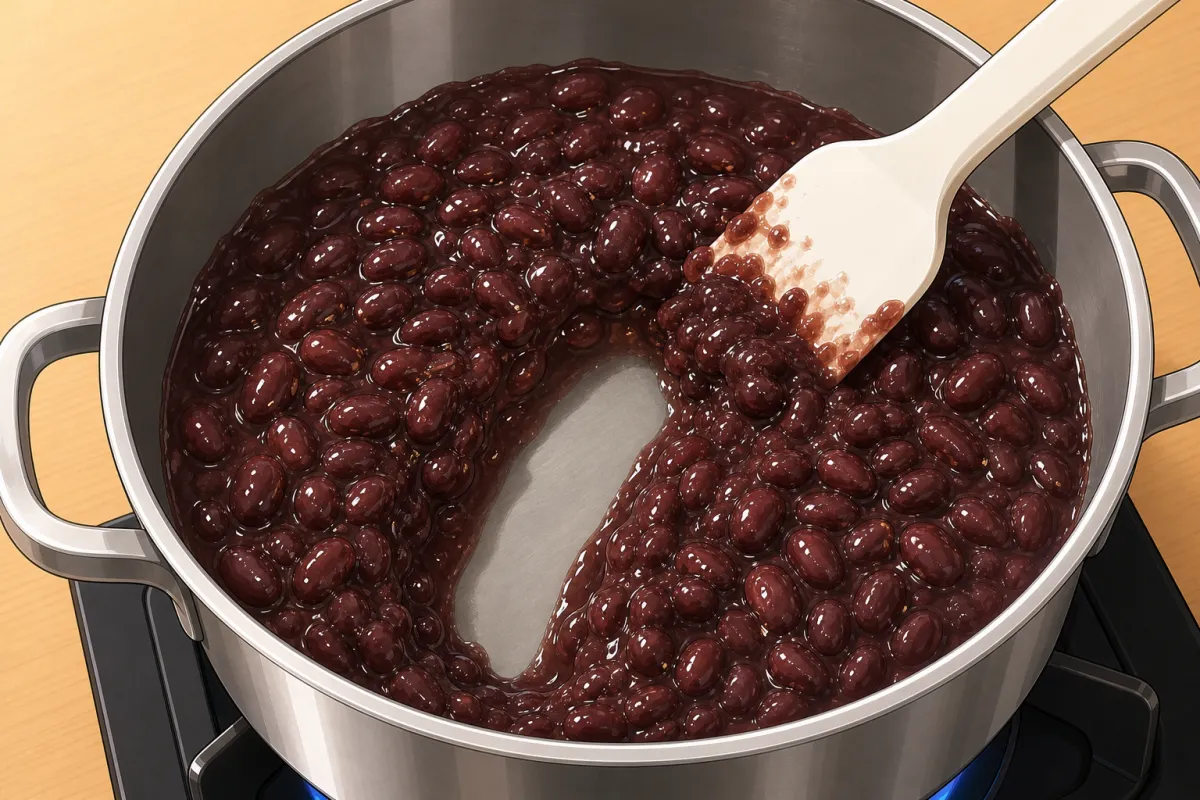
Should look like this 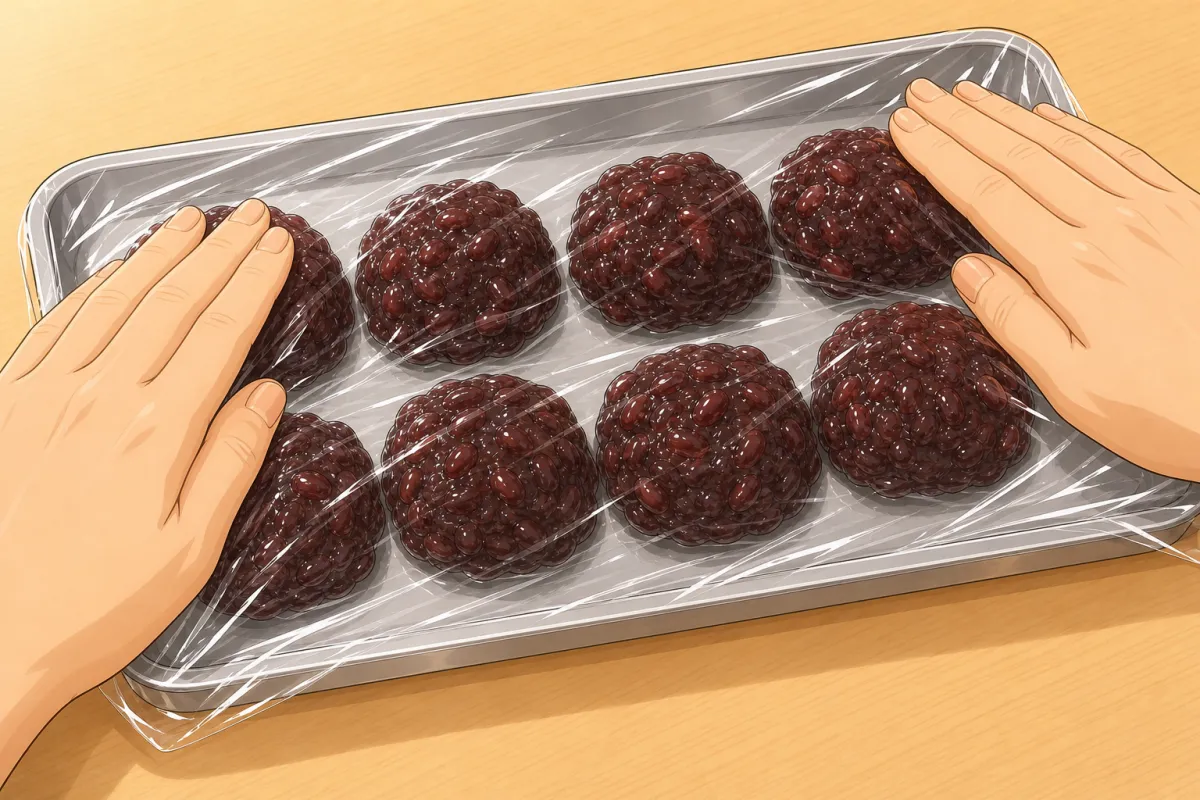
Small mounds on a tray, cling film pressed onto the surface. 6Cool fast
30 min- Spoon it onto a tray in small mounds so it cools quickly and stays glossy.
- Press cling film onto the surface so no skin forms.
- Fridge up to 5 days, or freeze flat in a bag for a month.
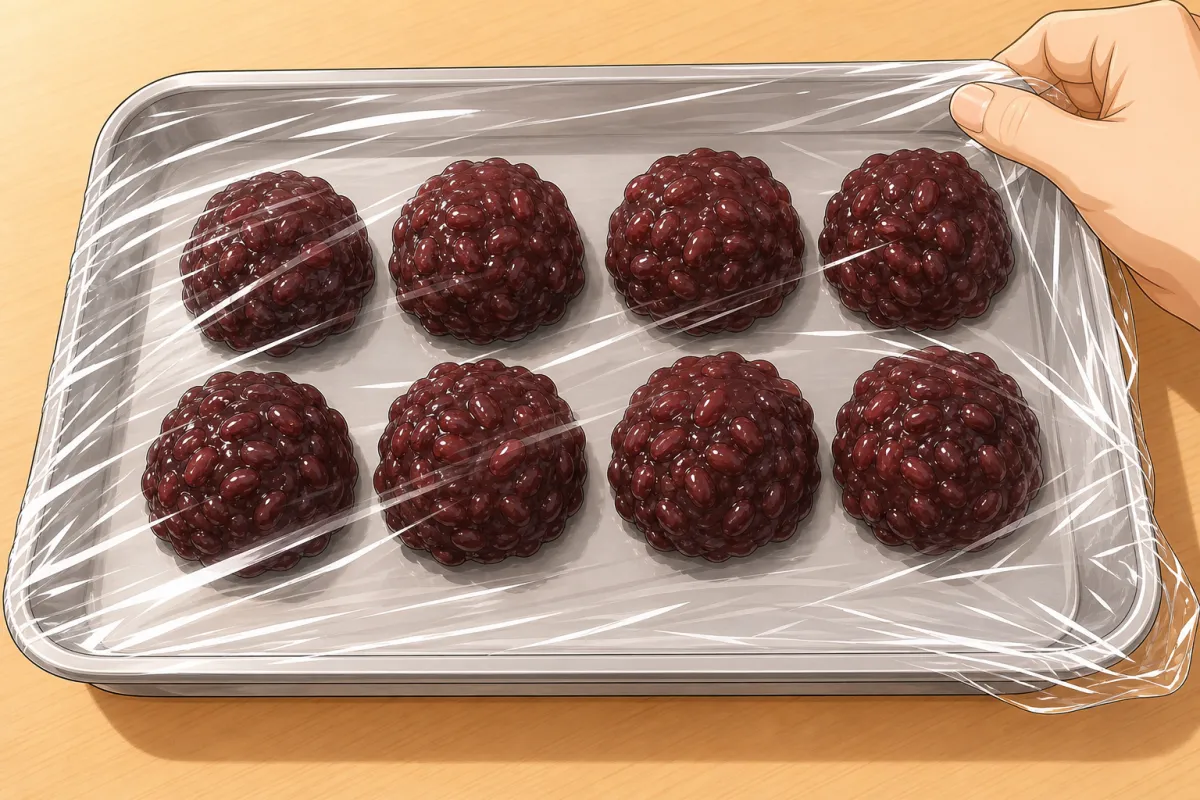
Should look like this