Onigirazu (ginger pork rice sandwich)
An onigirazu (“un-squeezed rice ball”) is the lazy cousin of onigiri: no shaping at all. Rice, filling and rice are stacked on a sheet of nori, the four corners fold in like an envelope, and one cut through the middle shows the layers. This is Just One Cookbook’s ginger pork build — her shogayaki, a crisp lettuce leaf and a drizzle of Kewpie — so every bite is juicy, sweet-salty and gingery. Make the pork first; the rice should be warm when you build.

Mise en place — set out in the order it goes in
 Ginger sauce
- soy
- mirin
- sake
- sugar
- ginger
- onion
 Porkthin loin slicesStep 2
 Onionthe rest, thinly slicedStep 4
 Nori4 whole sheetsStep 5
 Ricewarm, salted as you buildStep 6
 Lettuce + Kewpieone leaf eachStep 7
Prep order — what happens when, and what overlaps
minutes
01020304050
Ginger sauce 6 min
Slice onion, marinate pork 6 min
Sear the pork 6 min
Onion, then the sauce 10 min
Cool the filling 5 min
Build 4 onigirazu 14 min
Rest in the wrap 5 min
Cut and serve 3 min
Bowl / counterBoardPan / stoveHands-off
Cook the rice first so it’s ready and warm. While the pork cools you can lay out the wrap and nori.
Step by step
Ginger pork

Grate the peeled ginger, keeping the juice. 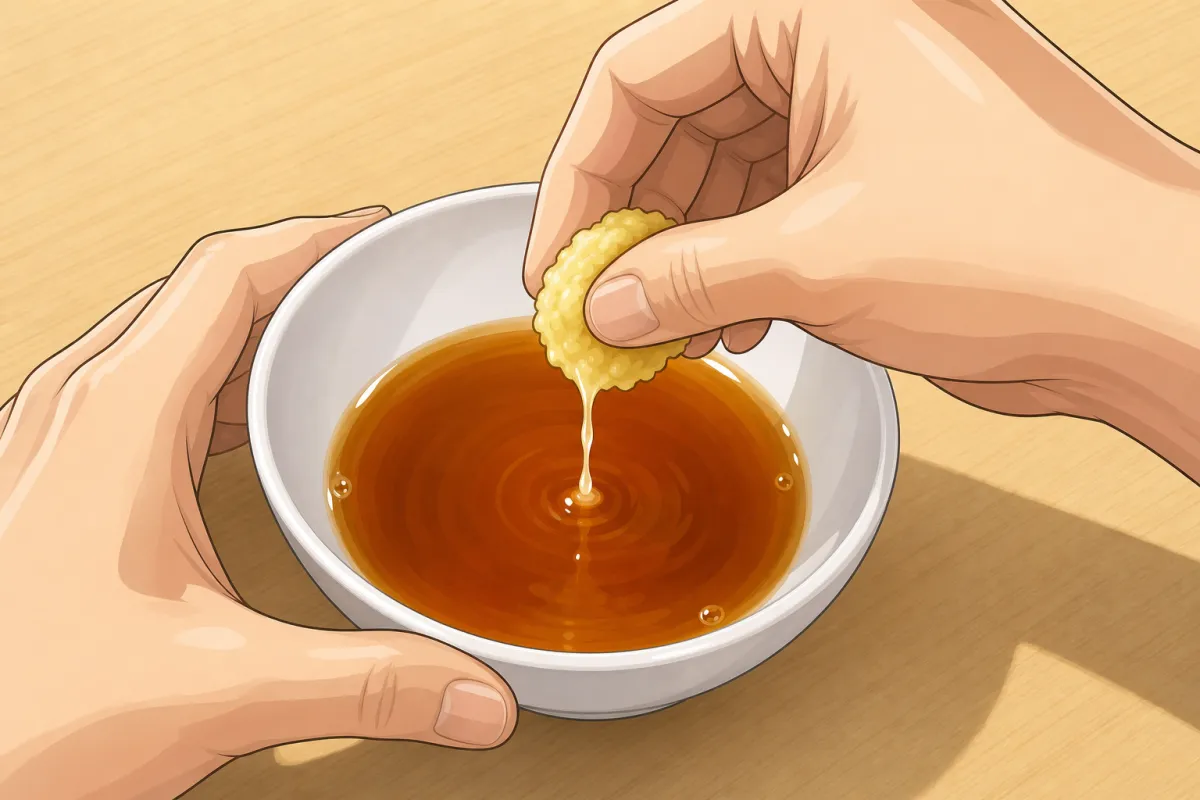
Squeeze out 1 tbsp juice — half into the sauce, half for the pork. 1Ginger sauce
~6 minFor this step
- Fresh ginger5 cm piece
- Onion½
- Stir together in a small bowl:
- soy sauce 2 tbsp
- mirin 2 tbsp
- sake (sauce) 2 tbsp
- sugar 1 tsp
- Peel the ginger and grate it, keeping the juice. Squeeze out 1 tbsp ginger juice: half goes into the sauce, half is for the pork.
- Add 2–3 tsp of the squeezed grated ginger to the sauce, to taste.
- Grate 1 tbsp of the onion with its juice into the sauce. Keep the rest of the onion.

Should look like this 
Thicker than 3 mm? A few small cuts through the fat strip. 
Ginger juice and sake over the pork, then a light dusting of flour. 2Pork and onion
~6 minFor this step
- Thinly sliced pork loin340 g
- Sake (pork)1 tbsp
- Plain flour1 tbsp
- Slice the rest of the onion thinly.
- If the pork slices are thicker than 3 mm, make a few small cuts through the white strip between meat and fat, so they stay flat.
- Sprinkle the pork with the other half of the ginger juice and the sake. Leave 5 minutes.
- Just before cooking, dust the slices lightly with the flour (skip it for paper-thin slices).
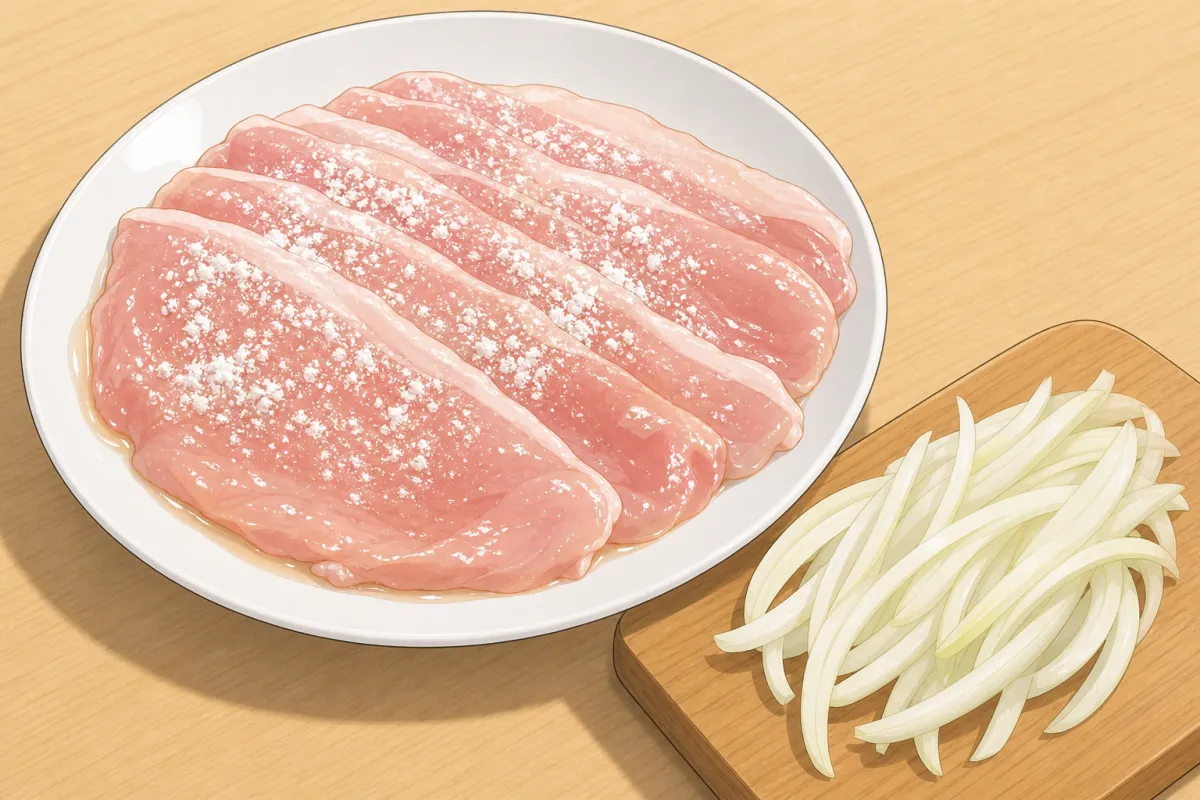
Should look like this 
Turn each slice once the underside is golden. 3Sear the pork
medium-high~6 minFor this step
- Neutral oil1–2 tbsp
- Heat the oil in a large frying pan over medium-high heat.
- Lay the pork in a single layer and turn each slice once the underside is golden. Work in batches — a crowded pan steams the meat.
- As soon as it is no longer pink, move it to a plate. It finishes in the sauce.

Should look like this 
Pork back in, sauce over, spoon it over for about 2 minutes. 4Onion, then the sauce
medium~10 minFor this step
- Black pepper (optional)to taste
- A little more oil if needed, then the sliced onion: cook on medium until golden and tender, 6–8 min.
- Pork back in. Stir the sauce once more and pour it over.
- Simmer, spooning the sauce over the pork, about 2 minutes until it thickens and coats. Pepper if you like.
- Let it cool on a plate until just warm, about 5 minutes.
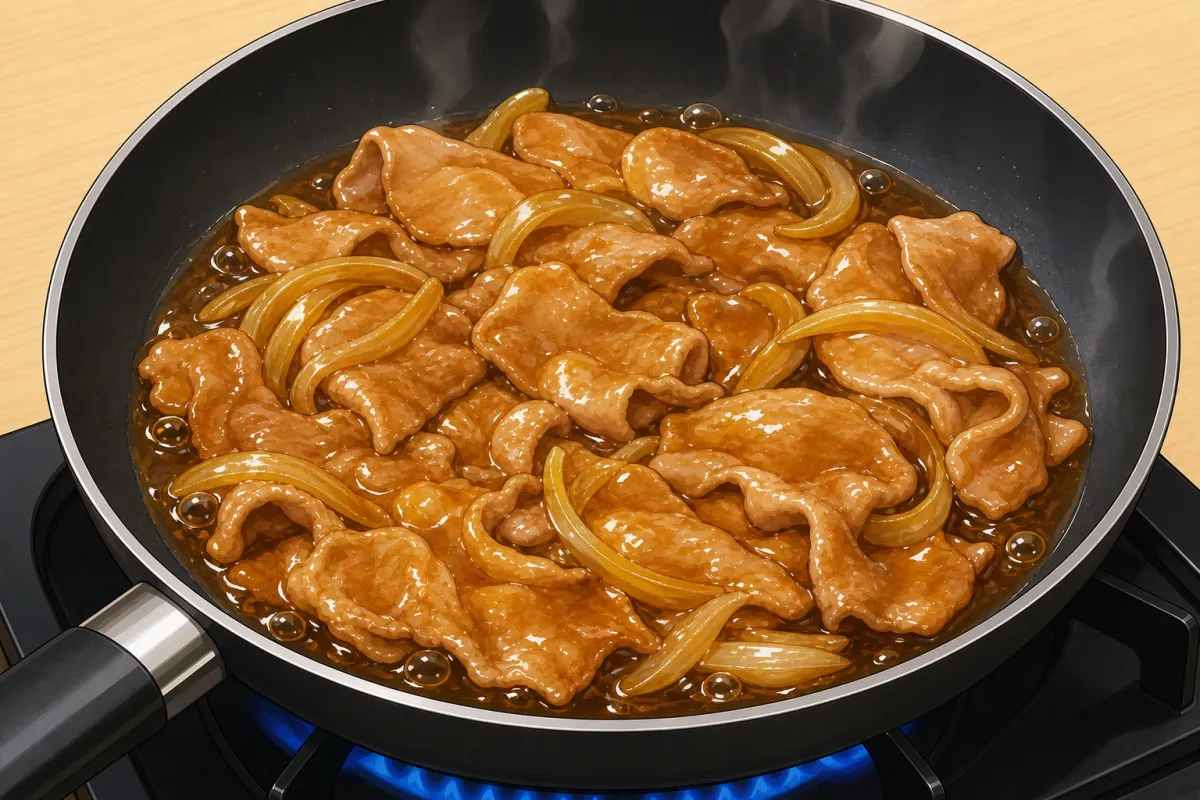
Should look like this Build (one onigirazu)

Nori on the wrap, shiny side down, a corner pointing up. 5Nori on plastic wrap
1 minFor this step
- Nori4 sheets
- Lay a sheet of plastic wrap on the counter.
- One nori sheet on it, shiny side down, turned so a corner points up — a diamond.
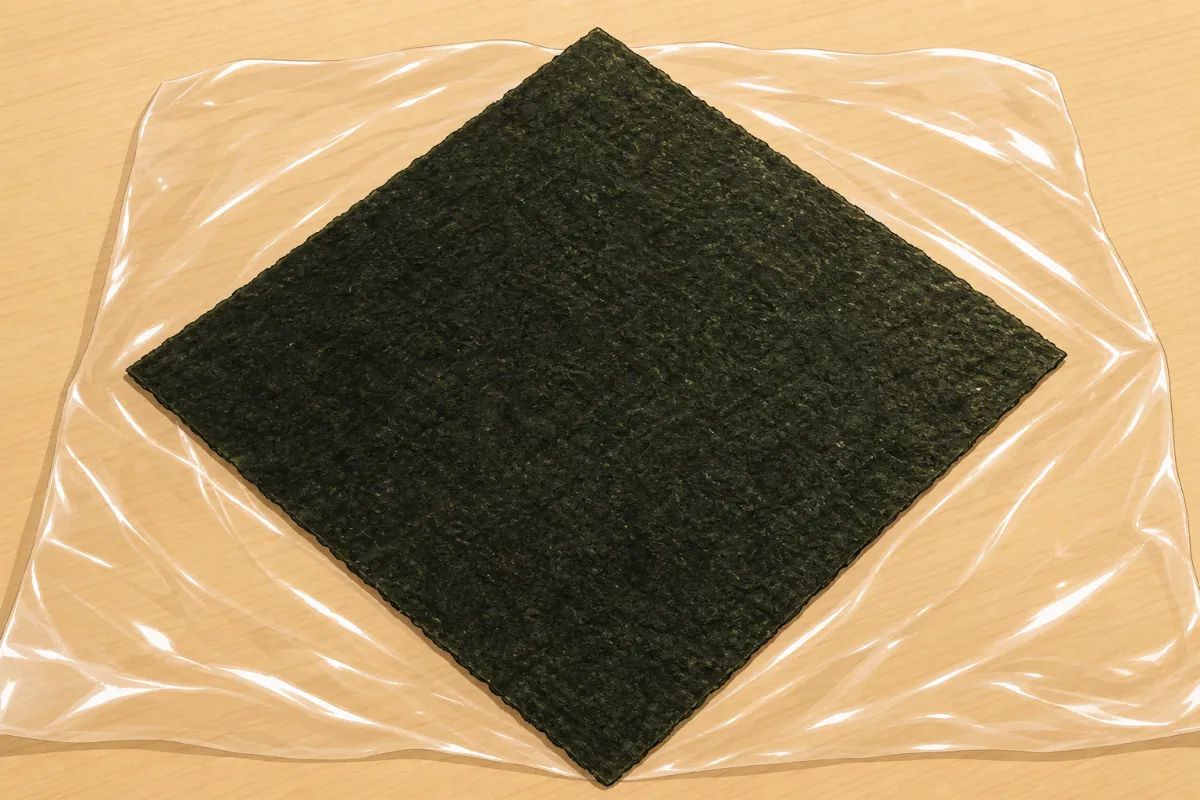
Should look like this 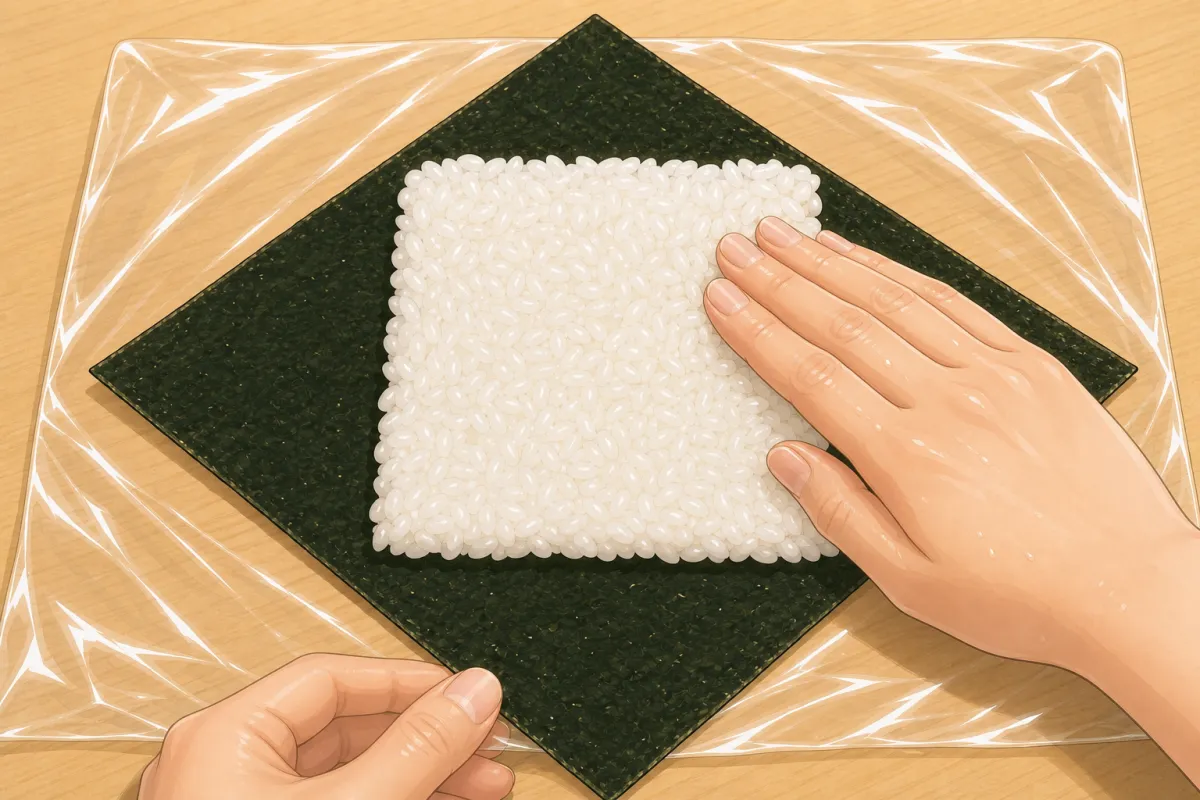
Spread the rice thin, into a square in the middle. 6First rice layer
1 minFor this step
- Cooked Japanese short-grain rice, warm4 cups (~600 g)
- Kosher salta pinch per layer
- Spread ½ cup (~75 g) warm rice in a thin, even square in the middle of the nori, about 9 cm a side. Leave the four corners of nori bare.
- Sprinkle with a pinch of salt.

Should look like this 
Lettuce, a drizzle of Kewpie, then the pork, piled high in the middle. 7Fillings
1 minFor this step
- Lettuce4 leaves
- Japanese mayo (Kewpie)a drizzle each
- A lettuce leaf on the rice, folded to fit the square.
- A drizzle of Kewpie over the lettuce.
- A quarter of the ginger pork and its onion on top, folded and piled high in the middle — think about where you’ll cut, so the filling shows.
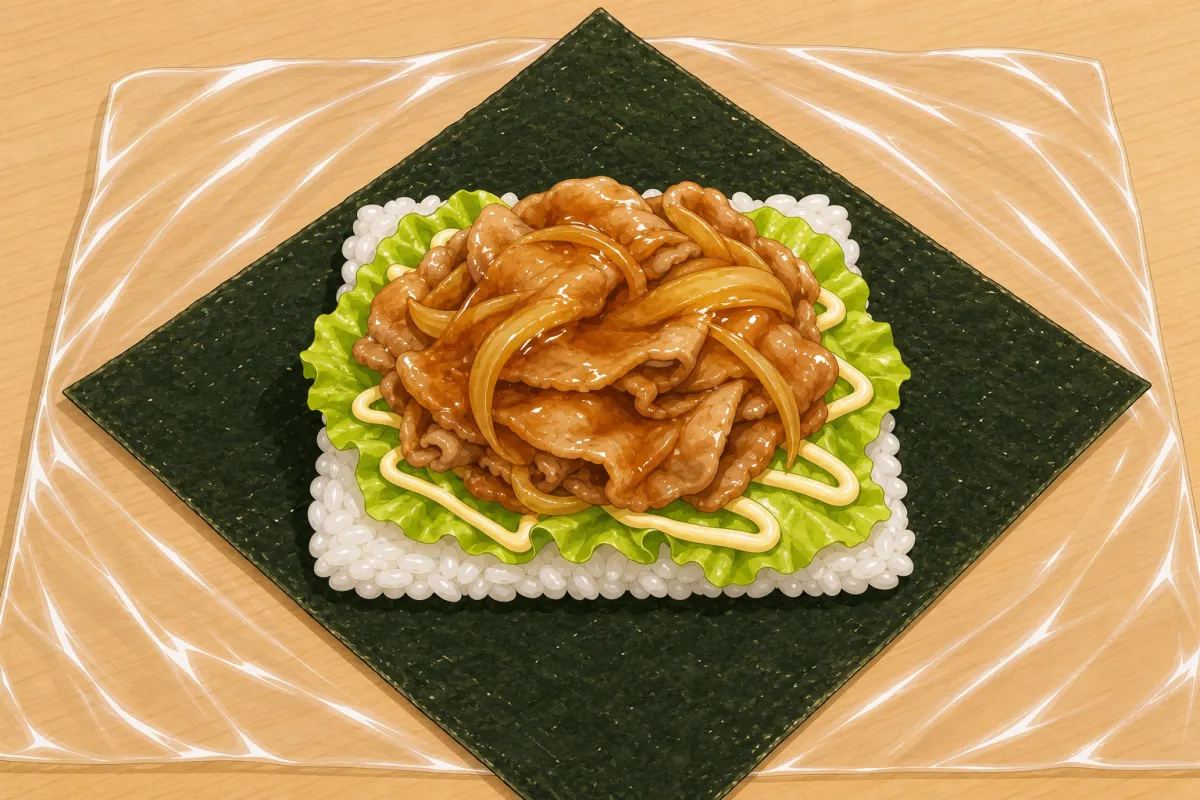
Should look like this 
Rice on top, spread into the same square. 8Top rice layer
1 min- Another ½ cup rice over the filling, spread into the same square.
- With a mold: wet its lid, press down gently, then lift the frame off while holding the lid down.

Should look like this 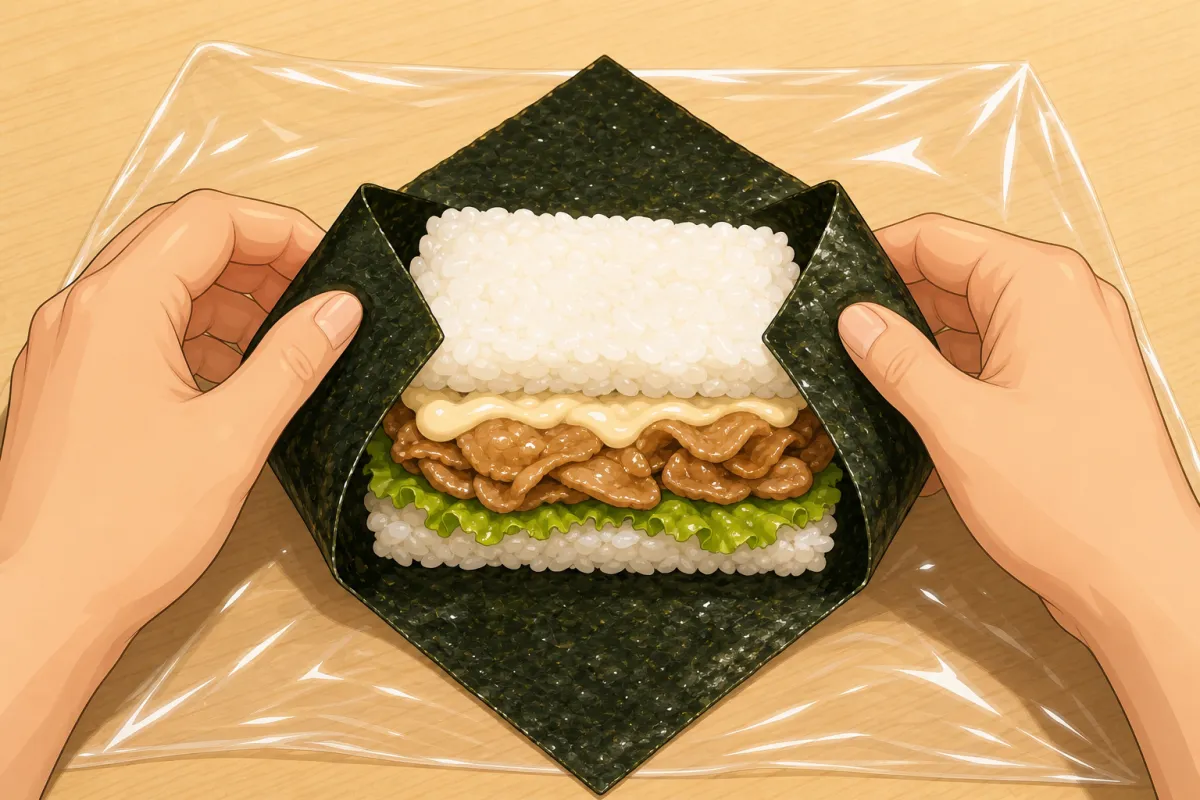
Left and right corners in first, gently but tightly. 
Then the bottom and top corners. Tuck the rice in. 9Fold the nori
1 min- Bring the left and right corners into the middle, folding gently but tightly around the stack.
- Then the bottom and top corners, the same way. Tuck any loose rice in.
- If it’s square, mark the cut direction — a grain of rice on top, in line with the filling.

Should look like this 
Wrap it tightly in its plastic wrap; rest seam side down. 10Wrap and rest
5 min- Wrap it tightly in its plastic wrap.
- Rest seam side down for 5 minutes while you build the others — the nori softens and seals.
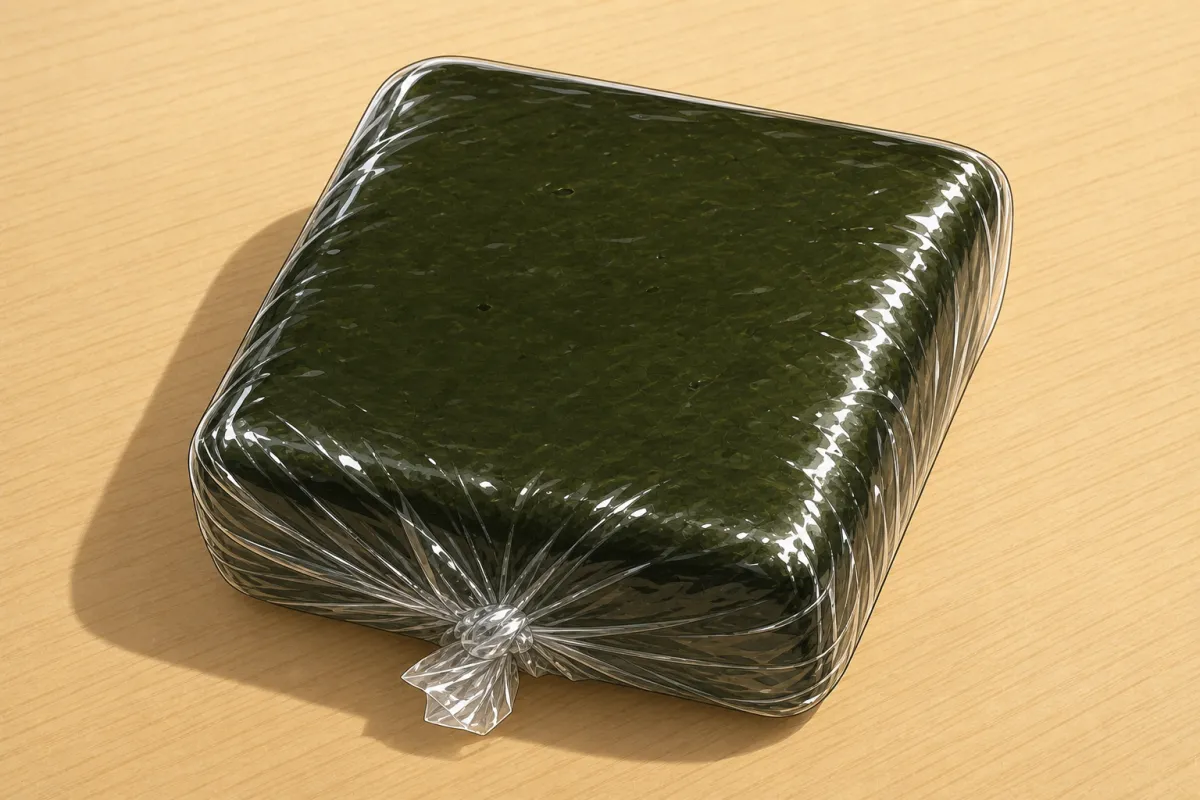
Should look like this Serve

A wet knife, one straight cut through the middle, wrap and all. 11Cut in half
~3 min- Run a sharp knife under cold water.
- Cut straight through the middle, wrap and all, along your mark, so the layers show.
- Serve cut side up; peel back the wrap as you eat.

Should look like this
Based on: Just One Cookbook — Ginger pork onigirazu · Just One Cookbook — Ginger pork (shogayaki) · Just One Cookbook — Chicken katsu onigirazu