Pork kimchi (Bongo) onigiri
A home version inspired by the shop filling named above. The shops do not publish their recipes; these quantities are this site's own. This page makes one filling, then shapes and serves it. Start with plain cooked Japanese short-grain rice: rice cooking, hand shaping and all shop fillings →. The filling preparation time below excludes cooking the rice.
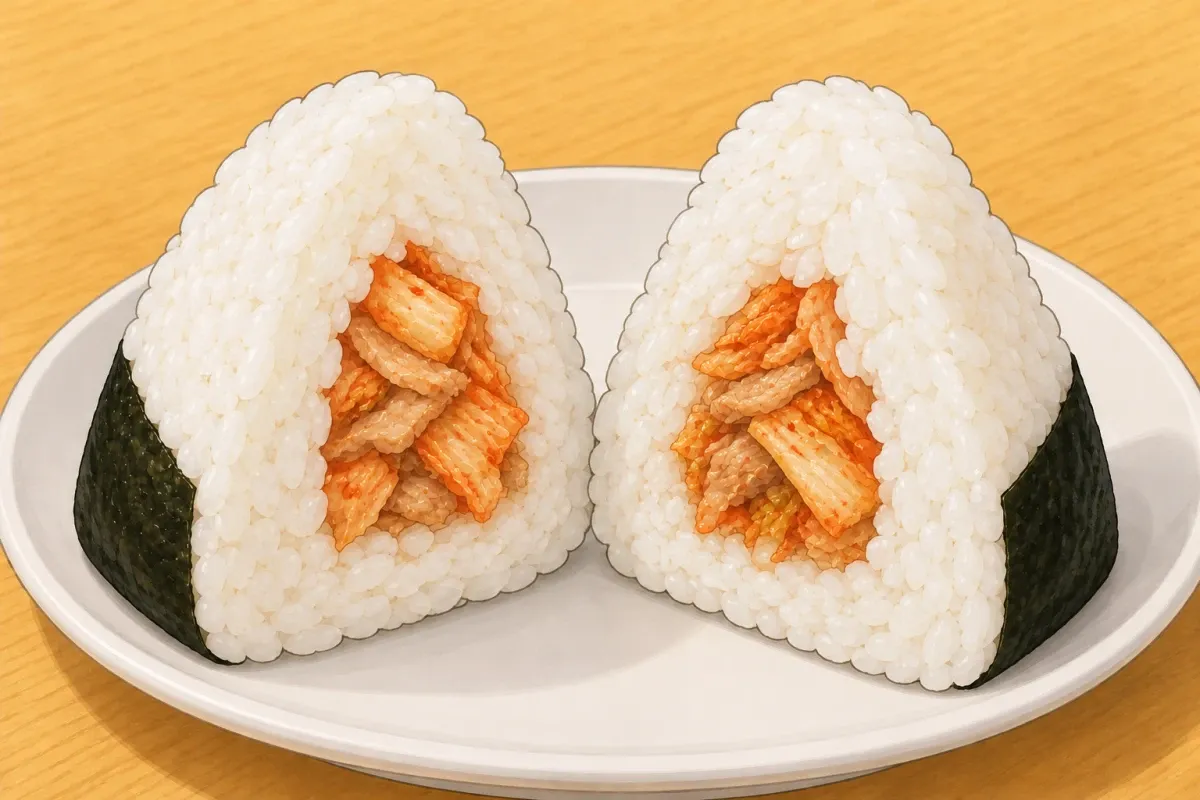
Step by step
Filling
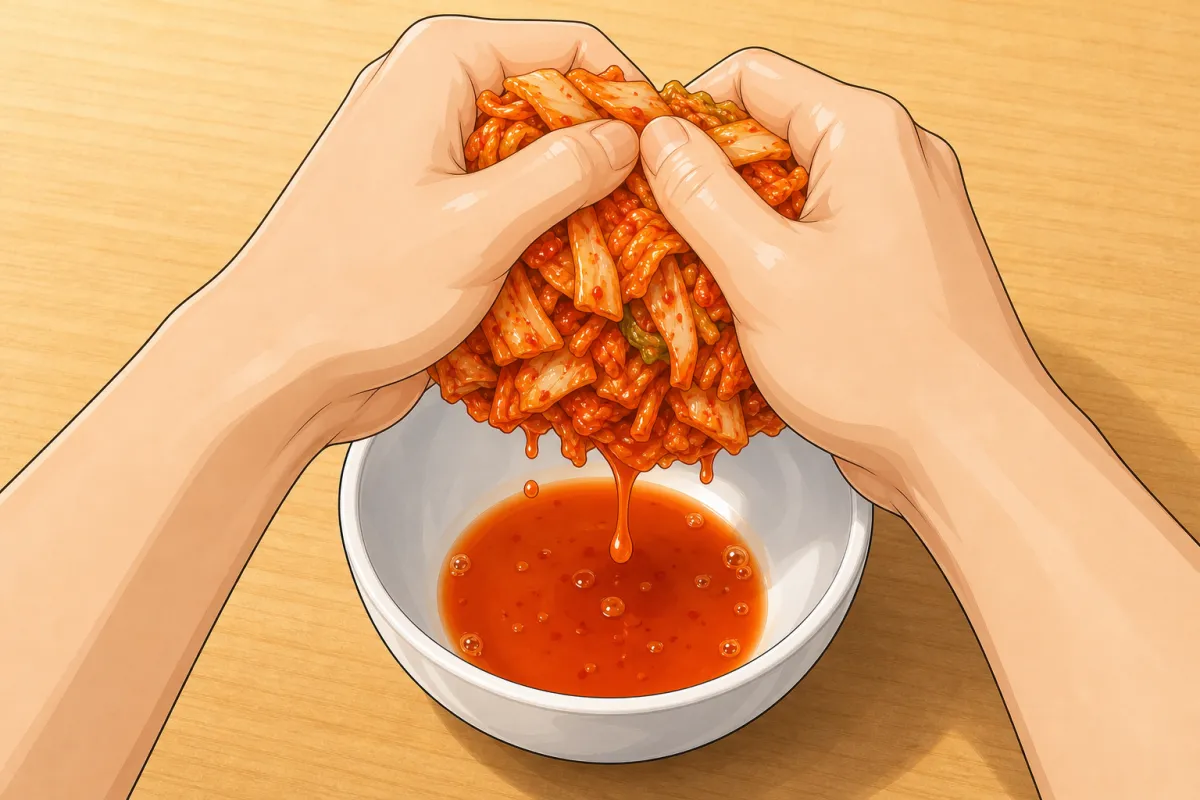
Squeeze the kimchi firmly over a bowl; excess liquid would soak the rice. 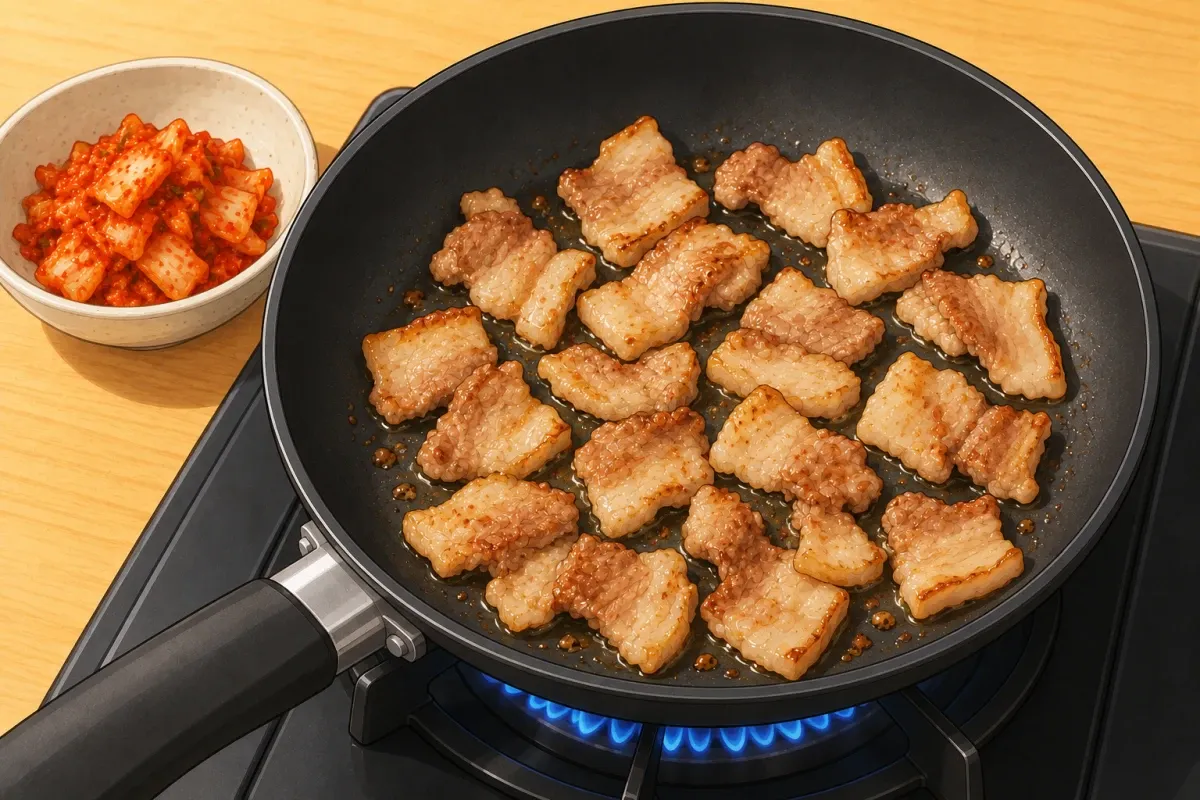
Brown the 2 cm pork-belly pieces in sesame oil over high heat for about 2 minutes, then add the squeezed kimchi. 1Pork kimchi
high~5 minFor this step
- Pork belly, thinly sliced80 g
- Kimchi, chopped and squeezed80 g
- Sesame oil (pork kimchi)1 tsp
- Cut the pork belly into 2 cm pieces. Fry it in the sesame oil over high heat until it browns, about 2 minutes.
- Add the squeezed kimchi and fry 1 minute more, until the pan is dry. Wet kimchi soaks the rice and the onigiri falls apart. Let it cool.
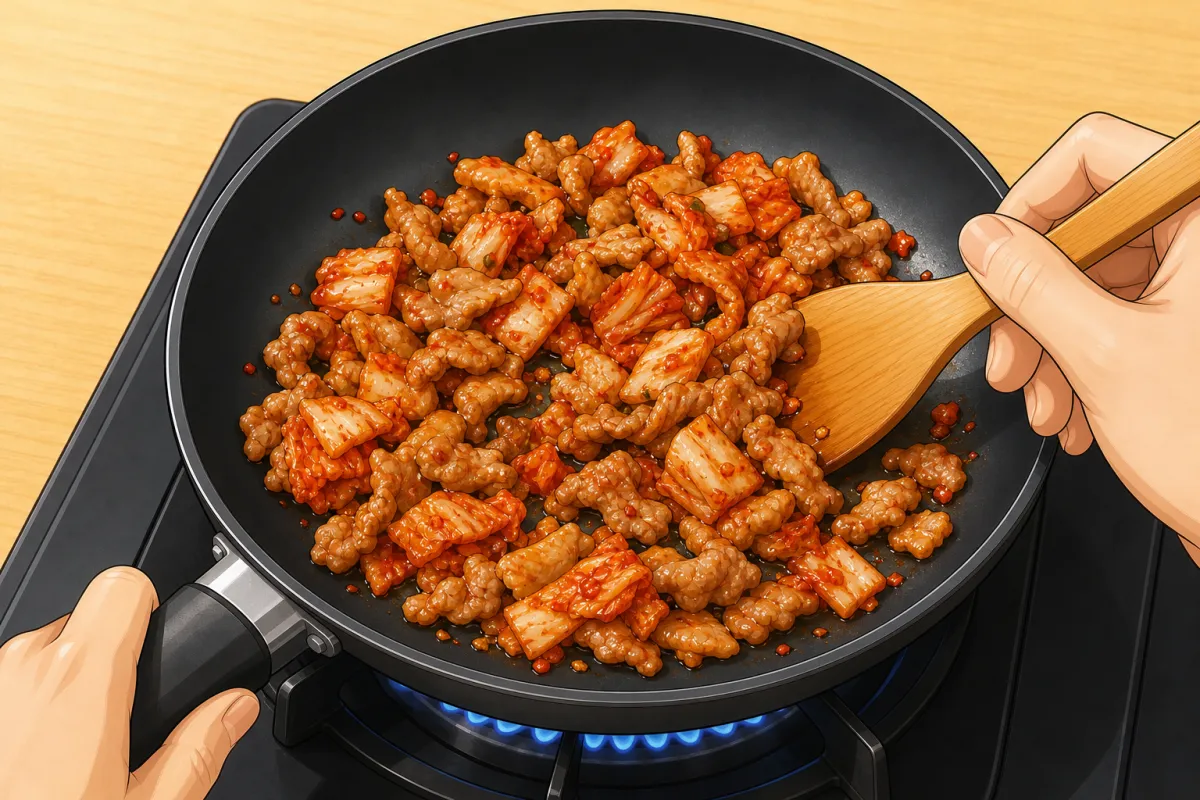
Should look like this Shape by hand
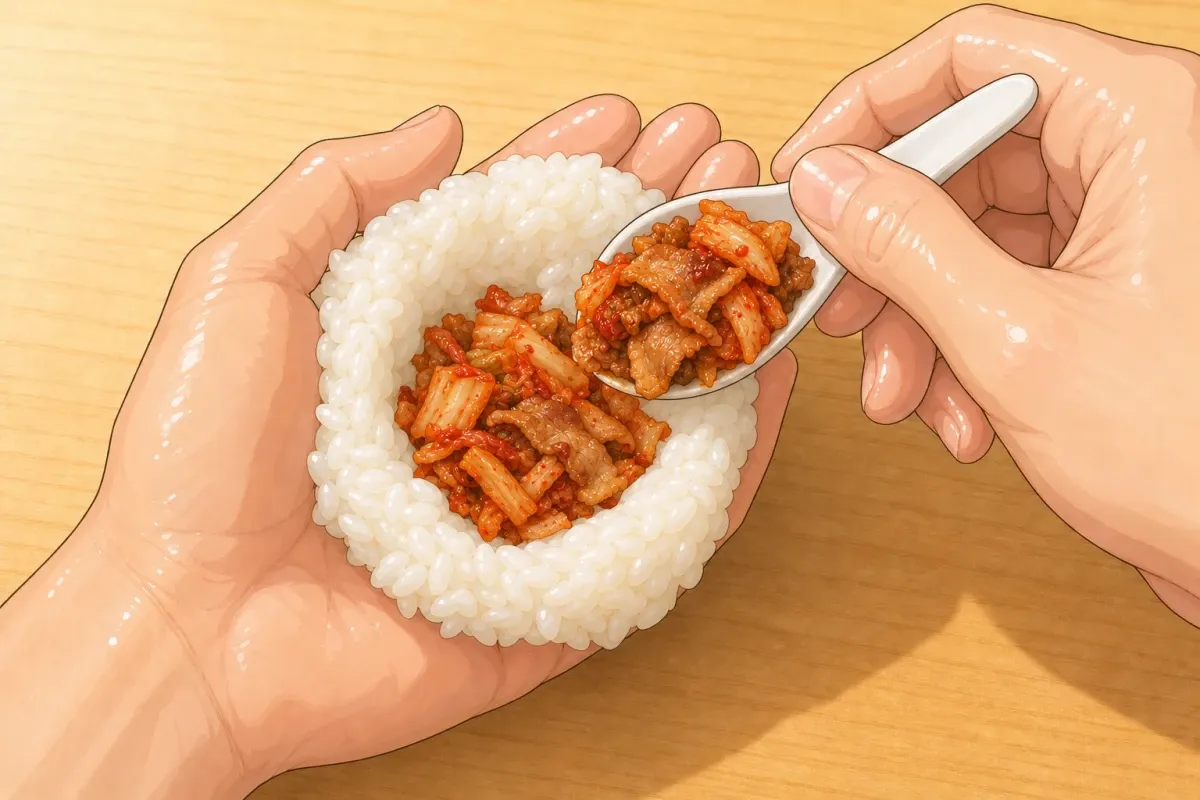
Dry pork kimchi in the well; keep the rice edges clear so they can close. 2Shape them shop style
~2 min eachFor this step
- Cooked rice, from the onigiri page480–720 g (120 g each)
- Kosher salt (for your hands)a little for each onigiri
- Have the cooked rice ready, covered, and cool it only until comfortable to hold. Wet your hands and rub a little salt over both palms.
- For each onigiri, put about 60 g rice in your palm, make a well and add a heaped tablespoon of filling. Cover with another 60 g rice and gently close the rice around it. Save any extra filling separately.
- Cup the rice from below with one hand. Bend the other hand into a roof, press gently to make a corner, turn a third of a turn and repeat. Keep it loose: press only enough to hold together.
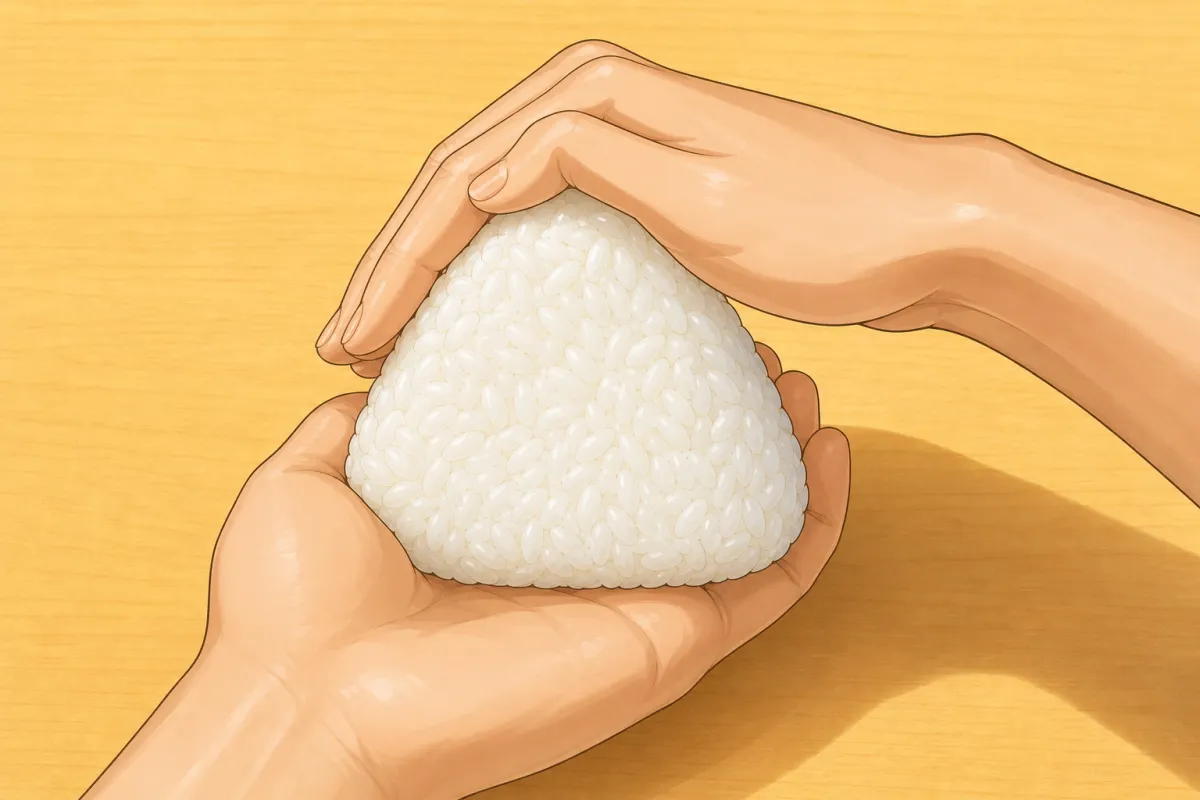
Should look like this Finish
3Wrap and serve
For this step
- Nori strips4–6
- For the shop-style finish, set a little of the same filling on top so you can see what is inside. Leave the top uncovered by nori.
- Wrap one strip of nori around the base and up the sides just before serving. Eat within the hour while the nori is crisp. The sliced example shows the inside; cutting yours open is optional.
Based on: Hidden Japan Gems — Onigiri Bongo menu · MICHELIN Guide — Onigiri Asakusa Yadoroku · Asakusa Yadoroku (official) · Nigihaya, Kyoto (official, Japanese) · Togoshi-ya (official, Japanese)