Onigiri: fillings from Tokyo's onigiri shops
Tokyo's onigiri specialists sell dozens of fillings. Onigiri Bongo in Kita-Ōtsuka, open since 1960, has about 55, and people queue for hours. Asakusa Yadoroku, the first onigiri shop with a Michelin Bib Gourmand, keeps fewer than 20 traditional ones. These are home versions of the ones you can cook, plus a list of the ones you just buy. The shops don't publish recipes, so the amounts are this site's own. Each filling makes 4–6 onigiri: pick two or three. Rice, salt and shaping are on the onigiri page; the last step shows how the shops fill them.
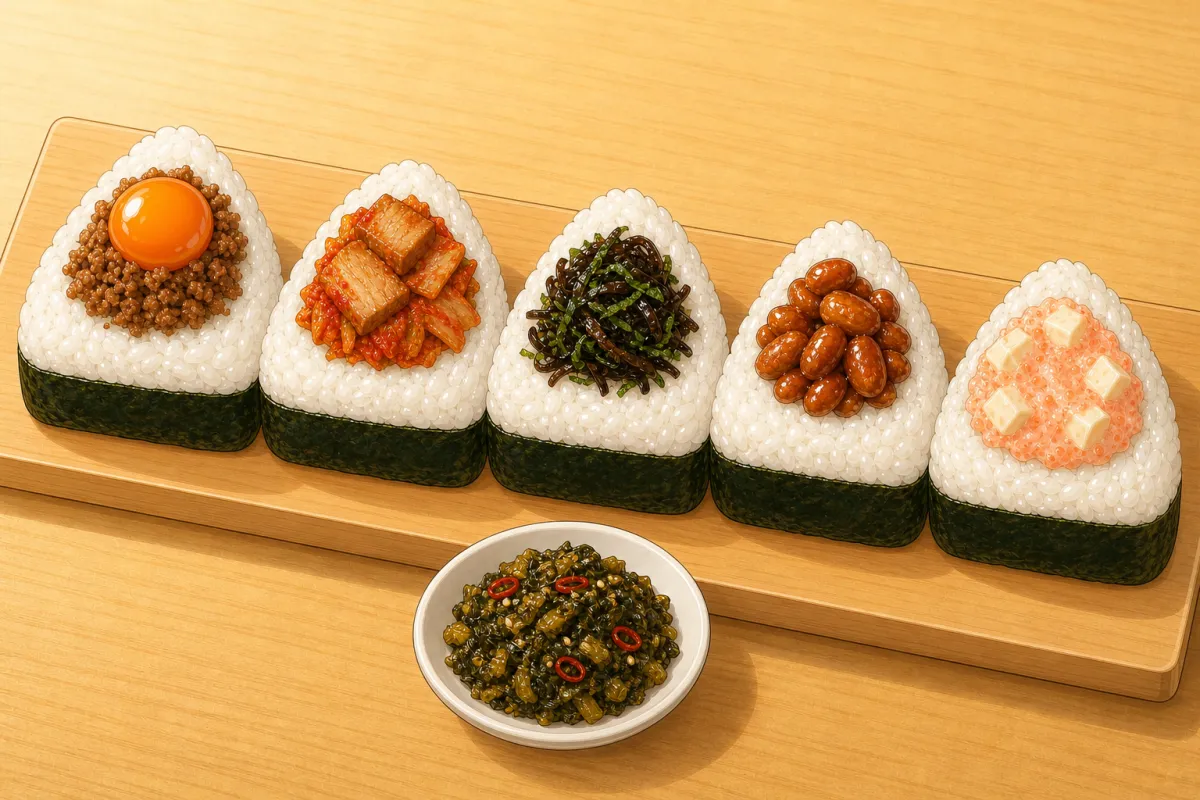
Mise en place — set out in the order it goes in
 Cured yolks4, in soyStep 1
 Soboro200 g meatStep 2
 Pork + kimchi80 g + 80 gStep 3
 Kombu + shiso50 g + 4 leavesStep 4
 Peanuts60 gStep 6
 Mentaiko + cream cheese40 g + 30 gStep 9
Prep order — what happens when, and what overlaps
Make two or three fillings, not all of them; the times assume shiso kombu, soboro and pork kimchi.
Step by step
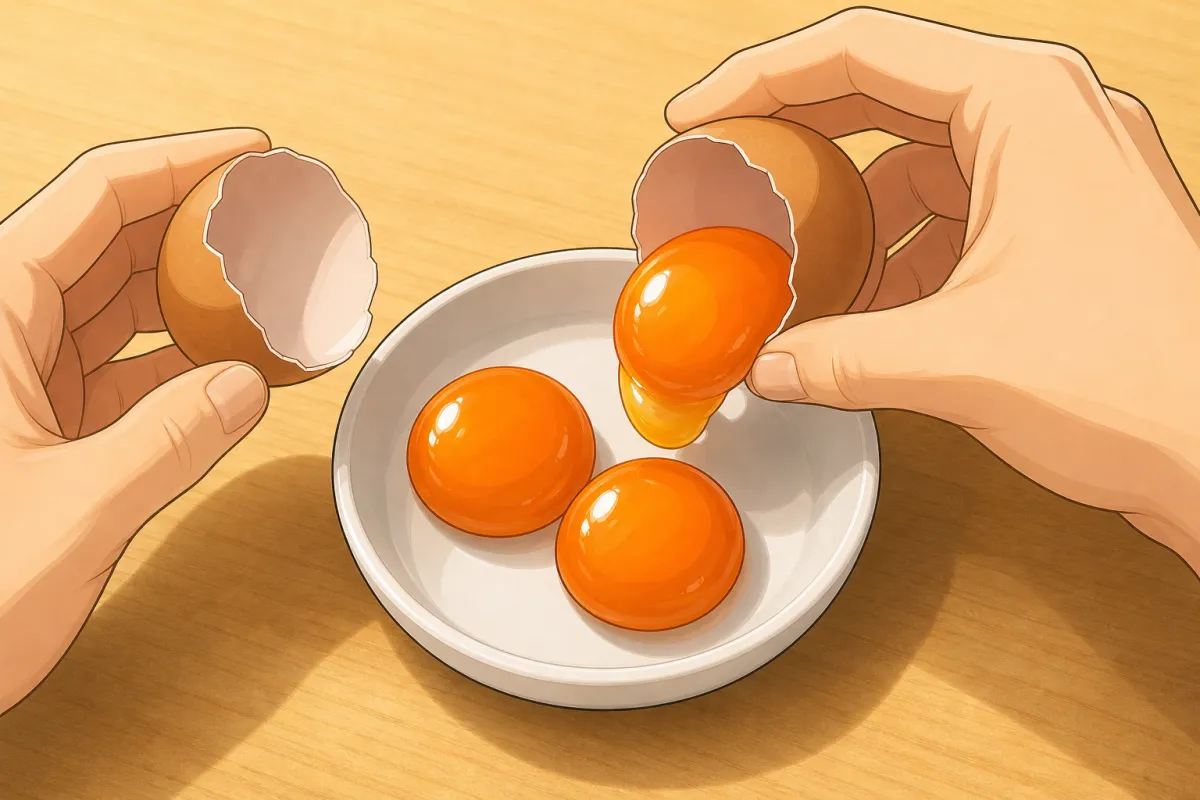
Slip each yolk in whole, then just cover with soy and mirin. 1Soy-cure the egg yolks
24 hFor this step
- Very fresh egg yolks4
- Soy sauce (yolks)3 tbsp
- Mirin (yolks)1 tbsp
- The day before: separate the eggs and slip each yolk into a small dish, whole.
- Pour the soy sauce and mirin over, so the yolks are just covered. Cover and refrigerate 24 hours. They turn deep amber and firm up like soft jam.
- Use eggs sold for eating raw, or pasteurised ones. Keep the cured yolks cold and use them within two days.
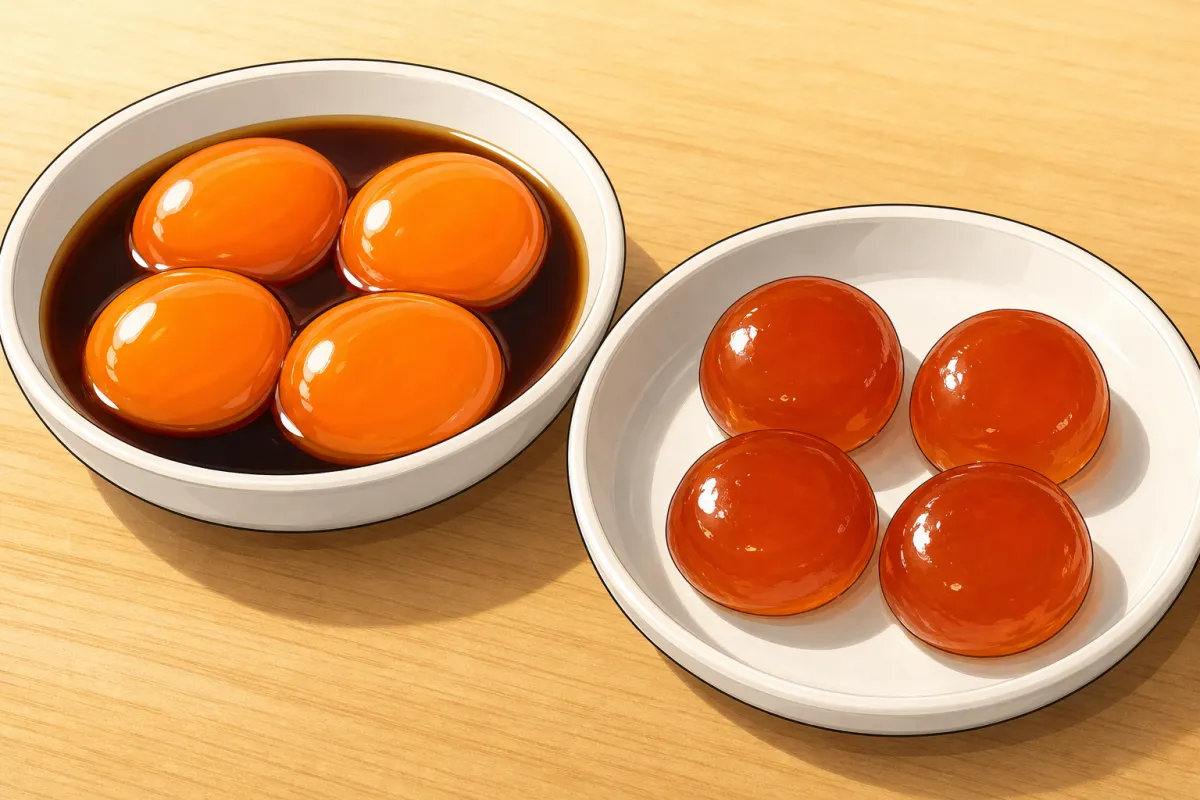
Should look like this 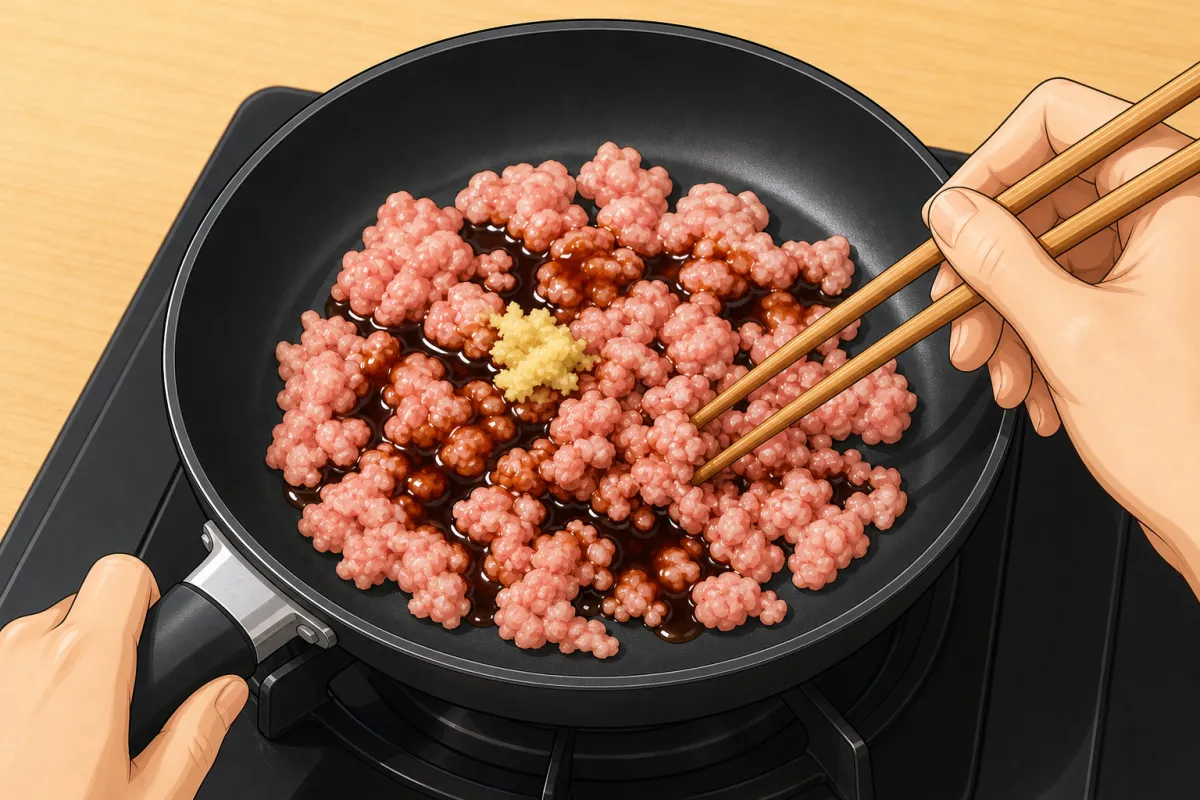
Everything into a cold pan and stirred before the heat goes on: that keeps the crumbs fine. 2Niku soboro
medium~8 minFor this step
- Ground pork, or pork and beef200 g
- Soy sauce (soboro)2 tbsp
- Sugar (soboro)1½ tbsp
- Sake (soboro)1 tbsp
- Mirin (soboro)1 tbsp
- Ginger, grated1 tsp
- Put the meat, soy, sugar, sake, mirin and ginger in a cold pan and stir them together before the heat goes on. That keeps the crumbs fine.
- Cook over medium heat, stirring all the time with four chopsticks held together, until the liquid has gone and the meat is fine, glossy and just dry, 6–8 minutes.
- Bongo's favourite: a spoon of soboro with one soy-cured yolk on top.
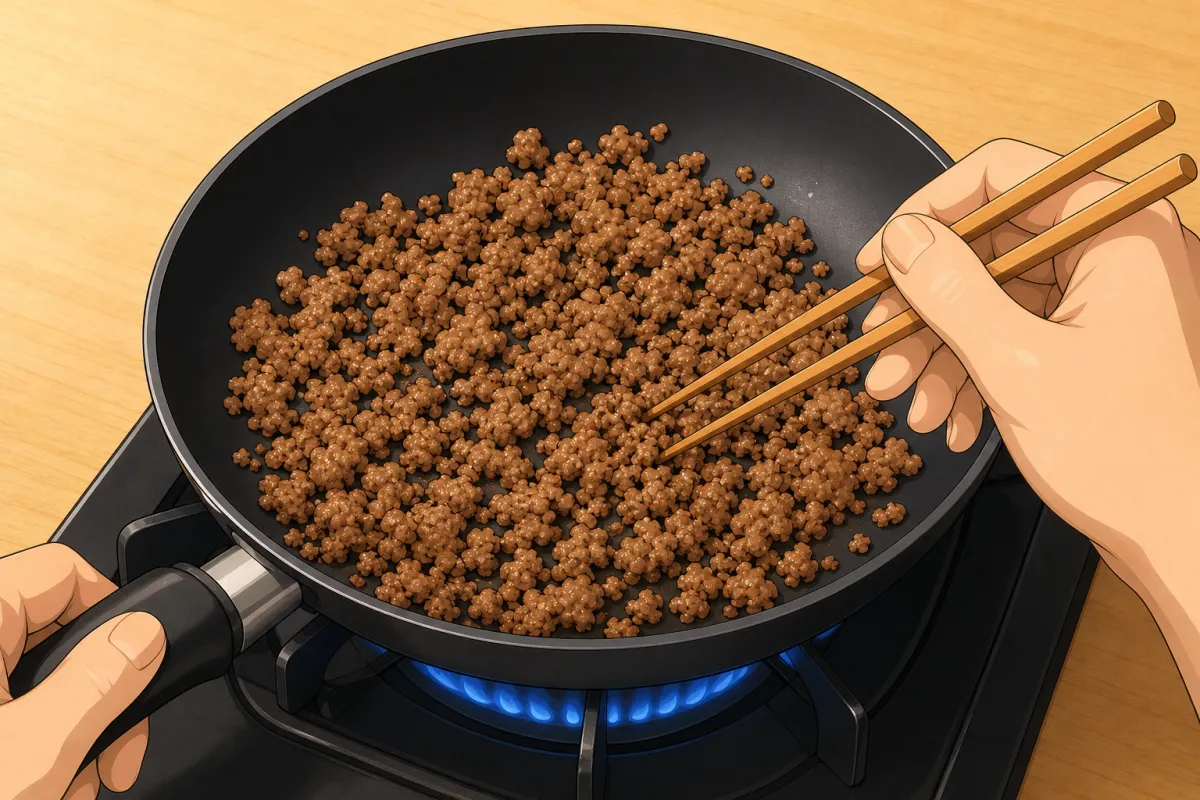
Should look like this 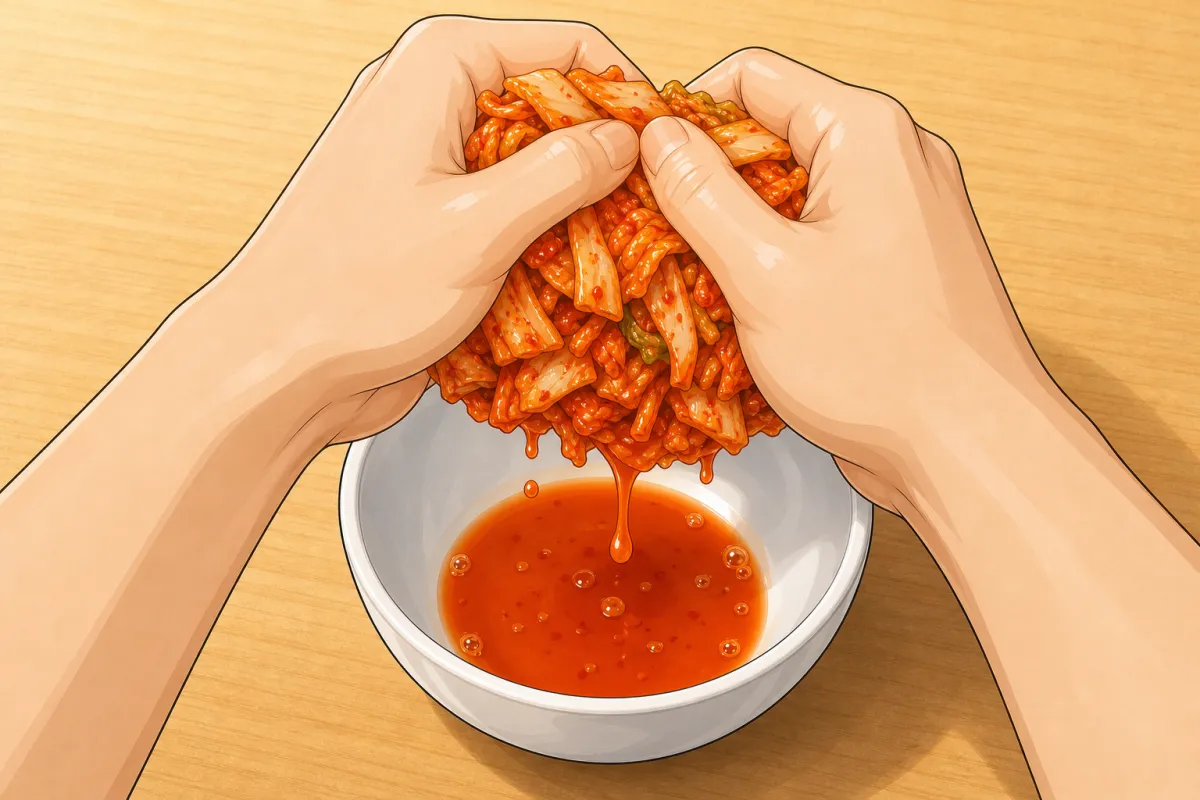
Squeeze the kimchi hard first: wet kimchi soaks the rice. 3Pork kimchi
high~5 minFor this step
- Pork belly, thinly sliced80 g
- Kimchi, chopped and squeezed80 g
- Sesame oil (pork kimchi)1 tsp
- Cut the pork belly into 2 cm pieces. Fry it in the sesame oil over high heat until it browns, about 2 minutes.
- Add the squeezed kimchi and fry 1 minute more, until the pan is dry. Wet kimchi soaks the rice and the onigiri falls apart. Let it cool.
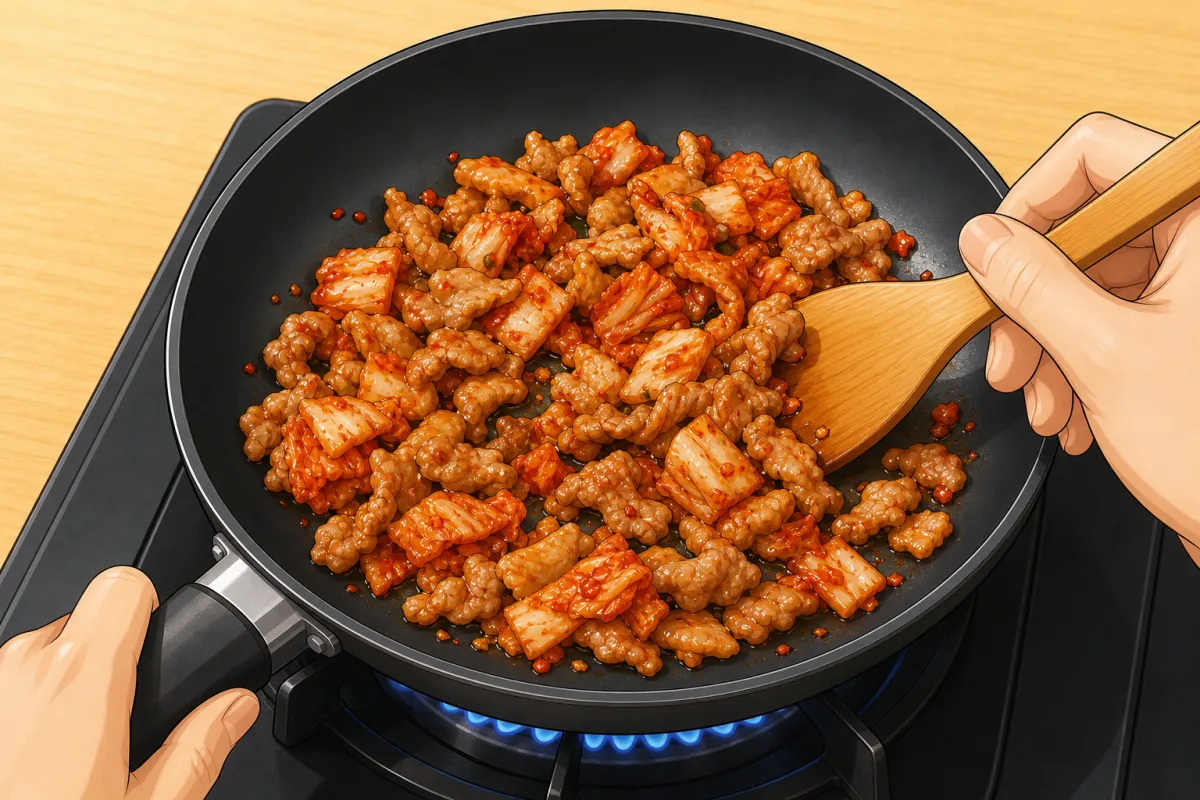
Should look like this 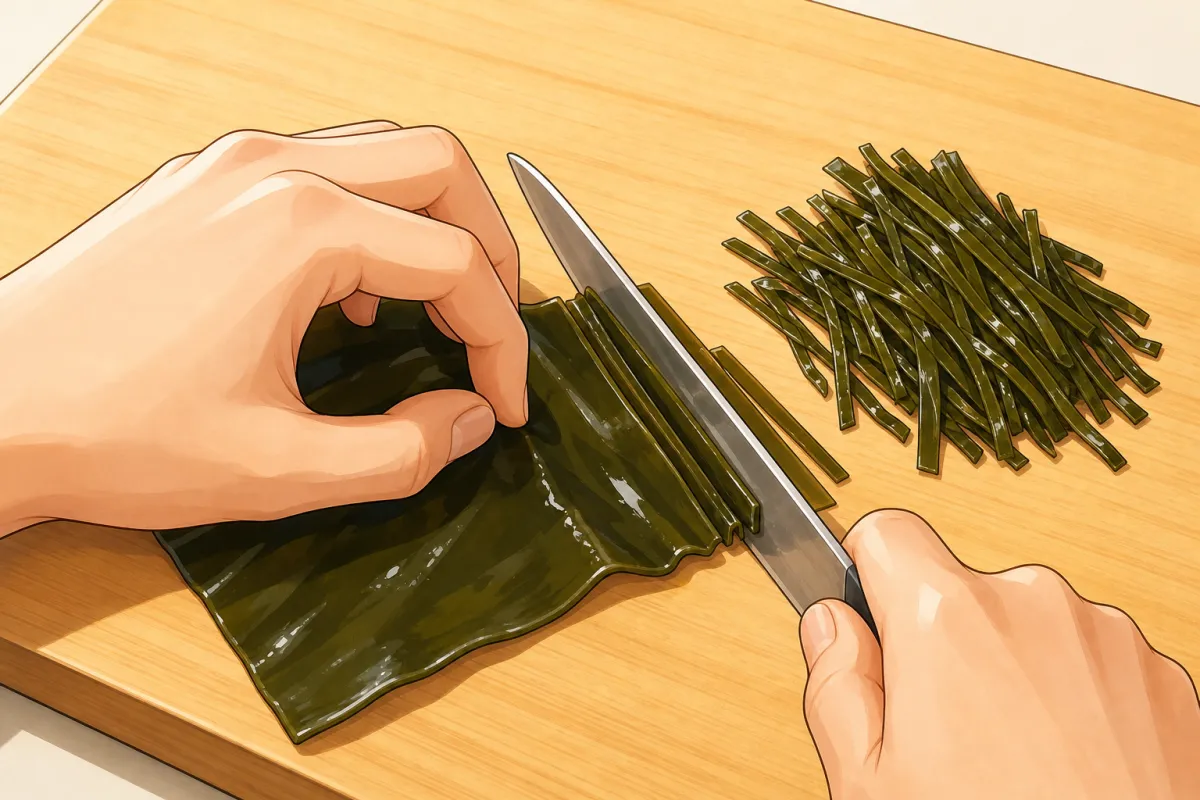
Cut the soft used kombu into thin 3 cm strips. 4Shiso kombu
low~20 minFor this step
- Kombu left over from dashi50 g
- Water (kombu)100 ml
- Soy sauce (kombu)2 tbsp
- Sugar (kombu)1 tbsp
- Mirin (kombu)1 tbsp
- Rice vinegar (kombu)1 tsp
- Green shiso leaves4
- Cut the soft kombu left from making dashi into thin strips, about 3 cm long.
- Simmer with the water, soy, sugar, mirin and vinegar over low heat, stirring now and then, until the liquid is gone and the kombu is glossy, 15–20 minutes.
- Off the heat, stir in the shiso, cut into fine strips. It keeps a week in the fridge.
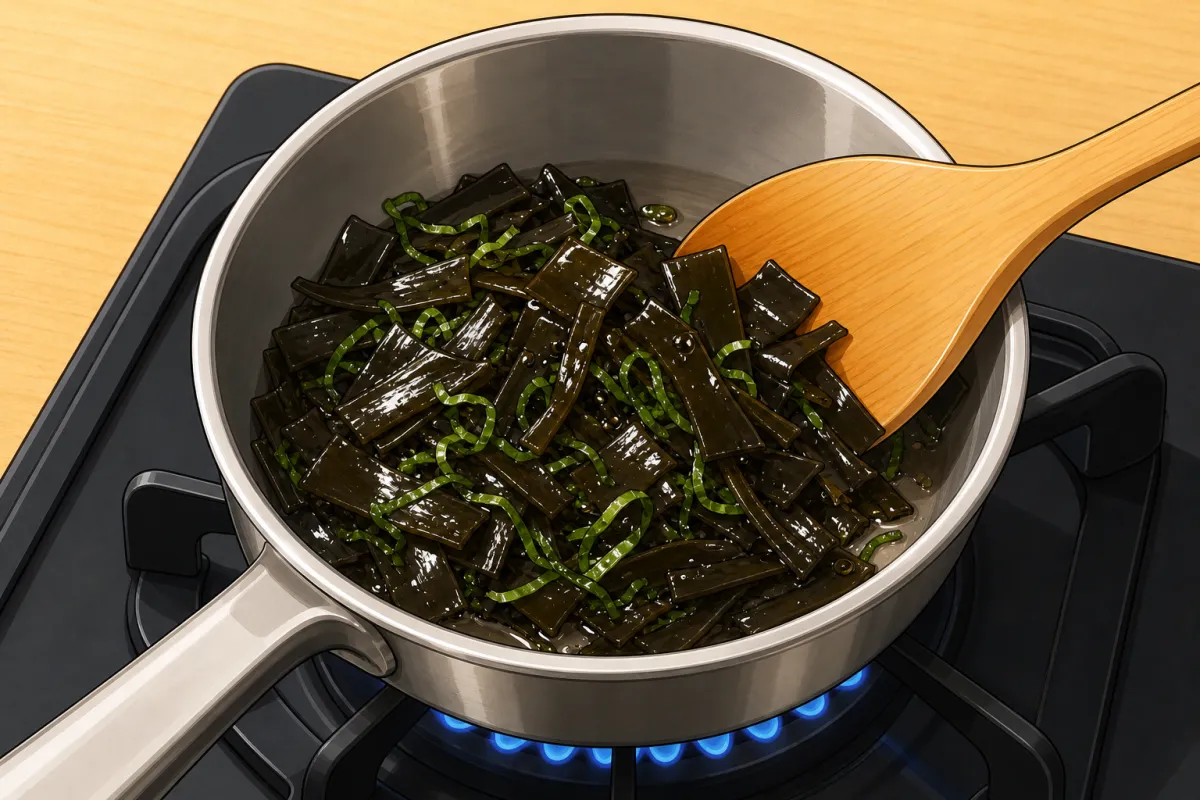
Should look like this 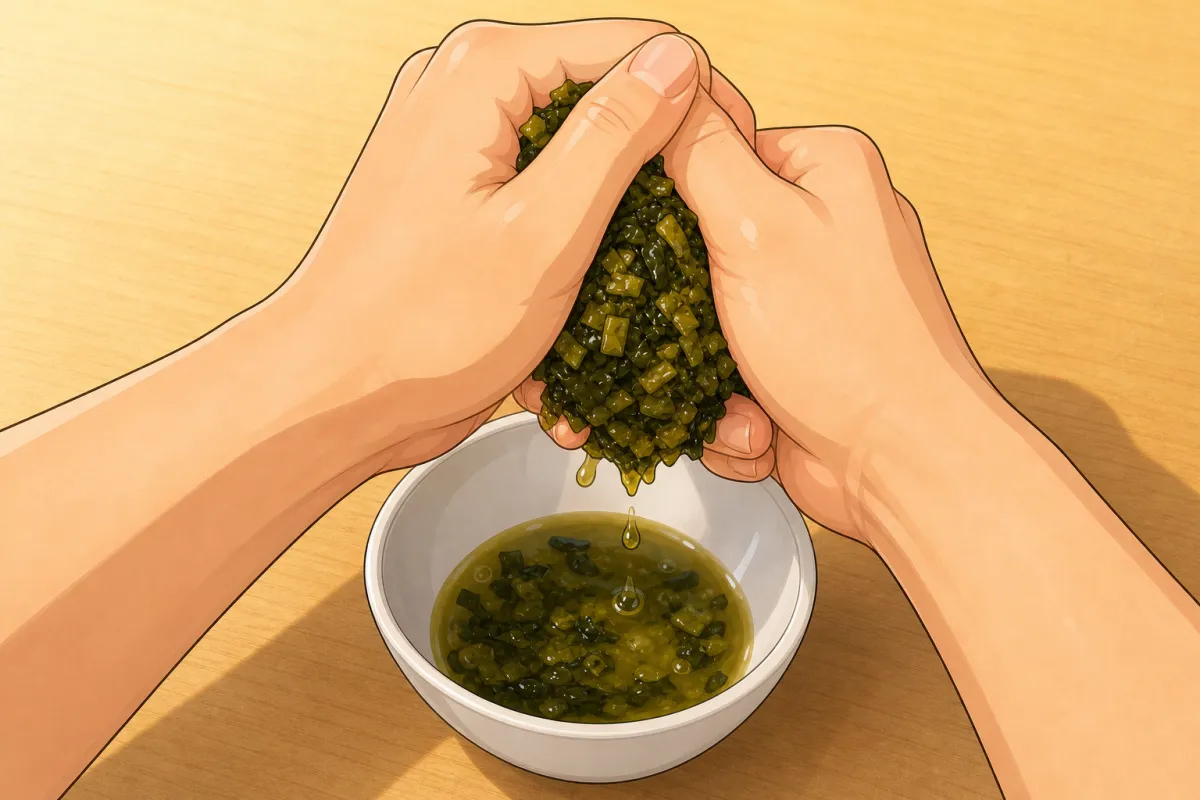
Squeeze the chopped takana as dry as you can. 5Takana
medium-high~4 minFor this step
- Pickled takana (mustard greens)100 g
- Sesame oil (takana)1 tsp
- Dried chilli, sliced½
- Soy sauce (takana)1 tsp
- Sesame seeds1 tsp
- Chop the takana finely and squeeze out as much liquid as you can.
- Fry it in the sesame oil with the chilli over medium-high heat for 2–3 minutes, add the soy and cook until dry. Stir in the sesame seeds.
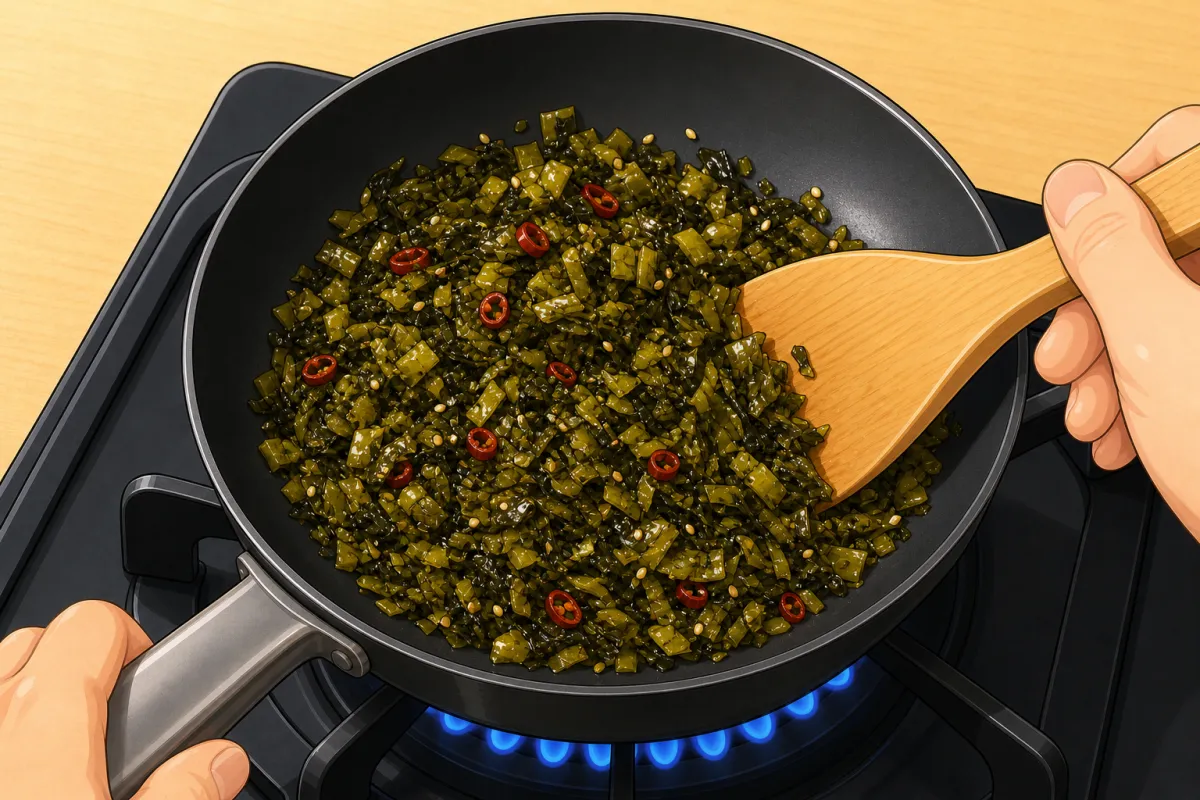
Should look like this 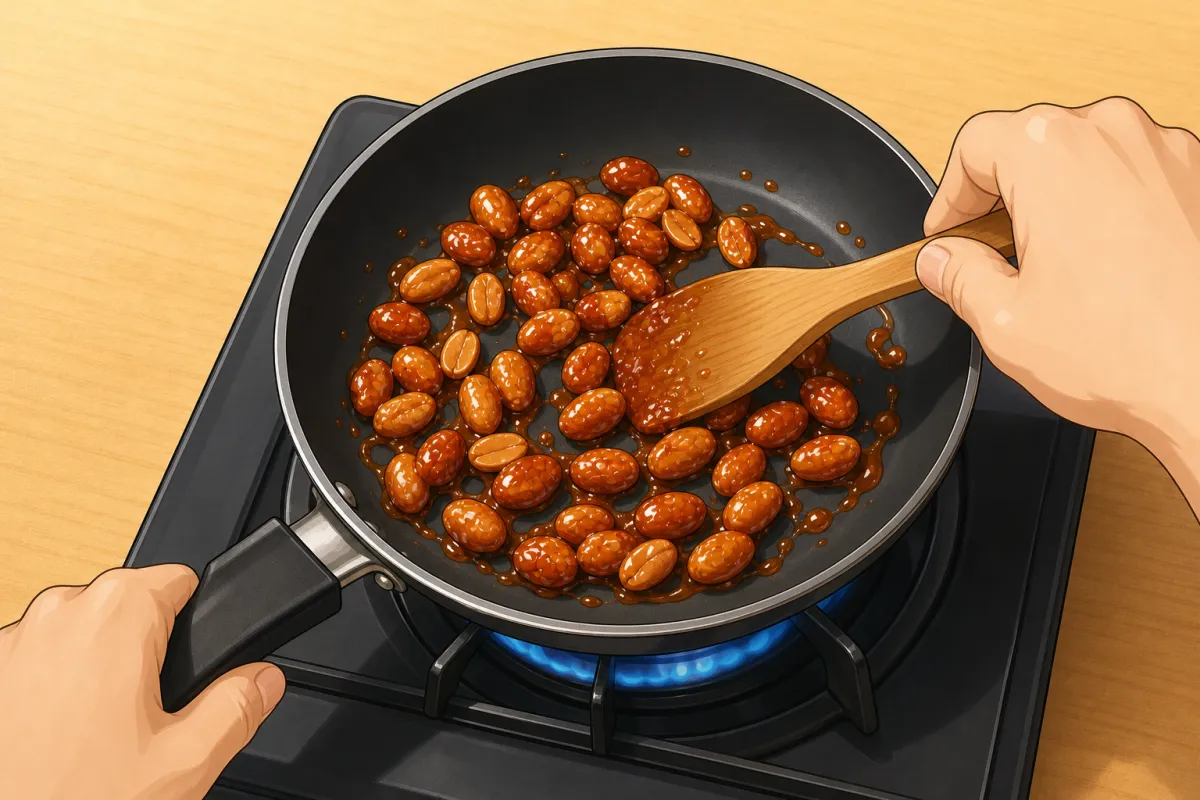
Toast the peanuts dry, then pour the miso mix over and stir until glossy. 6Peanut miso
medium-low~6 minFor this step
- Roasted unsalted peanuts60 g
- Miso1½ tbsp
- Sugar (peanut miso)1½ tbsp
- Mirin (peanut miso)1 tbsp
- Water (peanut miso)1 tbsp
- Toast the peanuts in a dry pan over medium-low heat until fragrant, 2–3 minutes.
- Stir the miso, sugar, mirin and water together, pour it over the peanuts and stir over low heat until the miso turns glossy and clings to every nut, 2 minutes.
- Spread on a plate to cool. It sets sticky; break it up before using.
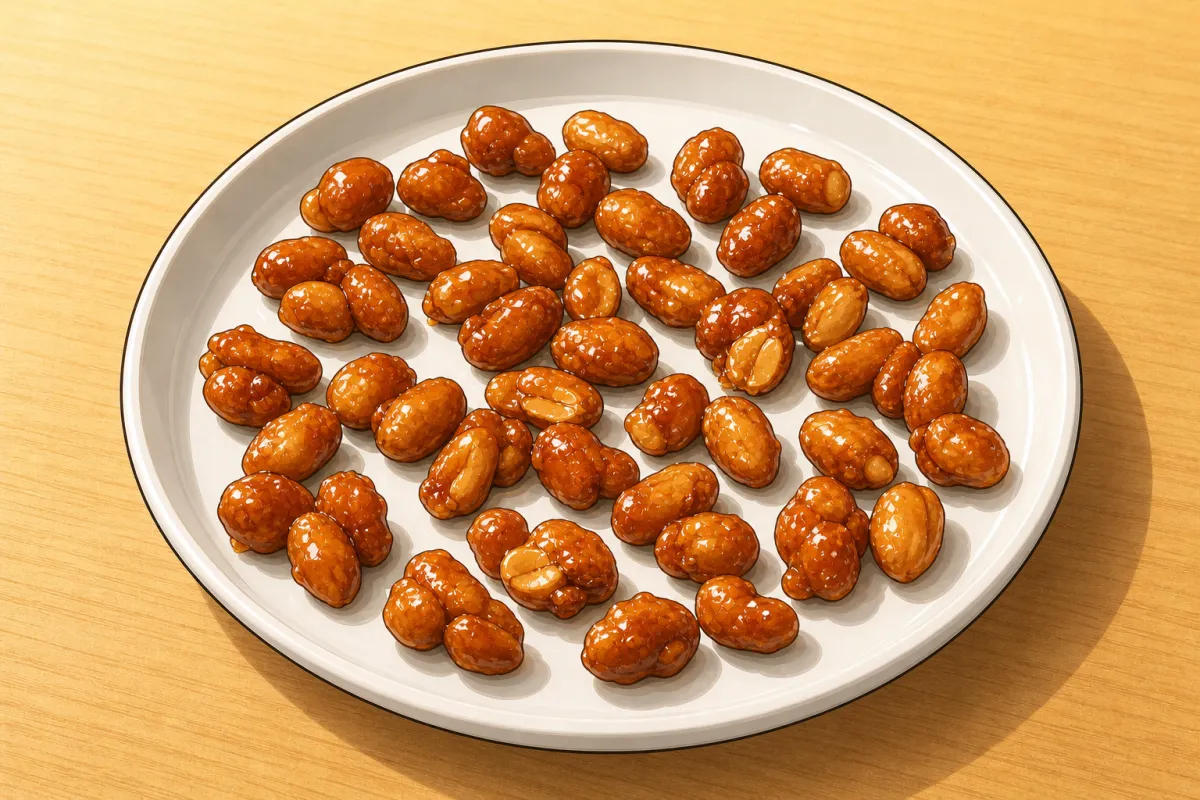
Should look like this 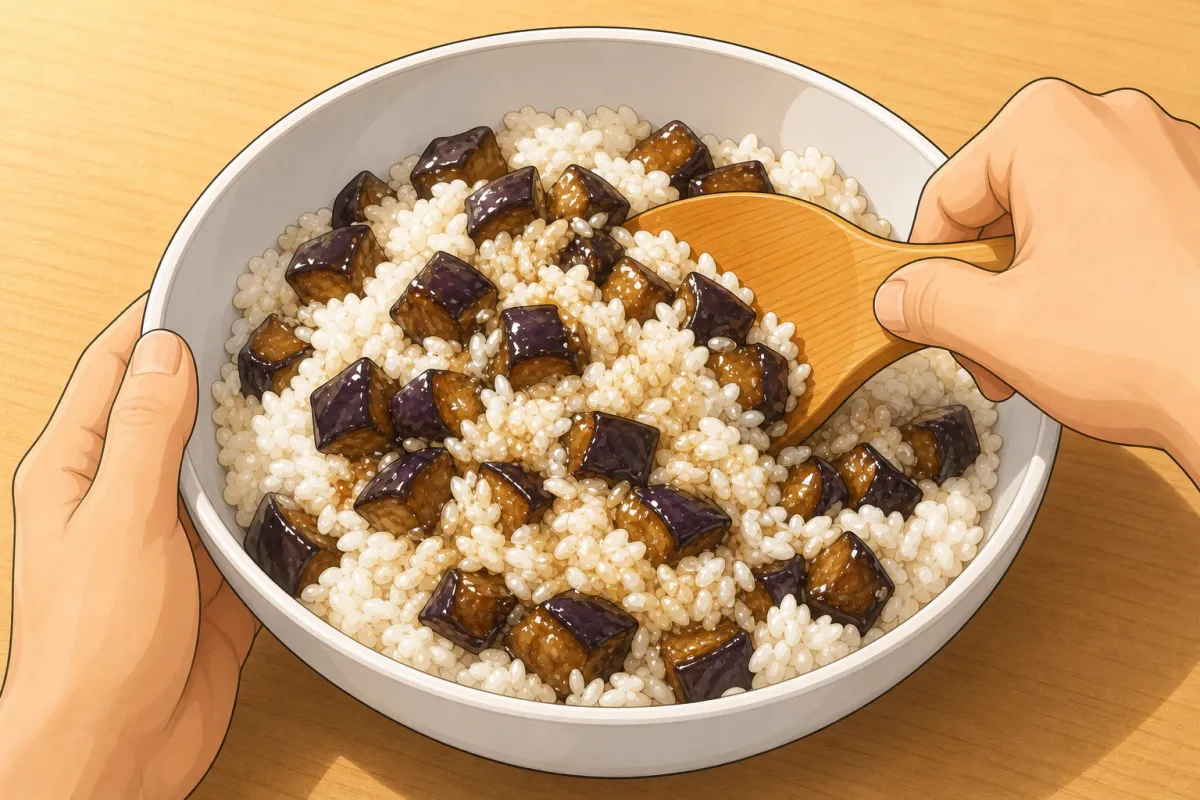
Nigihaya-style: mix it through the warm rice instead of hiding it inside. 7Eggplant tsukudani
medium~20 minFor this step
- Japanese eggplants2 (about 250 g)
- Salt (eggplant)½ tsp
- Oil (eggplant)1 tbsp
- Soy sauce (eggplant)2 tbsp
- Sugar (eggplant)1 tbsp
- Sake (eggplant)1 tbsp
- Cut the eggplants into 1 cm dice, toss with the salt and leave 10 minutes. Squeeze them hard.
- Fry in the oil over medium heat until soft, 4 minutes. Add the soy, sugar and sake and cook, stirring, until the liquid is gone and the eggplant is dark and glossy, about 6 minutes.
- Nigihaya mixes its eggplant all through the rice instead of hiding it in the middle. Do the same: fold it into warm rice, then shape.
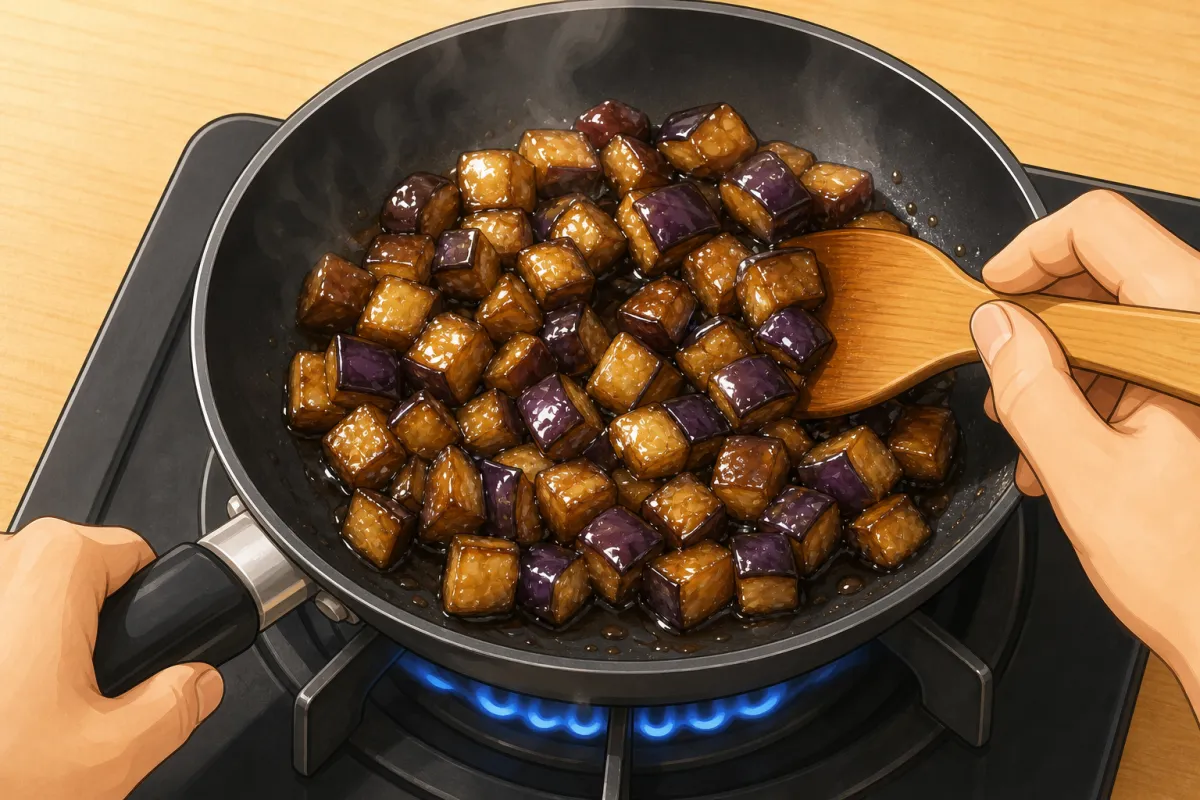
Should look like this 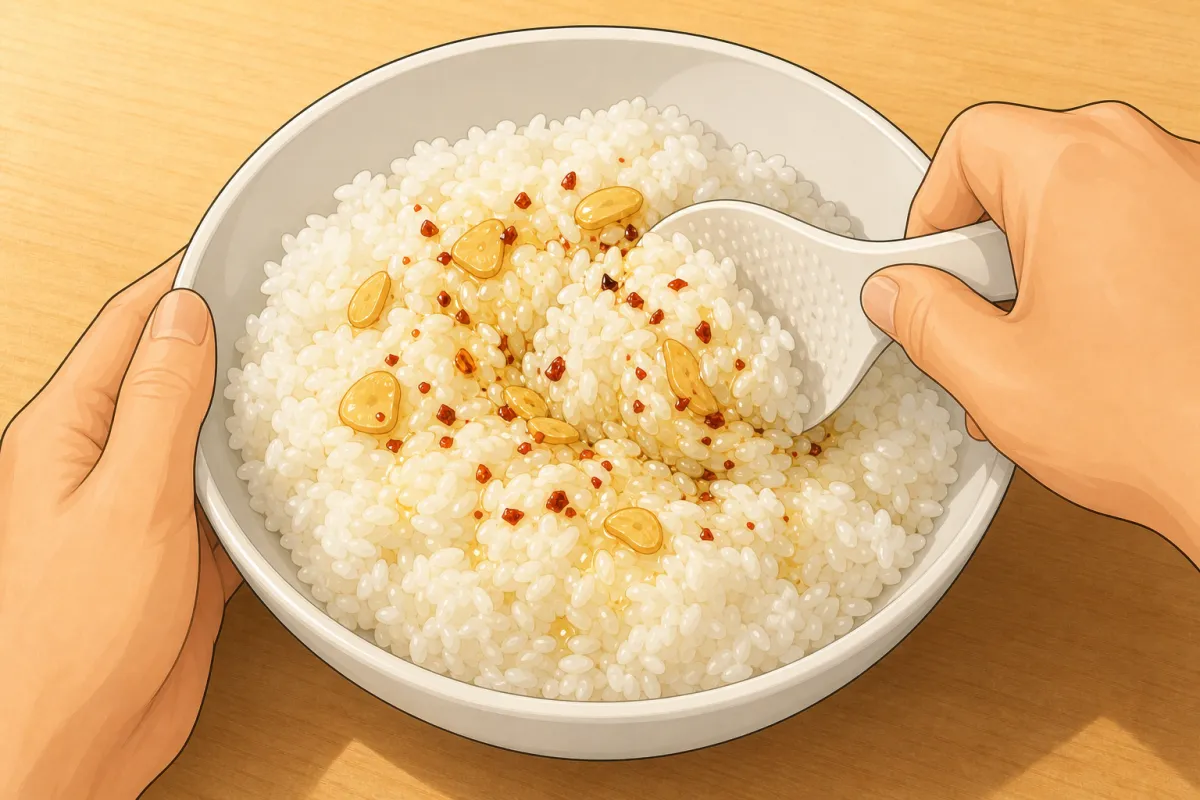
Fold the oil and garlic through the rice, about 1 tsp per onigiri. 8Pepperoncino oil
low~6 minFor this step
- Olive oil3 tbsp
- Garlic, thinly sliced3 cloves
- Chilli flakes½ tsp
- Salt (pepperoncino)a pinch
- Put the olive oil and garlic in a small cold pan and warm it over low heat until the garlic is pale gold, 4–5 minutes. Darker garlic turns bitter.
- Off the heat, add the chilli flakes and salt. Fold the oil and garlic through the rice before shaping, about 1 tsp per onigiri.
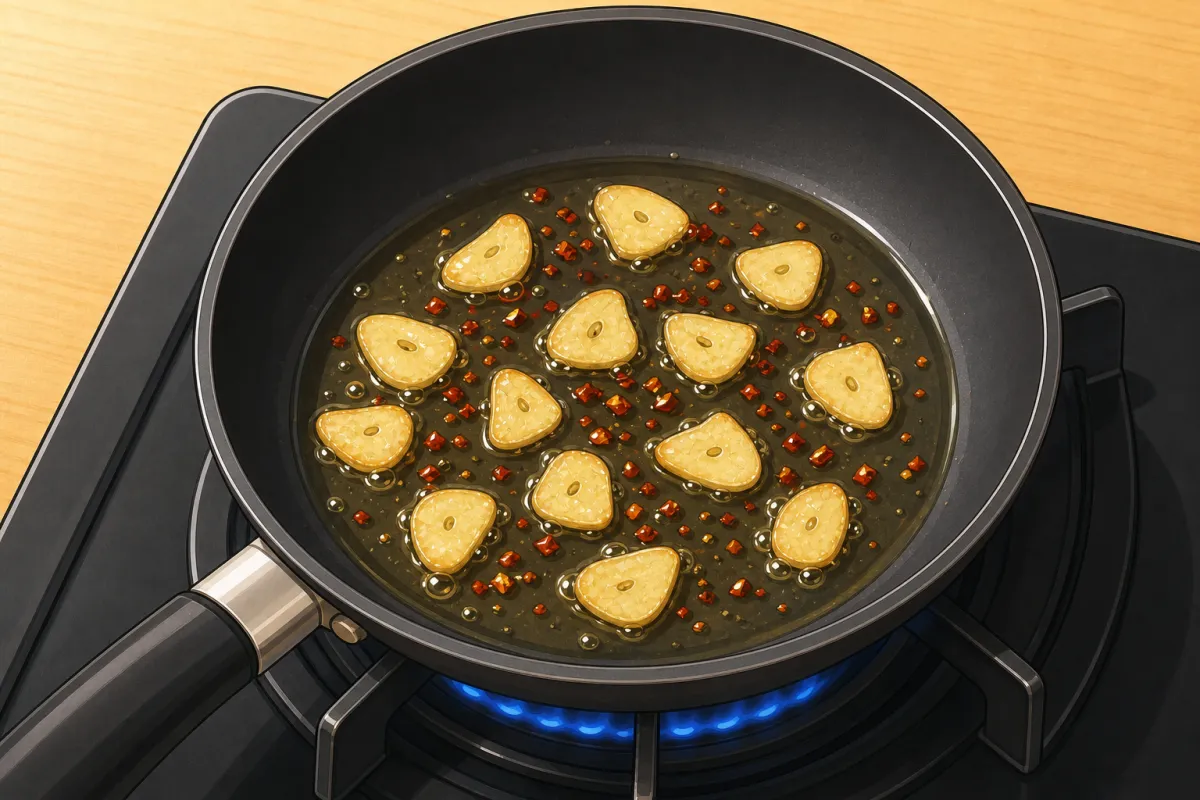
Should look like this 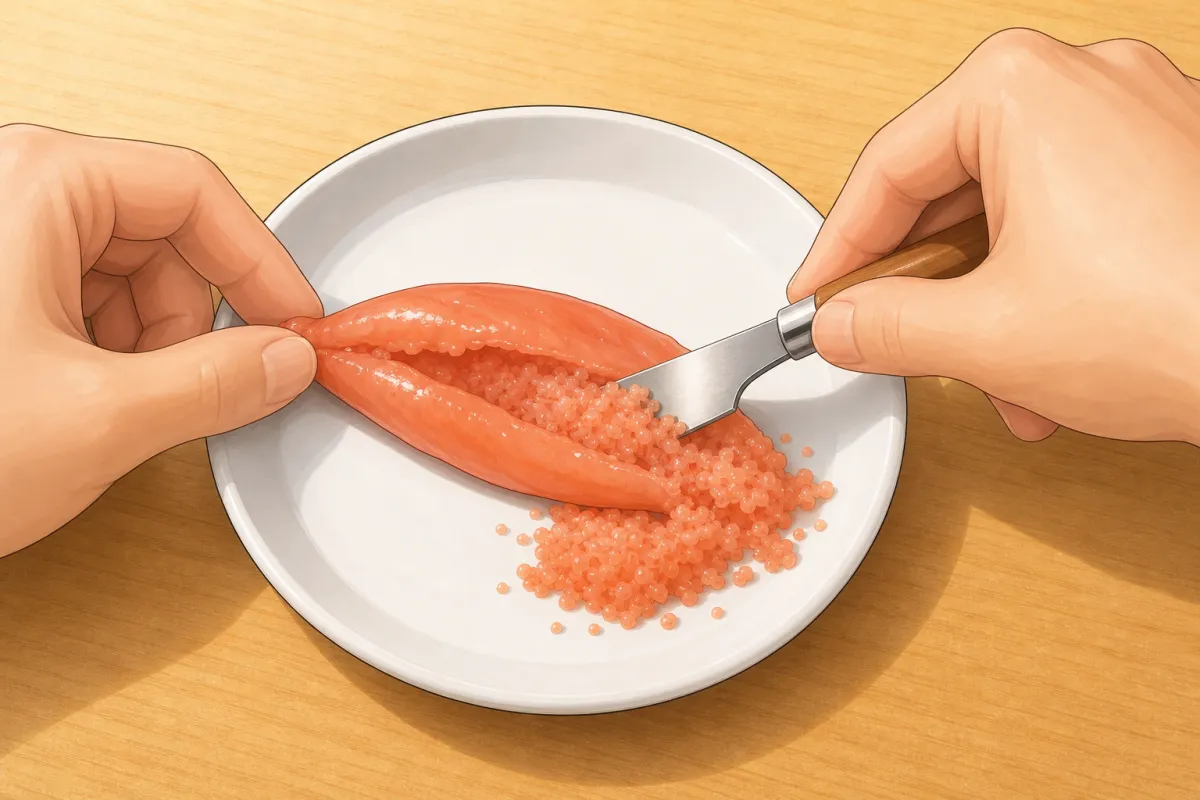
Slit the sac and scrape the roe out of its skin. 9Mentai mayo with cream cheese
3 minFor this step
- Mentaiko (spicy pollock roe)1 sac (40 g)
- Japanese mayo (Kewpie)1 tbsp
- Cream cheese, small cubes30 g
- Slit the mentaiko sac and scrape the roe out of its skin.
- Stir it with the mayo, then fold in the cream cheese cubes without breaking them.
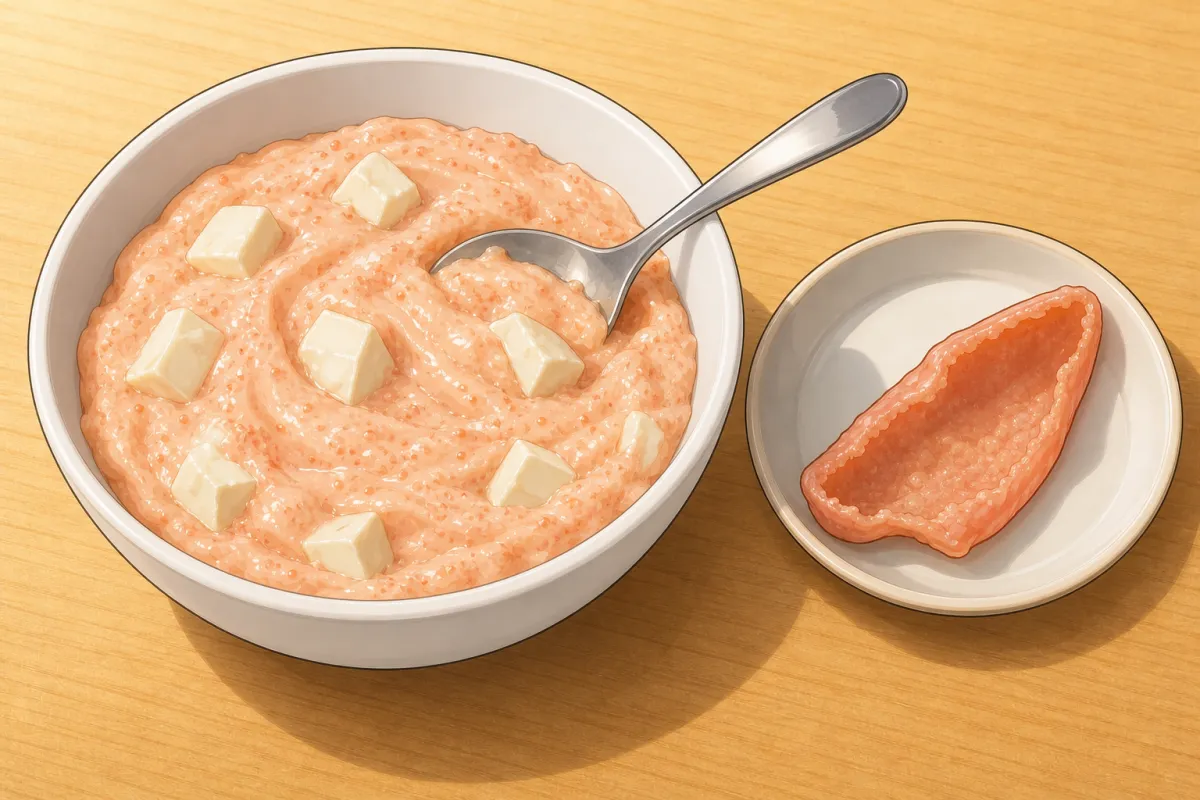
Should look like this 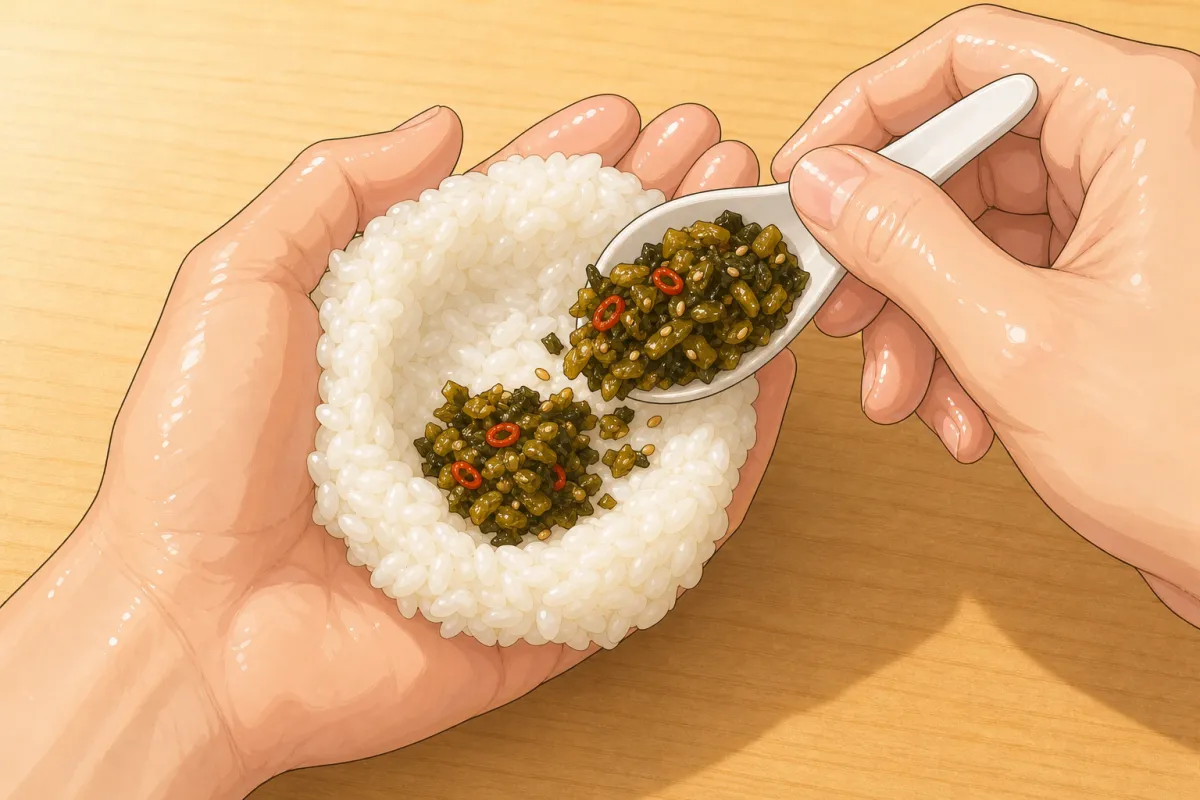
A heaped spoon in the well, rice closed loosely over it. 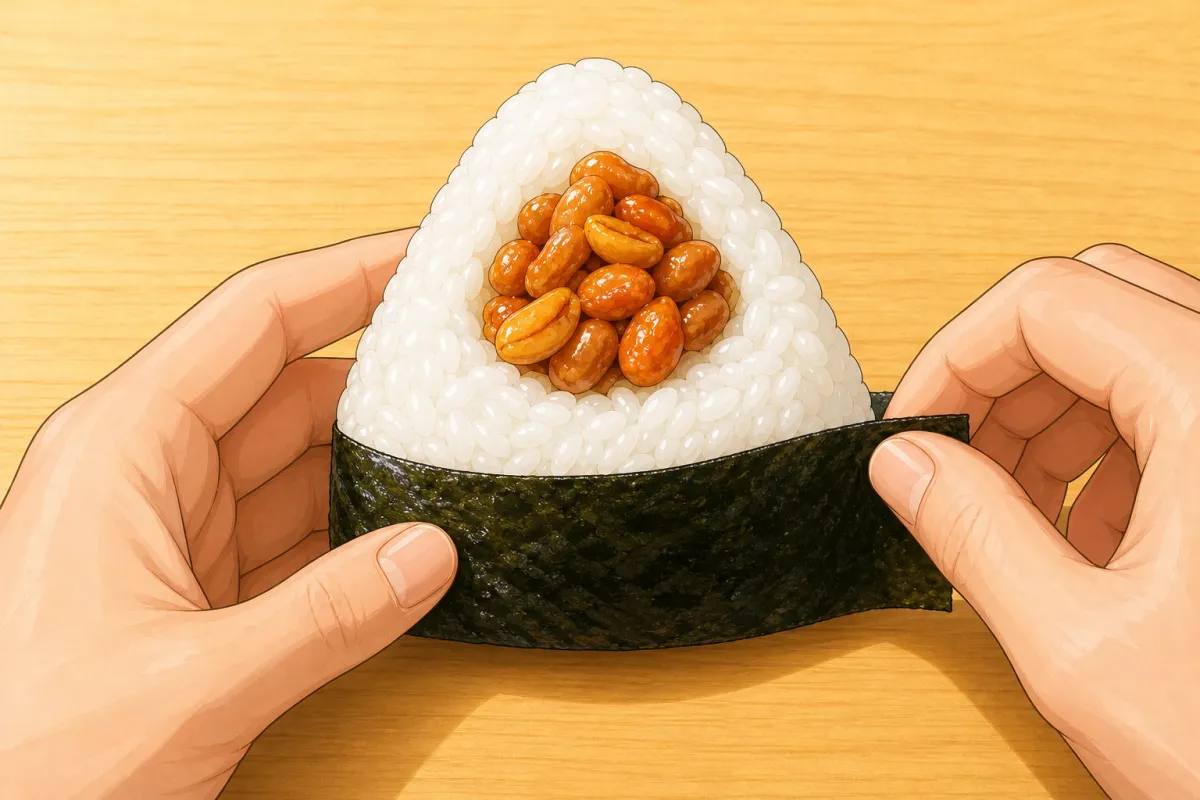
A little more on top so it shows, nori round the base only. 10Shape them shop style
~2 min eachFor this step
- Cooked rice, from the onigiri page1.4 kg (120 g each)
- Nori strips12
- Kosher salt (for your hands)a little for each onigiri
- Shape as on the onigiri page, but bigger and looser: about 120 g of rice, packed only enough to hold.
- Put a heaped tablespoon of filling in the well, close the rice over it, then set a little more on top, so you can see what's inside. That's how Bongo and Togoshi-ya show theirs.
- Wrap a strip of nori around the base and up the sides, leaving the top with the filling open. Eat within the hour, while the nori is crisp.
- Good doubles: soboro with a cured yolk, mentai mayo on takana.
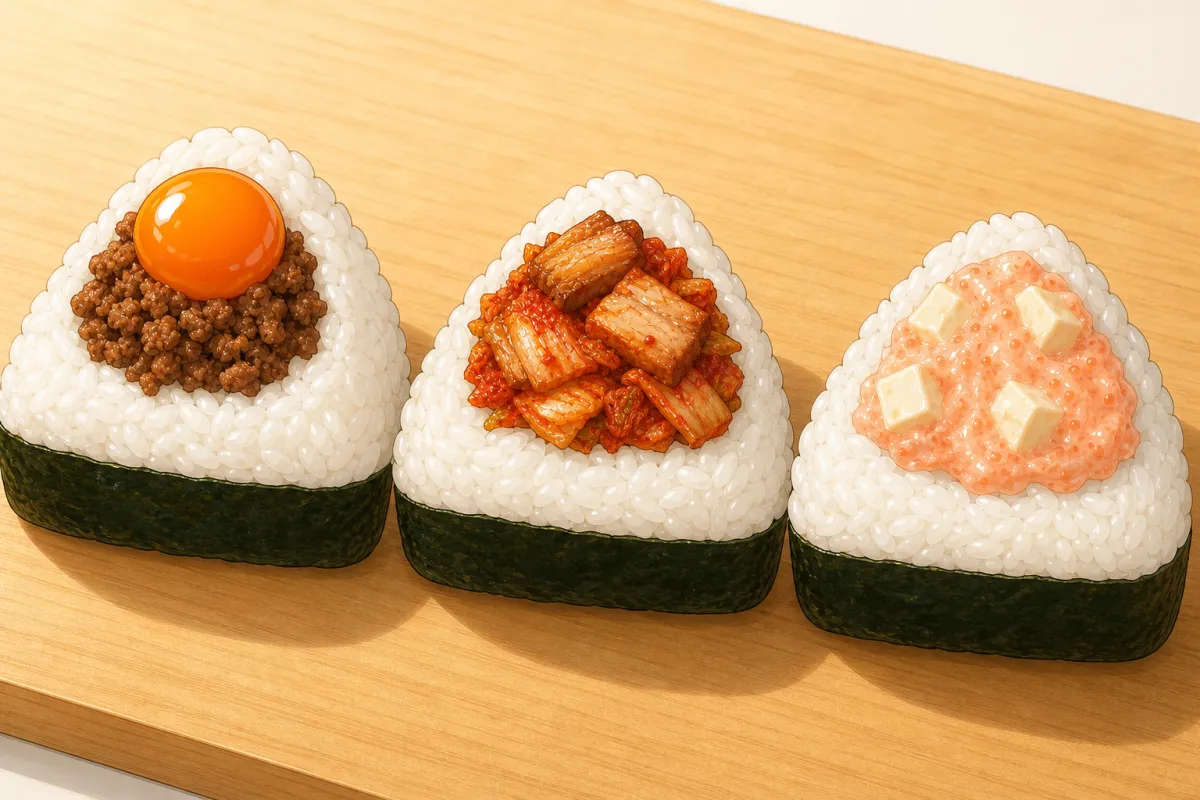
Should look like this
Based on: Hidden Japan Gems — Onigiri Bongo menu · MICHELIN Guide — Onigiri Asakusa Yadoroku · Asakusa Yadoroku (official) · Nigihaya, Kyoto (official, Japanese) · Togoshi-ya (official, Japanese)